
PRISMAguide XL helps you to build and preview print designs using pre-defined application recipes. You can also import new recipes created in PRISMAguide XL Engine. The use of the PRISMAguide XL recipes enables you to re-use complex designs for similar jobs. This eliminates possible mistakes, reprints and waste.
For more information about creating new recipes, go to PRISMAguide XL Engine Help.
See Recipe management, when you want to import new recipes.
This workflow uses the recipe [Double-sided application].
Recipes can add locked elements to your design and can change the size of your art board. For the right use of the recipe it is necessary to leave the layers unchanged. Do not unlock, move or remove content within the locked layers/groups. However you can change the order of the layers/groups.
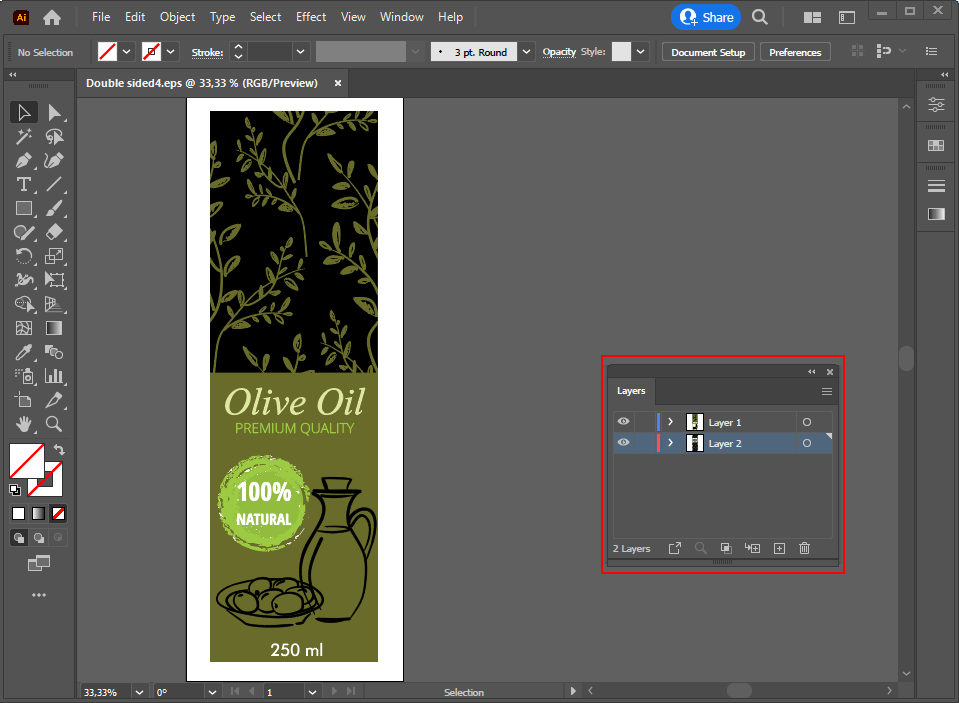
Select [Window] -> [Extensions] ->PRISMAguide XL

When you use the recipes in Adobe Photoshop the design assets are defined as group, and the design assets in Adobe Illustrator are defined as layer.
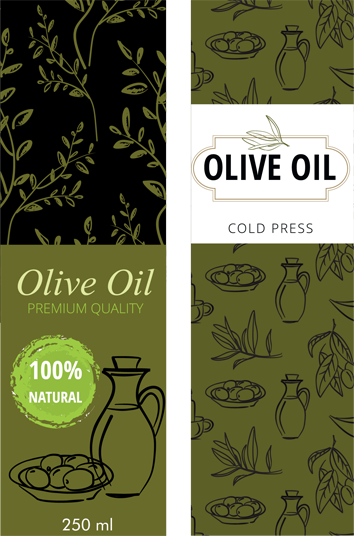
For the [Double-sided application] recipe two layers/groups must be present in your design.
Layer 1
Front side image
Layer 2
Back side image
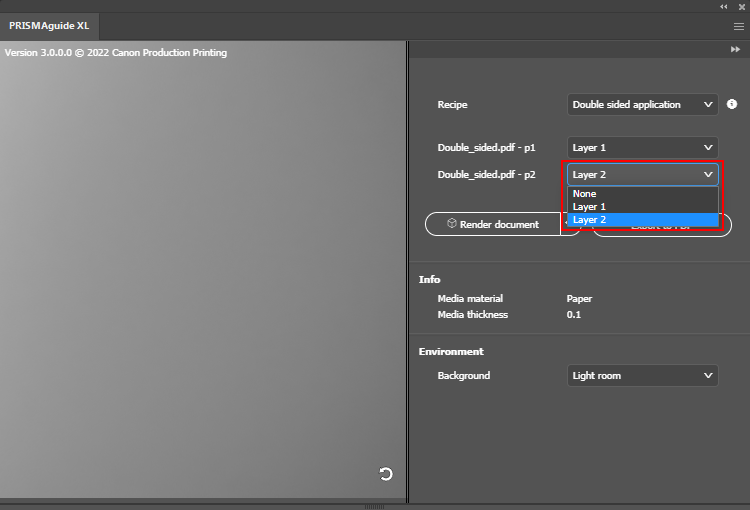
Only the first artboard is exported to your print-ready PDF.
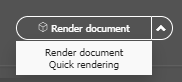
To generate or update the preview of your design you can select one of the following options:
Select [Render document] to render the complete artwork.
Select [Quick rendering] to render the document in a lower resolution in order to speed up the rendering process.
You can rotate, shift, or zoom in and out on the preview as follows:
Rotate: click and hold the left mouse button.
Shift: click and hold the right mouse button.
Zoom in and out: rotate the mouse wheel.
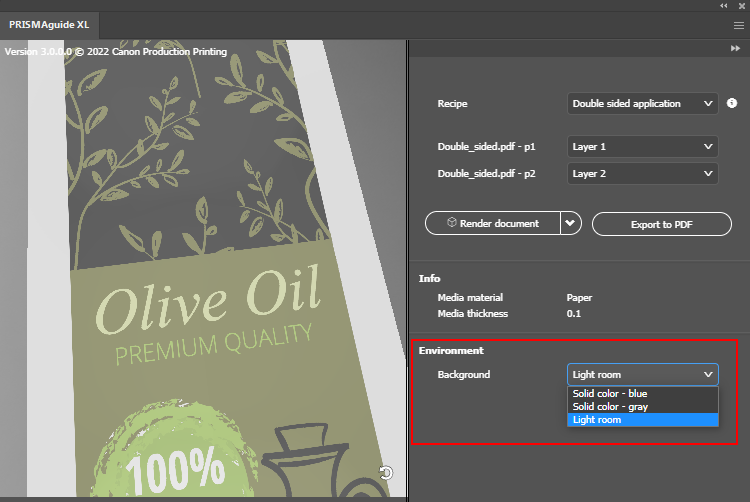
In the environment section you can choose a different background for the preview.
Click the refresh button
 in the bottom right corner of the preview screen if you want to reset the preview.
Click [Render document] in the PRISMAguide XL panel to check your design again.
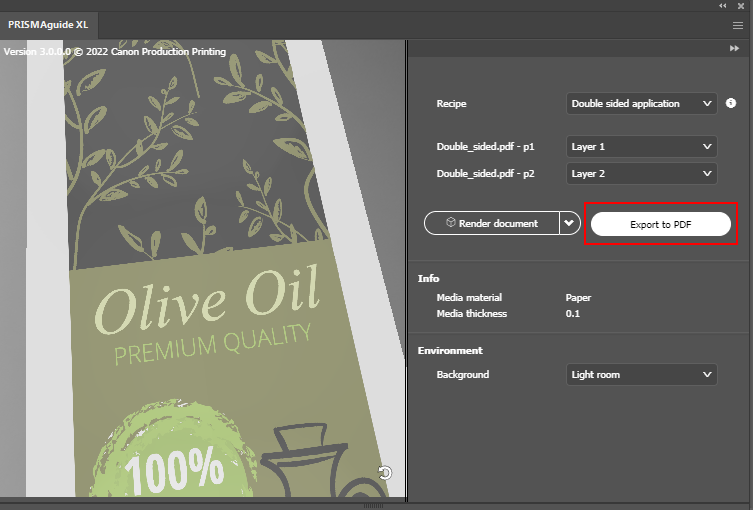
Click on [Export to PDF] to export your design as a print-ready PDF.
In Adobe Photoshop the PDF is exported as multi-page PDF. In Adobe Illustrator the PDF is exported as multi-layer PDF.