
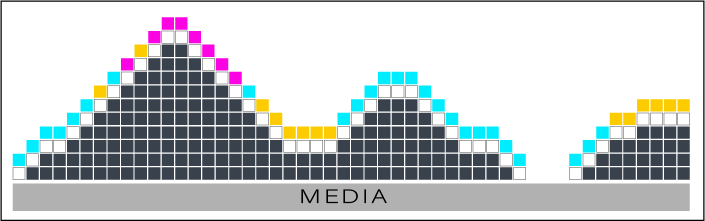
Elevation up to 1 mm for Alto, up to 4 mm for Alto-Plus
Elevation is built up with CMYK (+ white for CMYKWW configurations, + varnish for CMYKWV configurations).
The use of varnish can help to reduce surface tension.
A white layer is printed automatically to isolate the elevation from the color layer.
Special modes:
Alto (White): Elevation is built up with white ink (+ varnish, when available).
Alto-Plus (Mold) only prints the elevation (no color layer on top).
Make sure you define the correct color management settings before you start to work on the design. See PRISMAelevate XL Extensions for Adobe Photoshop and Illustrator for more information.
In this procedure we use Photoshop.
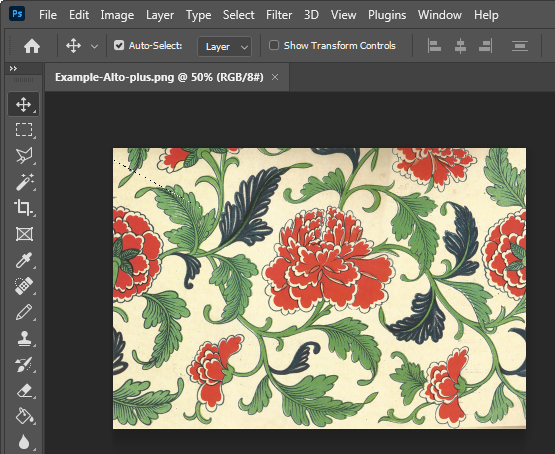
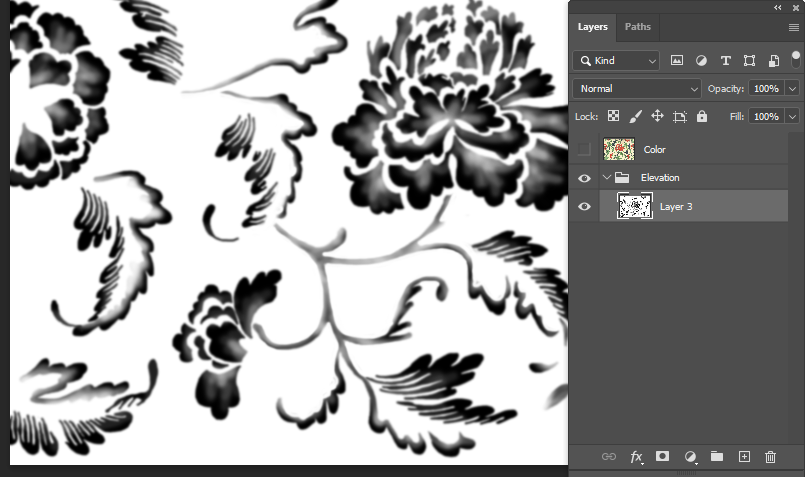
Use the layer to design the elevation map.
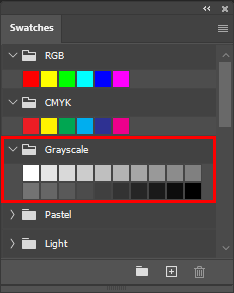
White is not elevated and black is maximum elevated.
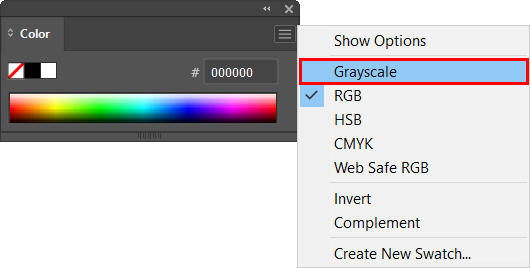
When you use Adobe Illustrator, make sure all the objects in the elevation layer are in grayscale. Select all objects in the layer and select [Grayscale] in the [Color] tab.
You can open the PRISMAelevate XL Extensions via [Window] -> [Extensions (legacy)]
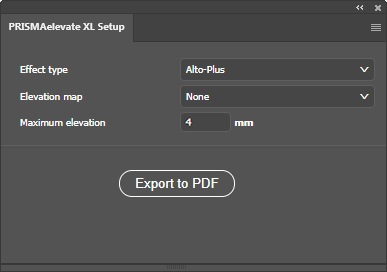
Select the [Effect type] .
In this example we use the mode Alto-Plus.
Select the [Elevation map] .
In this example we named the group 'Elevation'.
Define the [Maximum elevation] .
For Alto-Plus the maximum height is 4 mm. You can set the maximum lower, not higher. The color black in the elevation map represents the maximum elevation that is set here.
For more information about render options, see PRISMAelevate XL Extensions for Adobe Photoshop and Illustrator.
You can rotate, shift, or zoom in and out on the preview as follows:
Click and hold the left mouse button to rotate the preview.
Click and hold the right mouse button to shift the preview.
Rotate the mouse wheel to zoom in and out on the preview.
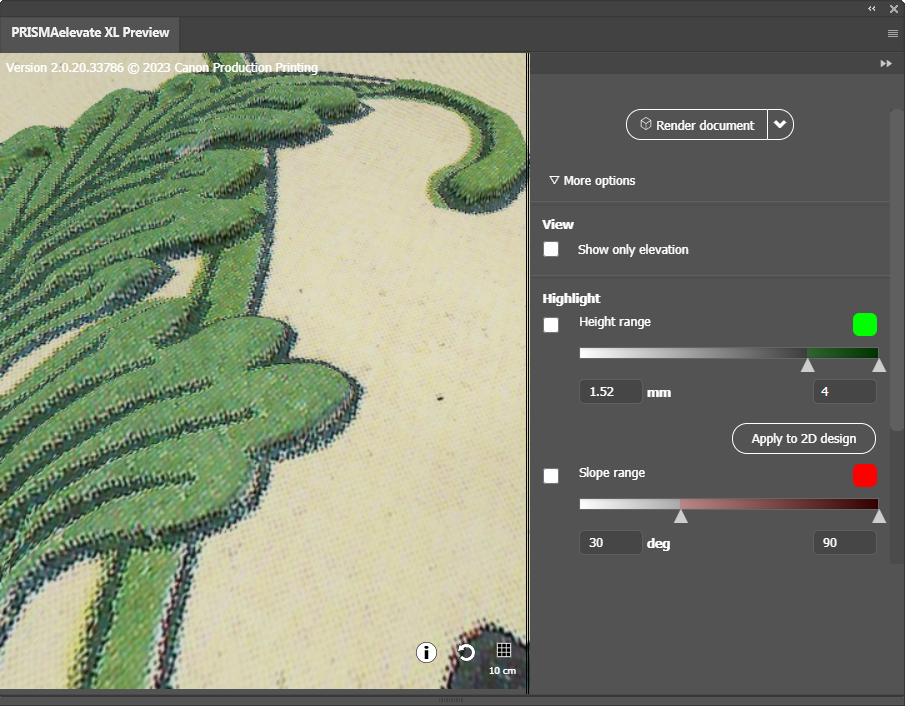
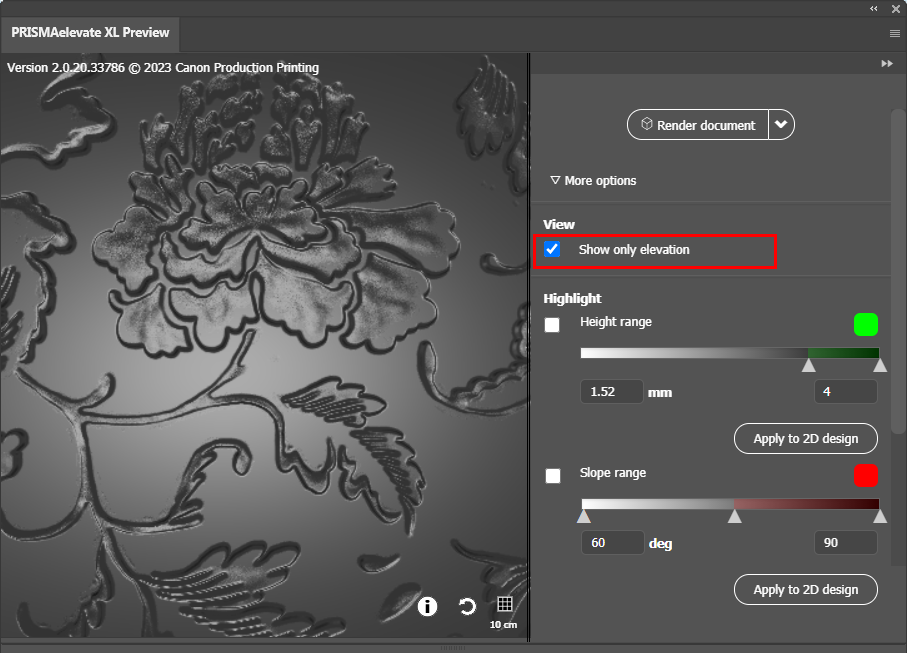
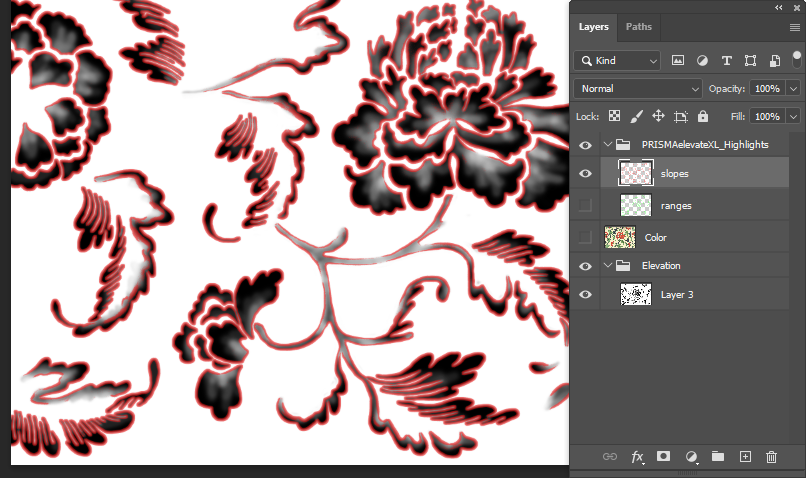
Tick the checkbox to show only the elevation in your design.
Tick the checkbox to highlight areas with a specific height range tick the checkbox.
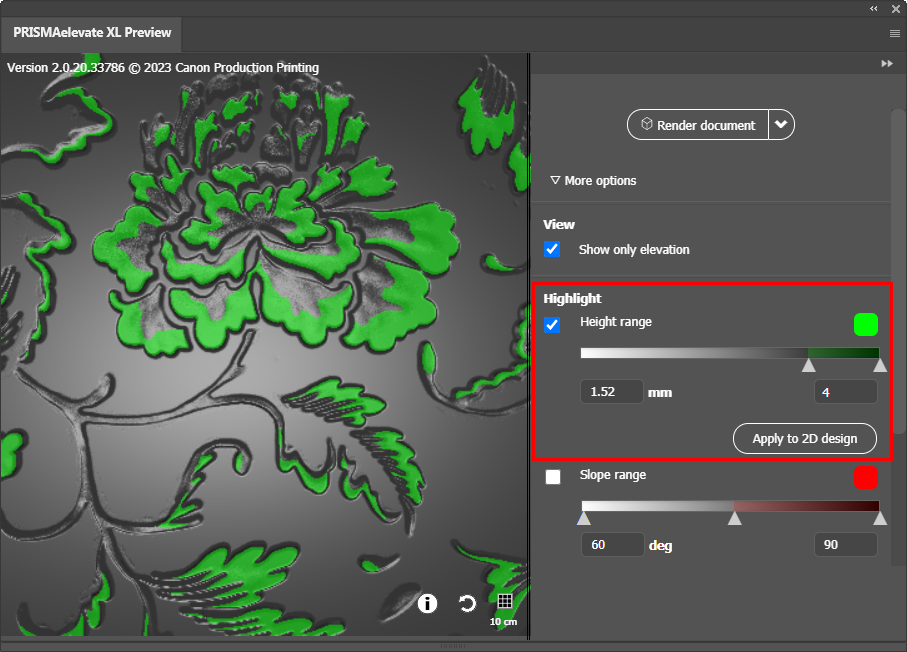
To change the range you can adjust the range values or drag the ruler in the correct position. To change the highlight color click on the colored button.
Slopes that are too steep (between 60 and 90 degrees) can show darkened edges on the side of your printed artwork.
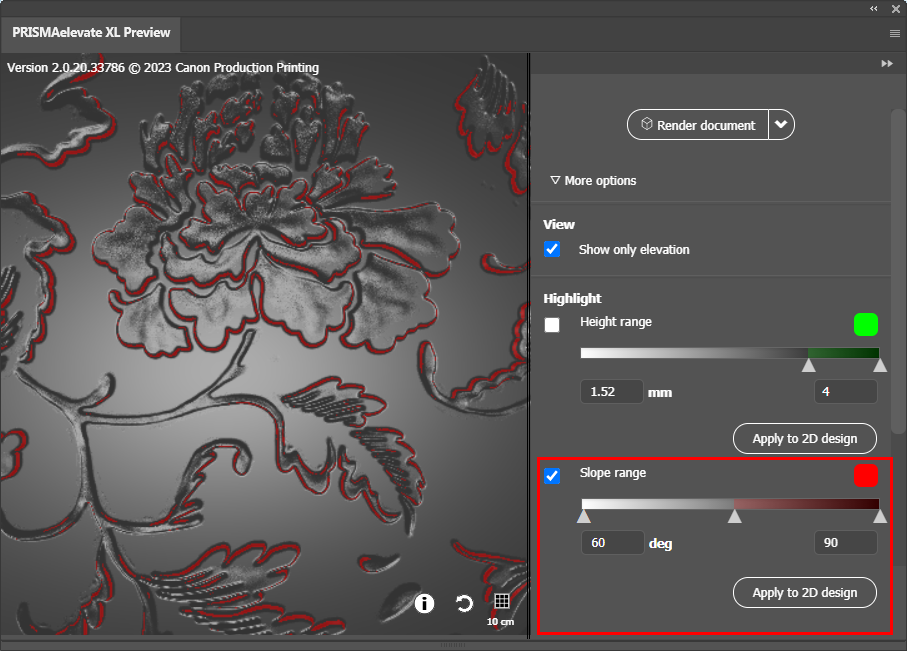
The [Highlight] layer / group will not become a part of your final design.
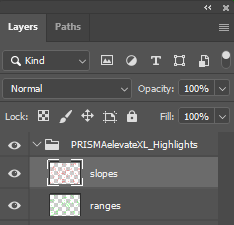
Use the layers to identify and change undesired effects in your design.
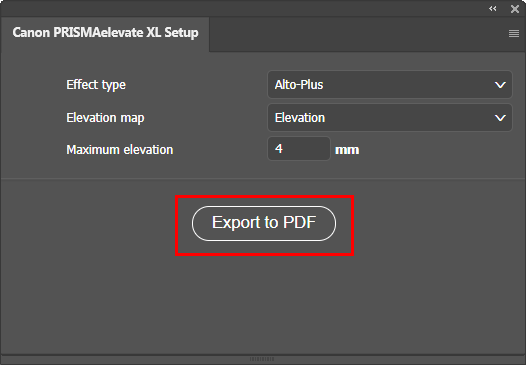
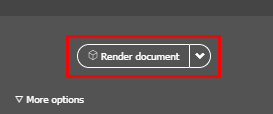
When you are satisfied with your design you can export your design as a print-ready PDF in the [PRISMAelevate XL Setup] panel.
It is advised to use the name of your PDF, that is proposed: " Name + Effect type + Max elevation value".
[Layout Check] for Alto & Alto-Plus print jobs
This setting enables you to check the layout and color of a print job without having to print the entire job with elevation. Two batch print jobs are sent to the printer. The print job including the elevation, and the [Layout Check] print job without the elevation. See Print an elevated job for more information.