

With PRISMAsync you can verify if the printed output meets the G7 greyscale target.
The G7 greyscale verification applies to all media of the media family. You only have to perform a G7 greyscale verification for one media of the media family. This is the media that is also used for media family calibration. Make sure you use that same media, each time you perform a G7 greyscale verification.
i1 spectrophotometer.
For information about:
Colour based workflow, see Learn about the colour-based workflow.
Calibration, see Learn about calibration.
Tolerance levels, see .
Metrics, see Colour validation metrics.
Enable G7 see, Configure printer calibration.
You must always perform a printer calibration before you continue with this procedure.
You must always perform a media family calibration before you continue with this procedure.
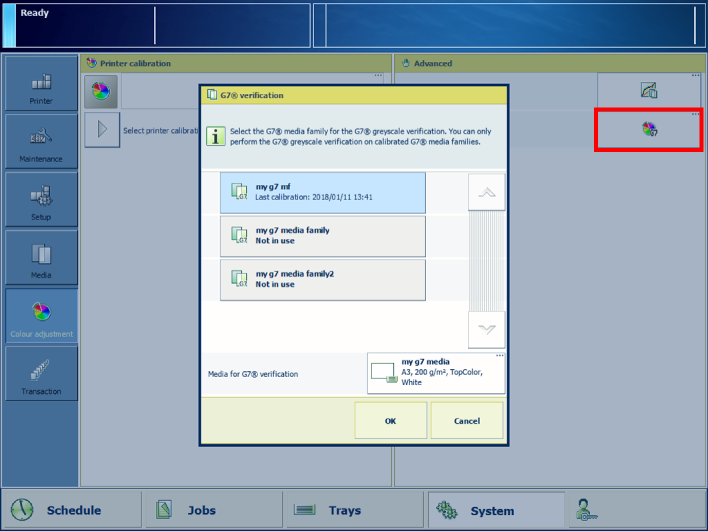
The system displays the default selected media for verification.
After you performed the G7 greyscale verification, the feedback window shows the results of the performed procedure.
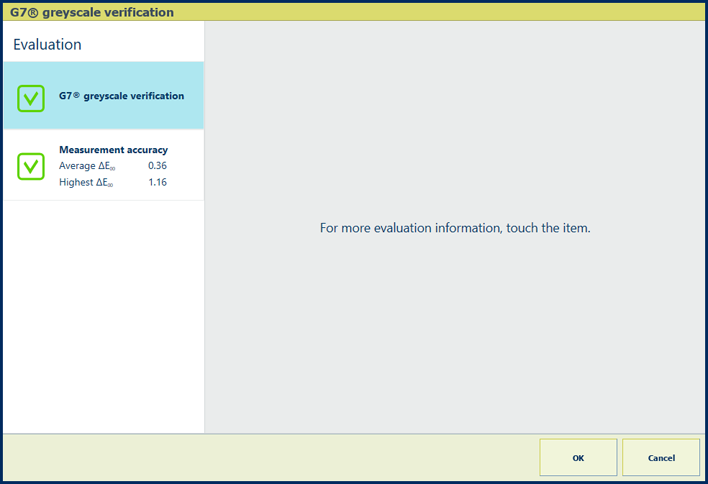 Feedback window of G7 verification procedure
When you see two green checkmark icons, touch [OK] to save the new calibration curves.
When you see a red cross icon, use the table below to evaluate the result. Then, click [OK] to close the window.
|
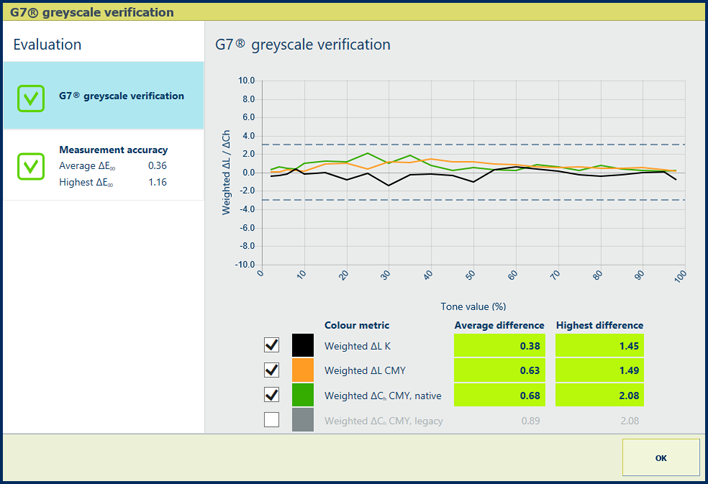
Description The [G7® greyscale verification] information is an indication for the colour accuracy achieved with the current printer condition, used media and corresponding output profile. The graph shows per colour channel how close the measured values meet the G7 target values. The tolerances are displayed by dashed lines. |
|
Evaluation
|
|
|
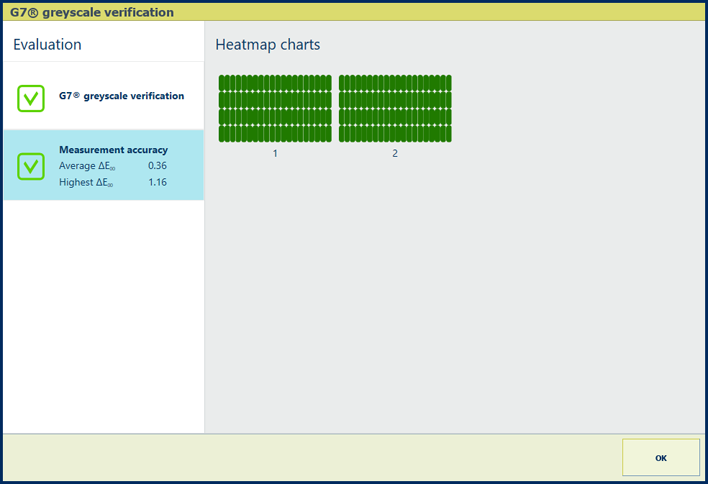
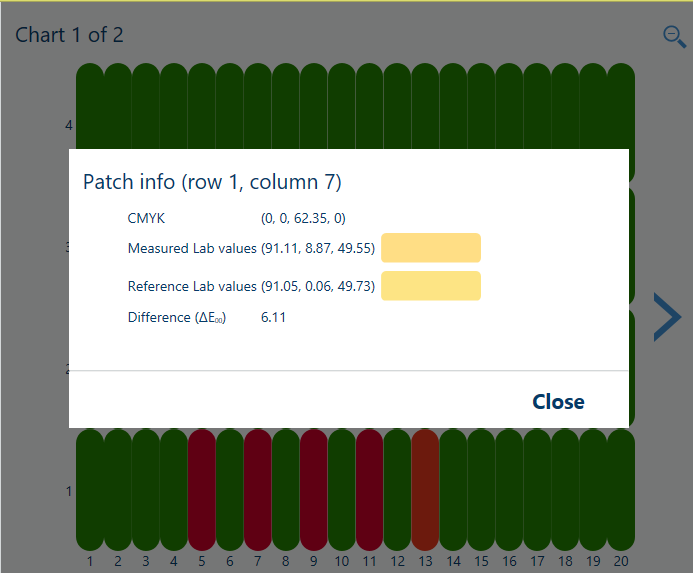
Description The ΔE values of the [Measurement accuracy] information are indicators for the accuracy by which the patches are printed and measured. The control panel displays a heatmap whose patch locations correspond with the printed chart. |
|
Evaluation
|
|
|
Options to improve colour quality
|