
This topic describes the functions to print one or more jobs from the control panel. Most functions are available in several job locations.
When you make a proof, the printer prints one set of the job. A proof print is an addition to the regular job. The original job remains available in its location.
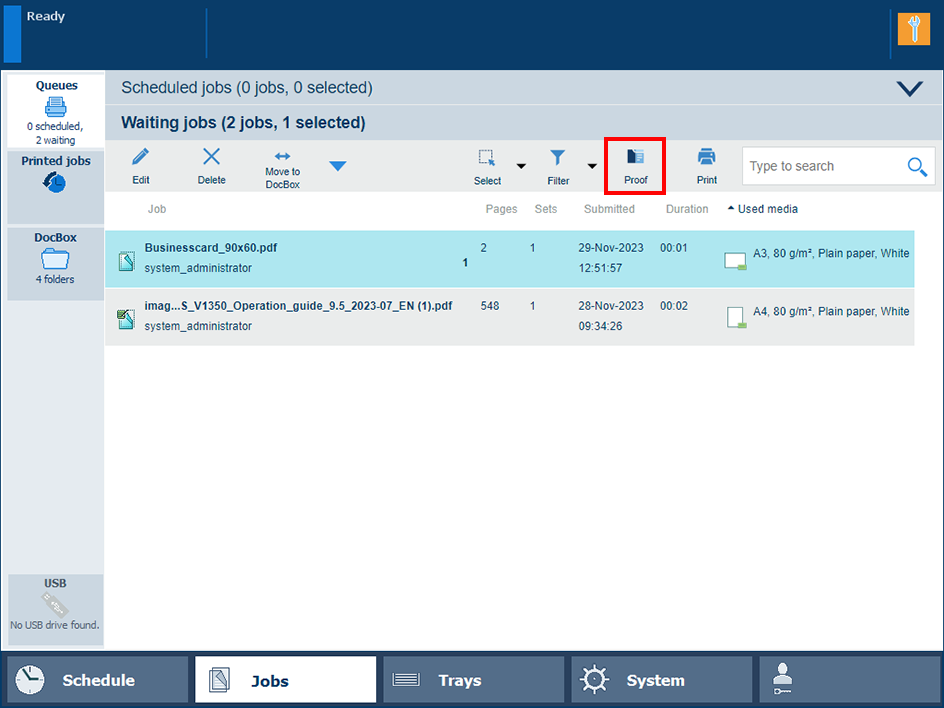 The [Proof] button
The magnifying glass
 icon indicates a proof print in the list of scheduled jobs.
The Print function moves one or more jobs to the list of scheduled jobs where they are printed according to their position in the list. Printed scheduled jobs go to the list of printed job. Printed DocBox jobs remain in the DocBox folder.
 Print a waiting job
The list of printed jobs can be enabled or disabled in the Settings Editor.
You can read the job settings by printing a job ticket. The job ticket is printed in the printer language and shows the job properties.
 Print job ticket
 An example of a job ticket print
The job ticket job is printed as soon as possible. You recognize this job by the prefix Properties of in front of the job name.
Use the [Print now] function to print the job immediately.
 Print now
When a job is printed, it goes to the list of printed jobs. To reprint printed jobs, select one or more jobs from the printed job list and touch [Print]. The jobs are moved to the list of scheduled jobs where they are printed according to their position in the list.
 Reprint via list of printed jobs
The list of printed jobs is disabled in the Settings Editor.
The print system is in transaction printing mode.
PRISMAsync already removed the print jobs from the list.
Use the [Move to top] function to move a job to the first position of the list of scheduled jobs so that it is printed as soon as possible.
 Move to top
When the USB port is enabled for the printing of jobs, you can copy print files from a USB device to the list of waiting jobs. It is also possible to print the files directly.
Insert the USB device into the USB port at the left-hand side of the control panel.
Touch .
Touch the directory that stores the files, if needed.
Select one or more jobs.
Touch [Print] to move the job to the list of scheduled jobs.
Touch [Save] to move the job to the list of waiting jobs.
Touch the eject button
 and remove the USB device.