
The purpose of this chapter is to guide you through the actions needed to move from your current PRISMAsync Remote Control to the new PRISMAremote Monitoring app in PRISMA Home.
PRISMAsync Remote Control is changing to PRISMAremote Monitoring. The new app for PRISMAremote Monitoring will be available in the app store from July 6th, 2023. Your current app will stop on July 6th, 2024.
Read the steps below carefully.
This is what you need to do to get started.
Navigate to PRISMA Home - Your Home in the cloud.
Configure PRISMA Home by the following steps:
Register the printer(s) that you are going to use in PRISMA Home.
Open the Settings Editor of the printer and go to .
 [Connectivity] tab
You need to have [Access to connectivity settings] rights. By default, only the [System administrator] has these rights.
Go to the [Cloud service] section.
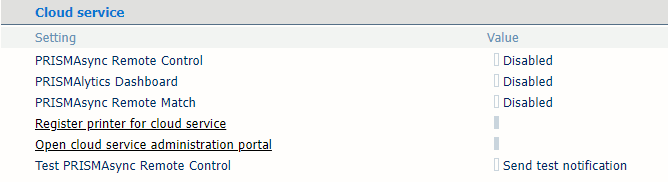 [Cloud service] section
Enable the [PRISMAsync Remote Control] setting.
Click the link [Register printer for cloud service].
Log in and follow the instructions.
Repeat for each printer you would like connect to PRISMAremote Monitoring
Allow PRISMAremote Monitoring to use the newly added printer(s).
Once you have registered the printers, go to PRISMA Home to check whether PRISMAremote Monitoring is allowed to access these printers.
Go to PRISMA .
For each device registered that you want to allow the application to access you must do the following:
In the [Details] panel on the right, click on the device and check the checkbox next to the name of the application you want to enable for that device.
Sometimes you need to scroll down until you see the [Applications] list.
Repeat for each device you want to enable.
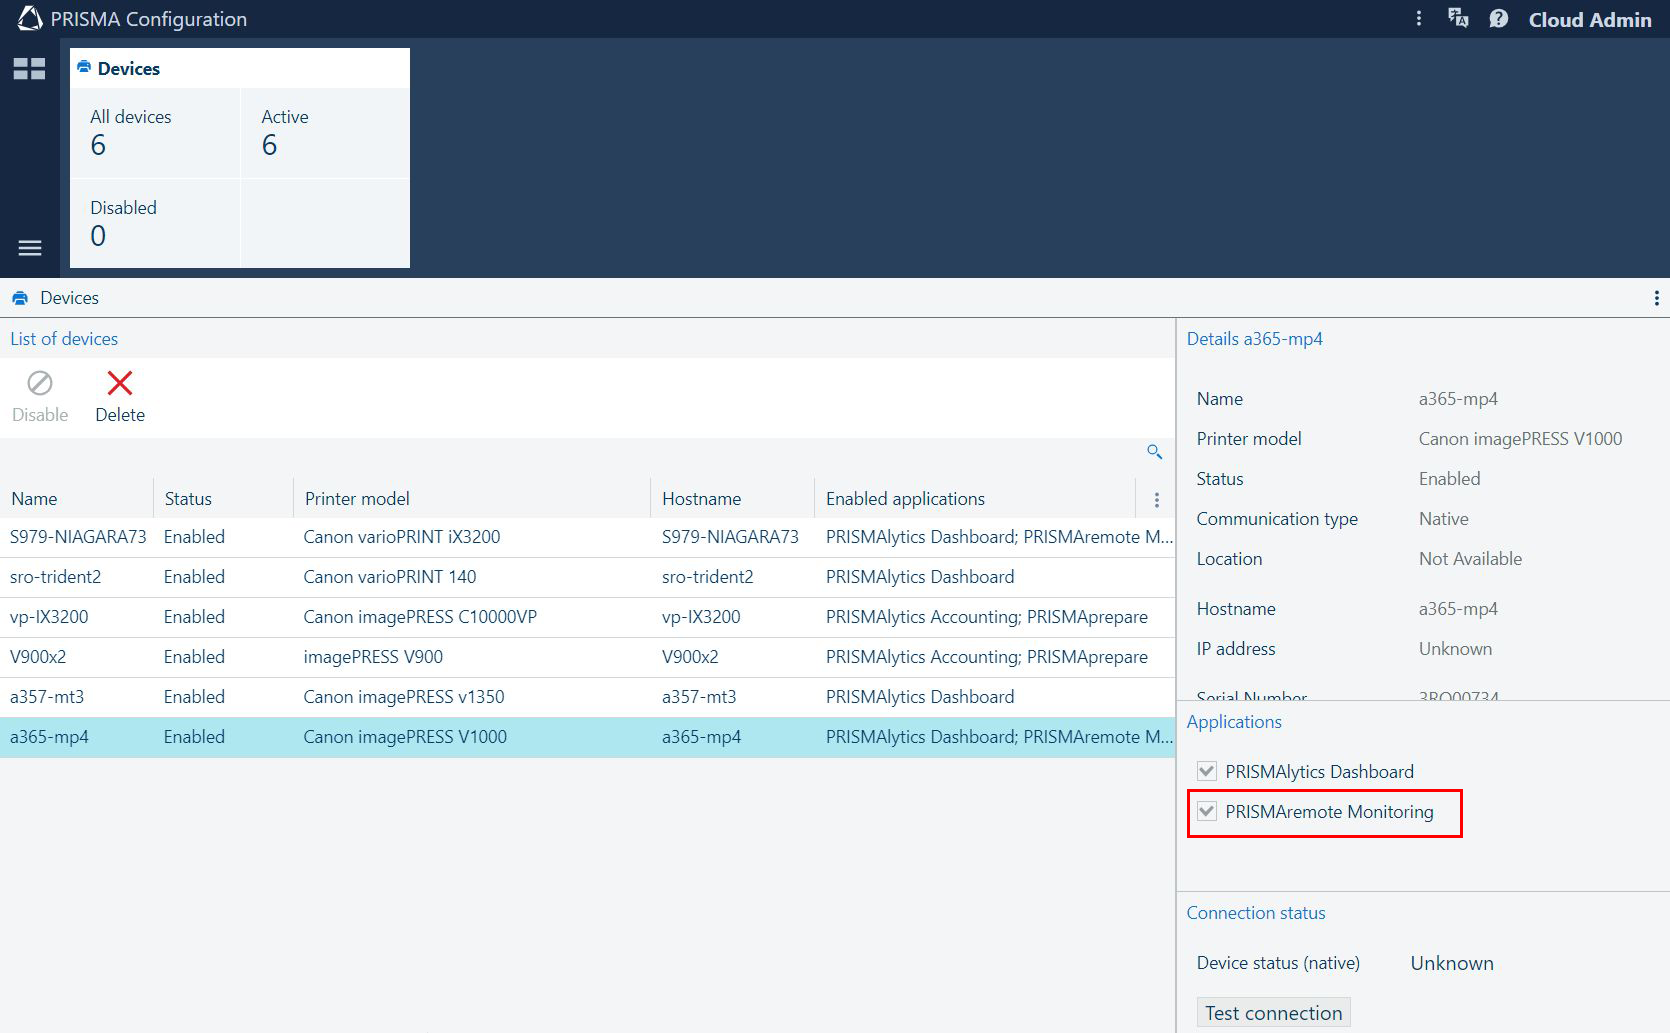 PRISMAremote Monitoring checkmark in PRISMA Configuration
Video: Enabling applications
Invite other users to create accounts in your tenant in PRISMA Home.
When you send the invitation, you have to select what type of user role to assign for PRISMA Home.
.
Assign a role to each registered users.
Video: Managing users
Download and install the app from the Apple app store or Google Play.