
Examples of failed communication are:
Cannot automatically map the media
Cannot load the media catalogue from the Fiery Print Server
Cannot import the media catalogue from the Fiery Print Server
Cannot send a job
Print a test page. If the page is not printed verify that the printer is online and that you can ping it from your computer.
Check that the IP address of the printer is correct.
Open the [PRISMAprepare Administration].
Select [Printer settings].
Select a printer. If required, click [Edit].
Go to tab "Connection".
Check that the JMF URL in the Fiery Print Server corresponds to the printer URL in tab "Connection".
Check that the IP address in tab "Connection" uses the correct port number, which is 8010 for Fiery Print Servers.
The format for the printer URL is "http://<IP address>:<port number>". For example: http://10.10.10.10:8010
Check that JDF is enabled on the Fiery Print Server.
When JDF is not enabled, PRISMAprepare cannot automatically map the media used in the document with the media catalogue from the printer. See Enable the JDF print path on the Fiery Print Server
Check that the service "Fiery CSI Atom" or "Fiery JDF" for the JMF/JDF server is running on your Fiery Print Server.
In some versions of the Fiery Print Server, the MS Windows service is called "Fiery JDF".
Open the "Services" dialogue on the Fiery Print server.
Restart the service "Fiery CSI Atom" or "Fiery JDF"
 Fiery CSI Atom service
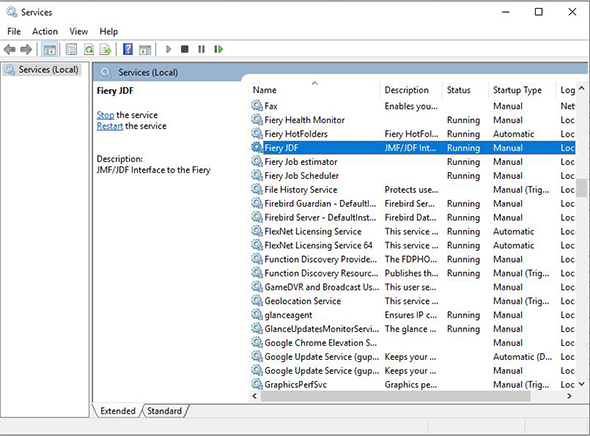 Fiery JDF service
If you have a firewall:
Check that the processes used by PRISMAprepare are not blocked. These processes are "PRISMAprepare.exe, OBNGLightProcess.exe, mmc.exe".
Check that port TCP 8010 is opened.
If PRISMAprepare cannot load the media catalogue from the Fiery Print Server: Bypass the proxy server for the driverless printers
Do this for all browsers.
Internet Explorer and Chrome both rely on the Internet Options settings for proxy information, so you don't need to configure them separately. Firefox optionally uses its own proxy settings, so you might need to add exceptions in Firefox.
Click the Windows 'Start' button and open the Control Panel on the computer where:
PRISMAprepare is installed.
Search for 'Internet options' and open it.
Click tab "Connections", then click button "LAN settings".
Enable option "Bypass proxy server for local addresses".
Click button "Advanced".
Add either the hostname or IP-address of each driverless printer to the list of exceptions for the proxy server.
Click "OK", click "OK" again and click "OK" to close the dialogue.
Test if the bypass proxy is bypassed for the added driverless printers:
Open an Internet browser and connect to the printer with hostname or IP-address. If you cannot connect to the printer, you have to check the printer address in the list of exceptions of your proxy server.
If PRISMAprepare cannot load the media catalogue from the Fiery Print Server: repair the JDF database on the Fiery Print Server.
Cause: The JDF database can become corrupt when you reboot the Fiery Print Server while a job is “hanging”. In this case, the Fiery Print Server does not send any responses anymore to PRISMAprepare.
Solution:
Sign on to your Fiery Print Server.
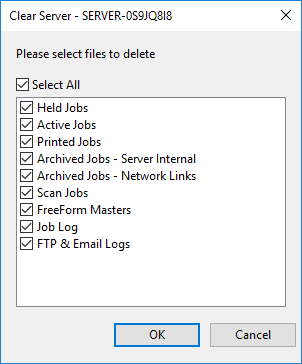
Click "Server - Clear Server...".
Enable option "Select All" and click OK.
All items on the server will be selected and removed.
Open the "Services" dialogue on the Fiery Print server.
Stop the service "Fiery CSI Atom" or "Fiery JDF".
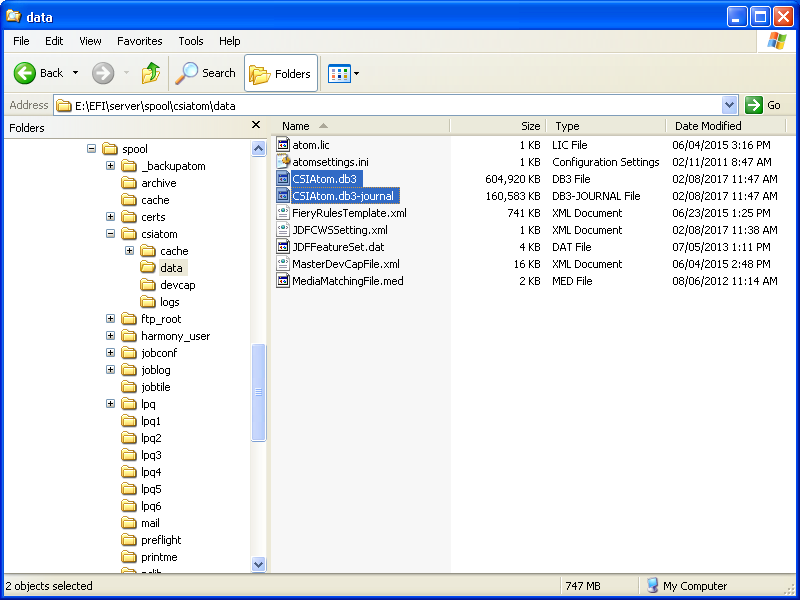
Go to folder "EFI\server\spool\csiatom\data" and delete the database and the database journal: "CSIAtom.db3" and "CSIAtom.db3-journal".
Go to folder "EFI\server\spool\csiatom" and delete any temporary PDF files.
Restart the service "Fiery CSI Atom" or "Fiery JDF".
Wait 5 minutes, or reboot the Fiery Print Server.
Now, you can load the media catalogue from the Fiery Print Server.
If the import of the media catalogue results in a connection error: check the media in the media catalogue. PRISMAprepare does not support media without media sizes.
Open the command workstation of Fiery.
Open the Paper Catalog.
Open the media that has no paper size assigned. You can check this in column "Paper size".
Select a paper size for the media and click "Save".
Import the media catalogue again in PRISMAprepare. It is recommended that you select option [Merge with the existing media catalog] when you import the media catalogue.