
Note that the finisher adjustments affect all print jobs.
Open the Settings Editor and go to: .

Go to the [Finisher adjustments] setting.
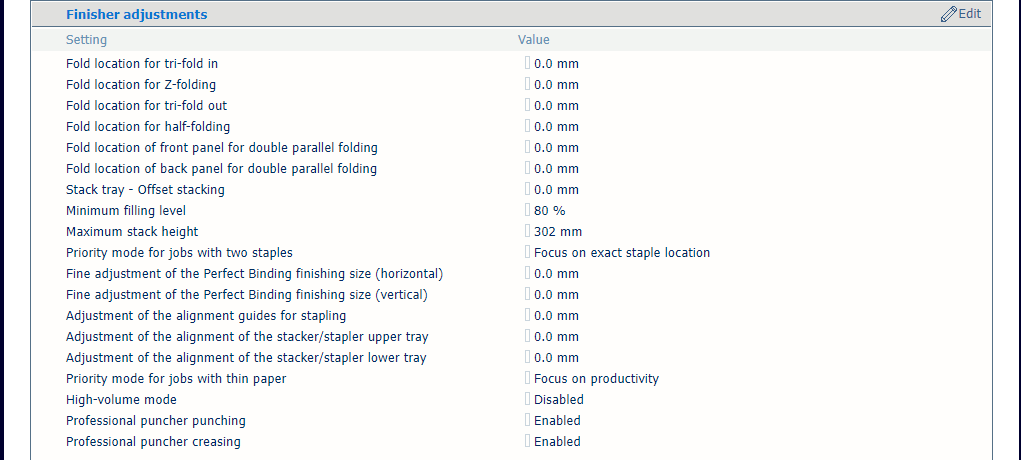 Finisher adjustment settings
Use the following settings to adjust the fold location:
[Fold location for tri-fold in];
[Fold location for Z-folding];
[Fold location for tri-fold out];
[Fold location for half-folding];
[Fold location of front panel for double parallel folding];
[Fold location of back panel for double parallel folding].
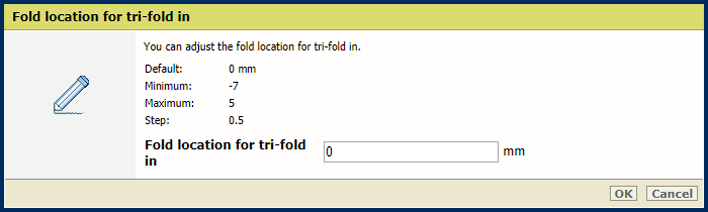 [Fold location for tri-fold in] setting
Use the [Stack tray - Offset stacking] setting to define the offset for the sets in the stack tray. When the value is set to 0, the offset functionality is disabled.
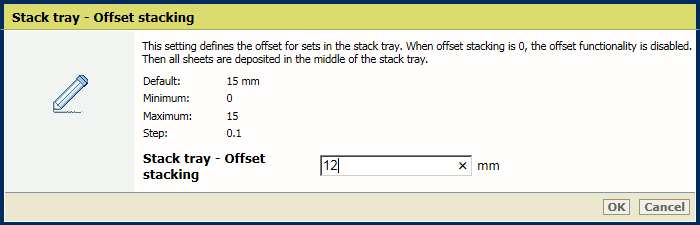 [Stack tray - Offset stacking] setting
Use the [Minimum filling level] setting to define the minimum filling level for the available stackers.
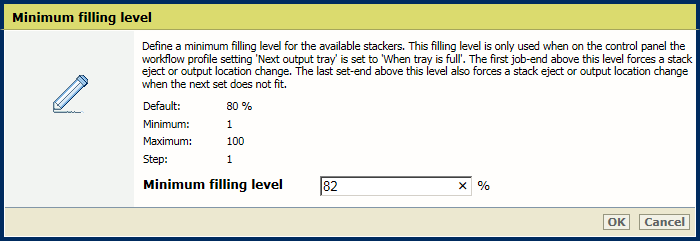 [Minimum filling level] setting
Use the [Maximum stack height] setting to define the maximum stack height of the stackers.
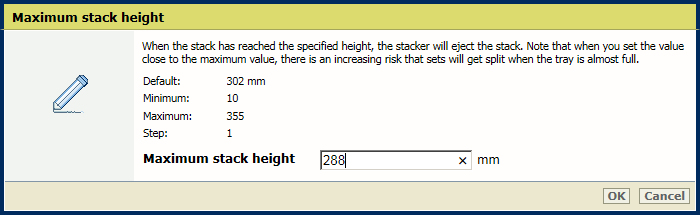 [Maximum stack height] setting
Use the [Fine adjustment of the Perfect Binding finishing size (horizontal)] and [Fine adjustment of the Perfect Binding finishing size (horizontal)] settings to define the adjustment of the perfect binding finishing size in horizontal and vertical directions.
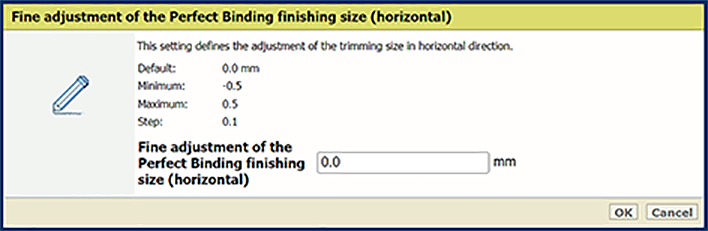 [Fine adjustment of the Perfect Binding finishing size (horizontal)] setting
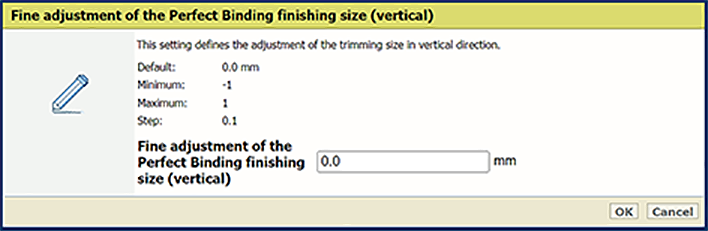 [Fine adjustment of the Perfect Binding finishing size (vertical)] setting
Use the [Adjustment of the alignment guides for stapling] setting to adjust the alignment guides for stapling. Increase the value to set the alignment guide closer to the media.
If the alignment guide is too close to the media, a paper jam or a paper crease can occur.
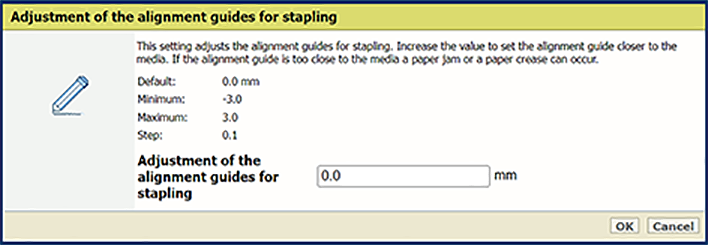 [Adjustment of the alignment guides for stapling] setting
Use the [Adjustment of the alignment of the stacker/stapler upper tray] setting to adjust the alignment for the upper tray.
 [Adjustment of the alignment of the stacker/stapler upper tray] setting
Use the [Adjustment of the alignment of the stacker/stapler lower tray] setting to adjust the alignment for the lower tray.
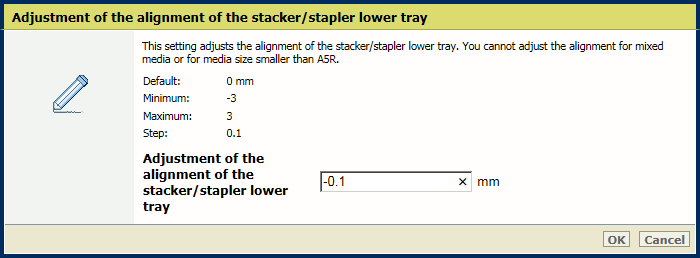 [Adjustment of the alignment of the stacker/stapler lower tray] setting
Use the [Priority mode for jobs with thin paper] setting to indicate whether priority must be given to productivity or sheet alignment in the output while printing jobs on thin paper.
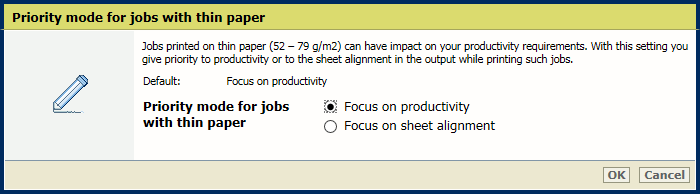 [Priority mode for jobs with thin paper] setting
Use the [High-volume mode] setting to link the output trays of the stacker/stapler or when a trimmer is connected by default for high-volume stacking.
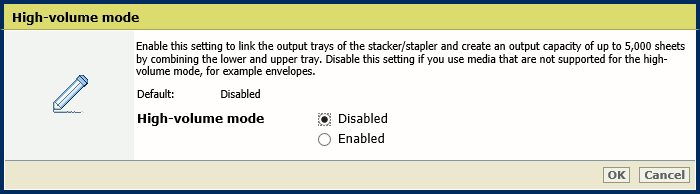
Make sure you disable this option when you use media that are not supported for high-volume stacking. Otherwise, the control panel will display a message that settings are conflicting.
Use the [Professional puncher punching] and [Professional puncher creasing] settings to enable the punching, creasing or perforating function of the professional puncher. When these settings are enabled, the printer driver and control panel show the related settings.
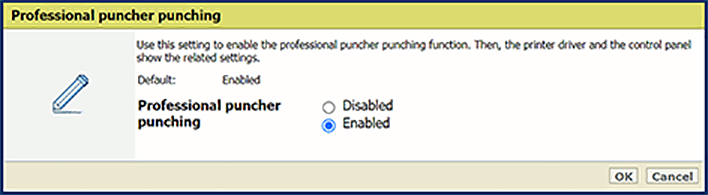 [Professional puncher punching] setting