
This section gives a general description on how to perform a media registration. A detailed description is given in the sections that follow.
On the control panel, select the media for which you want to perform the media registration. You can start a media registration from the trays view (touch [Trays] -> [Optimize] ), or from the media catalog (touch [System] -> [Media] ). There you can select the required media.
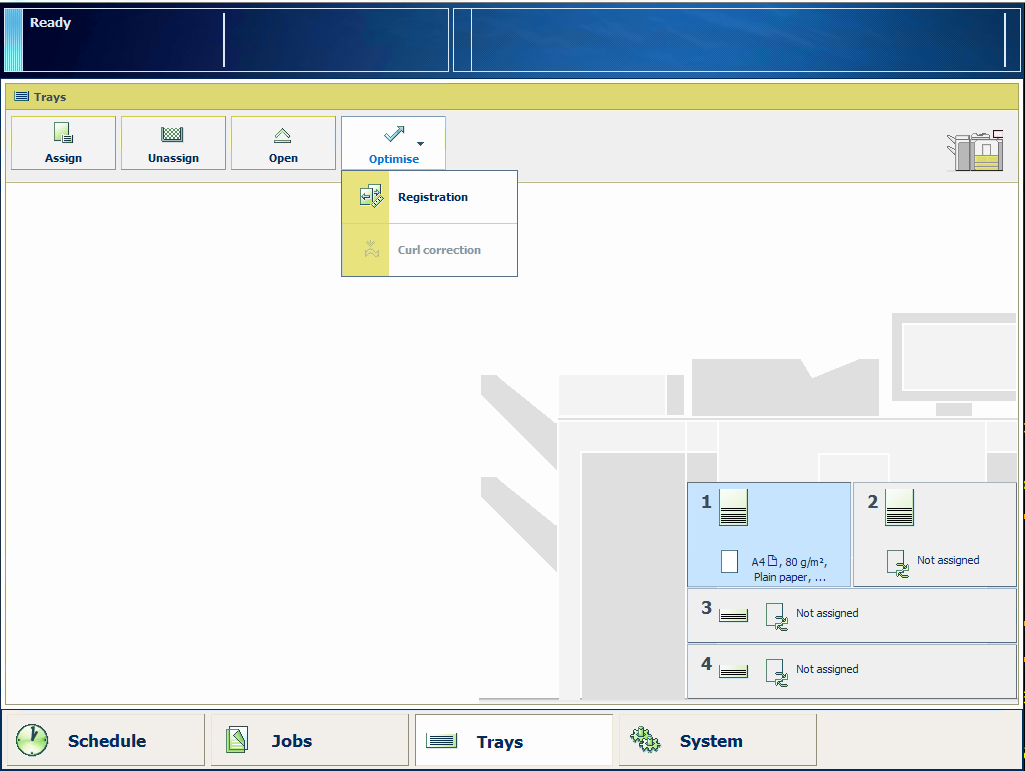 Perform the media registration via the trays view
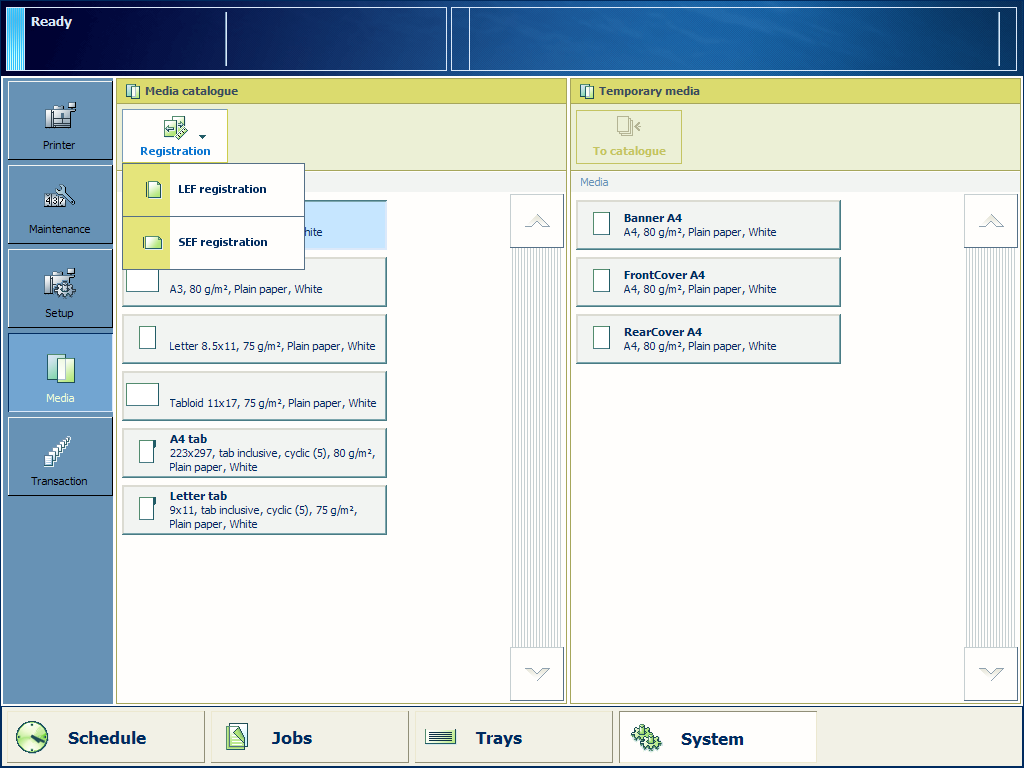 Perform the media registration via the media catalog
Touch [Registration].
When you start a media registration from the media catalog, select the feed direction for which you want to perform the media registration. The media registration can be different for LEF and SEF.
When you start a media registration from the trays view, the feed direction is already selected.
If the printer is not warmed up, the media registration starts by warming up the printer.
Select [Correction of shift / zoom] or [Manual registration]. It is recommended to start with the automatic media registration adjustment.
At [Correction of shift / zoom], touch [Start].
When you select [Manual registration], go to step 8.
Follow the instructions on the control panel to scan the printed registration sheets.
You can verify the result of the automatic registration adjustment on the verification chart.
Touch [Print verification chart] to print the verification chart.
Depending on the media type and the media size, the dots, circles and lines on the verification chart do not have to match perfectly.
If you perceive that the media registration is not optimal, you must perform a manual media registration adjustment. But after automatic media registration, the media registration is optimal in almost all cases.
At the [Manual registration], touch [Start].
In the manual registration adjustment, you can adjust the registration parameters for the front side and the back side separately. Only use [Advanced settings] in exceptional cases. Use [Advanced settings] carefully because these settings influence each other.
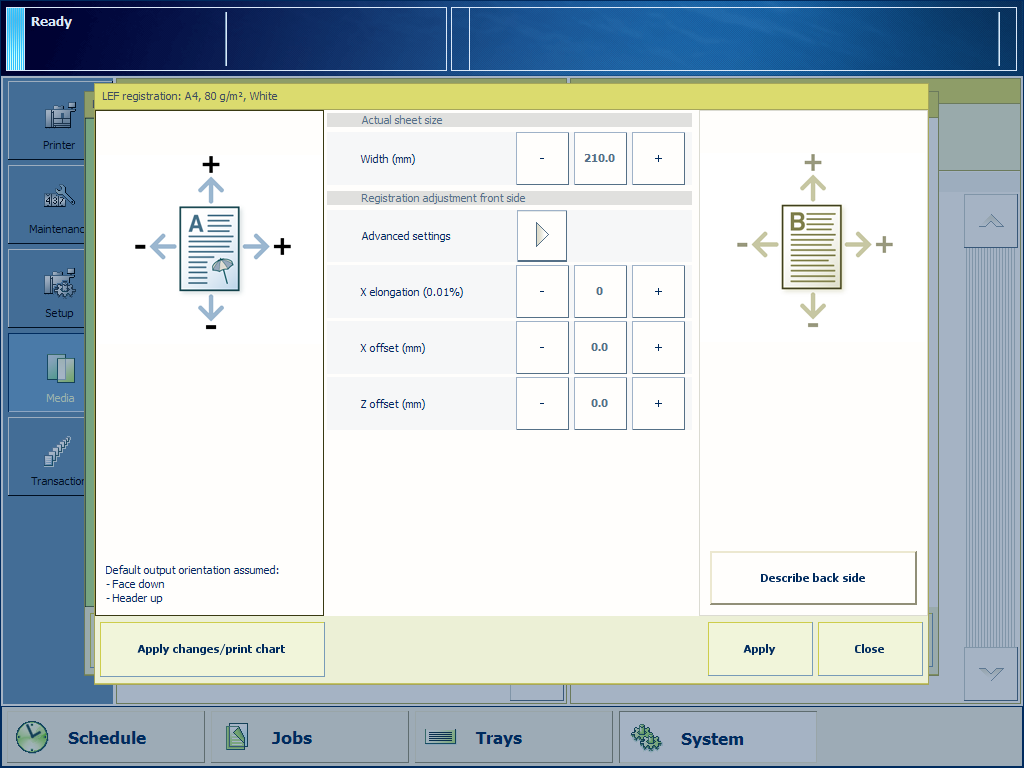
A detailed description is given in the sections that follow.
You can verify the result of the manual registration adjustment on the verification chart.
Touch [Print verification chart] to print the verification chart.
Depending on the media type and the media size, the dots, circles and lines on the verification chart do not have to match perfectly.
You can also perform a manual media registration via the Settings Editor. The manual media registration via the control panel is preferred because you can print the verification chart immediately after you changed a setting.