
In this exercise, you apply a perfect binding booklet imposition to a document.
Open the file SherlockHolmes_A4.pdf.
In the left pane, select the [Document] workspace.
From the menu, select . The [Document type] dialogue opens.
Select [Perfect Binding].
It is possible to set an unprinted area to make sure no toner or ink is printed in the glue zone. Toner or ink can affect the glueing capabilities.
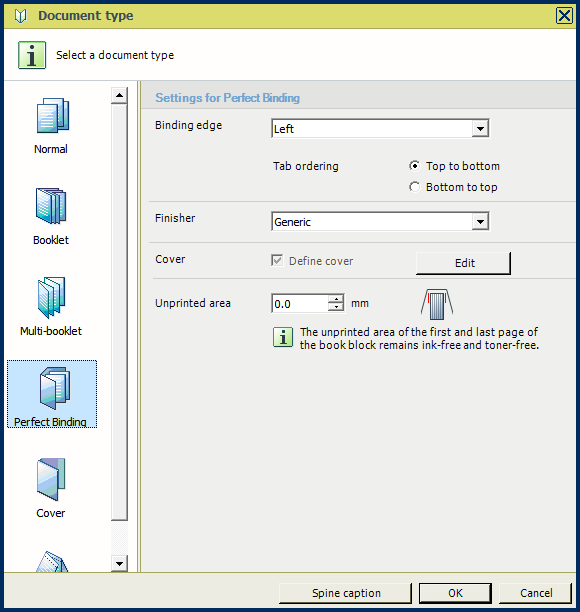
Click [OK]. In the preview, the document with perfect binding is visible with a crossed spine. The media assigned to the cover pages is changed into a media with a larger size: two times the page size plus the width of the spine: 426.4 x 297 mm.
The spine width is based on the number of pages and the media thickness.
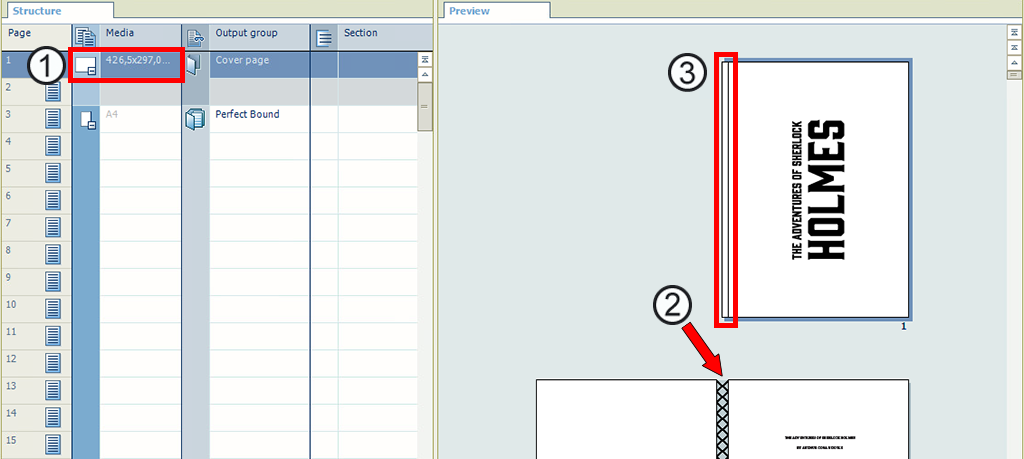
Two times the page size plus the width of the spine
Select the first page
Position the cursor to the spine area beside the first page and double click it
In the preview, scroll to the first page.
Position the cursor to the spine area beside the first page and double click it. The [Spine caption] dialogue opens.
Create your own spine caption. Type a text for the spine, select a font, a background colour, etc.
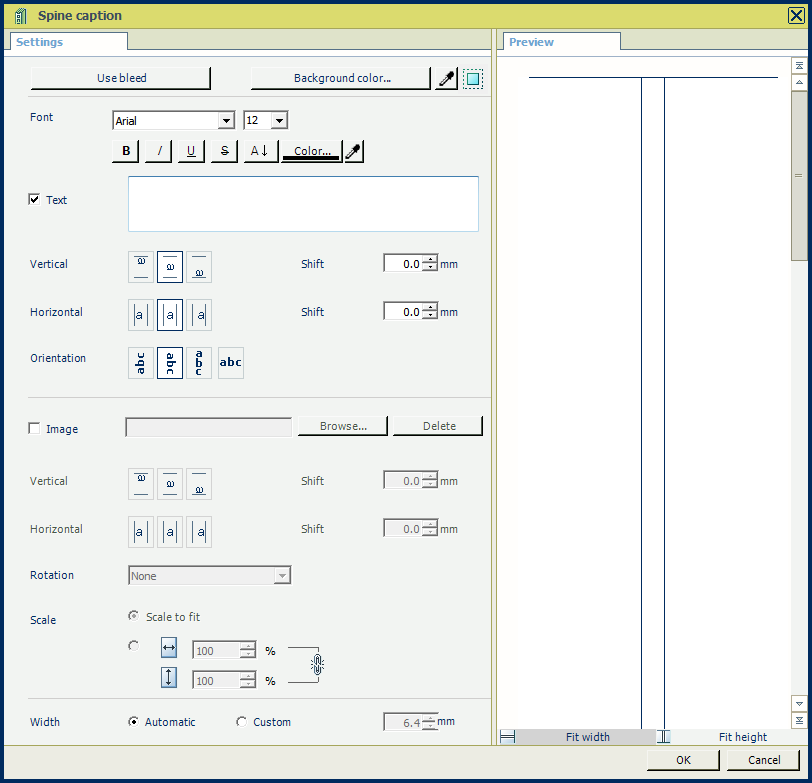
In the preview, the spine area displays the text and background colour.
Click [OK] when you are satisfied with the result.
Go to the [Production] workspace.
Select a physical printing device, e.g. a imagePRESS series or varioPRINT series printer. If not available, select the PRISMAprepare print to PDF printer.
Click the [Print] button. The document is sent to the printer.
Save the file in the 'Participants' folder on the desktop with the name Scenario_31.pdf.