
You can add a printer manually. For example, SNMP is not enabled on a printer. Therefore, the printer discovery tool cannot find the printer.
Open the [PRISMAprepare Administration]. Run the [PRISMAprepare Administration] as administrator.
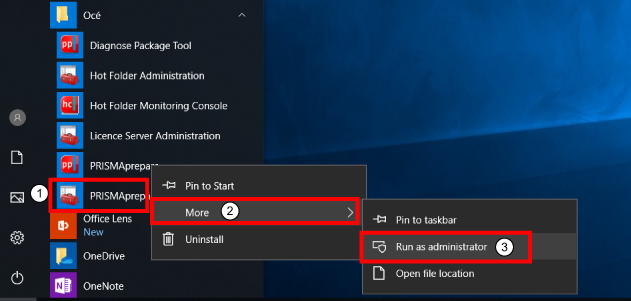
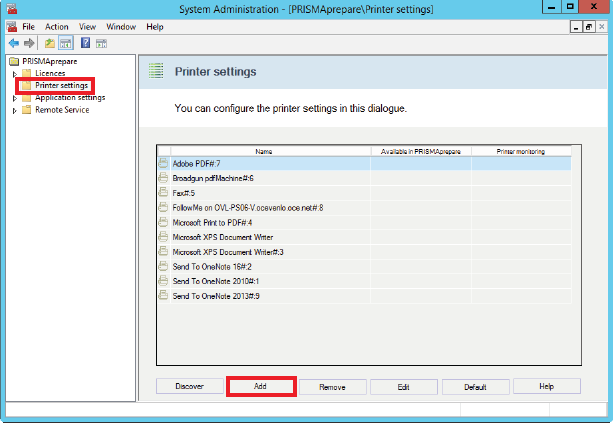
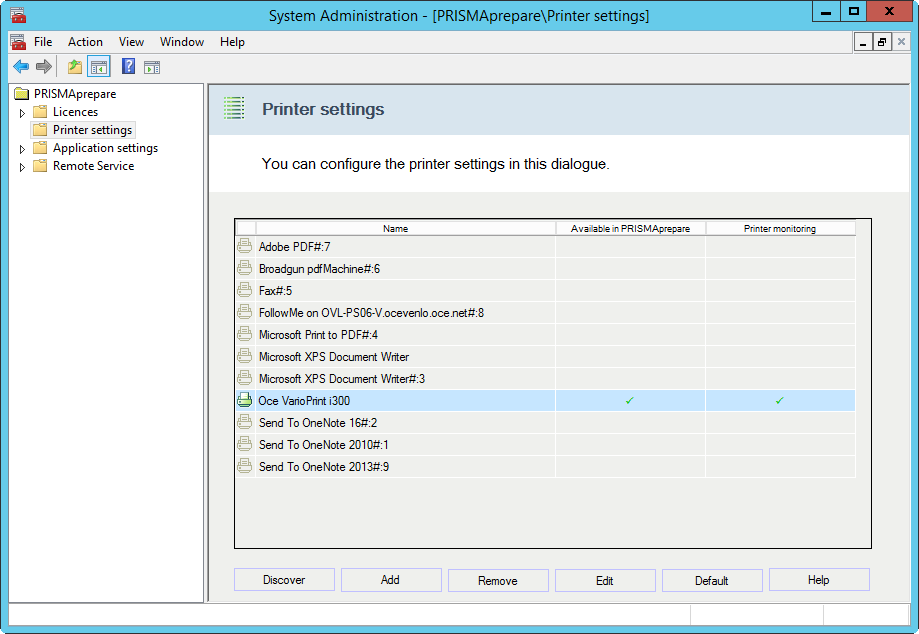
Select [Printer settings].
Click the [Add] button.
Select the printer and controller version of the printer that you want to add.
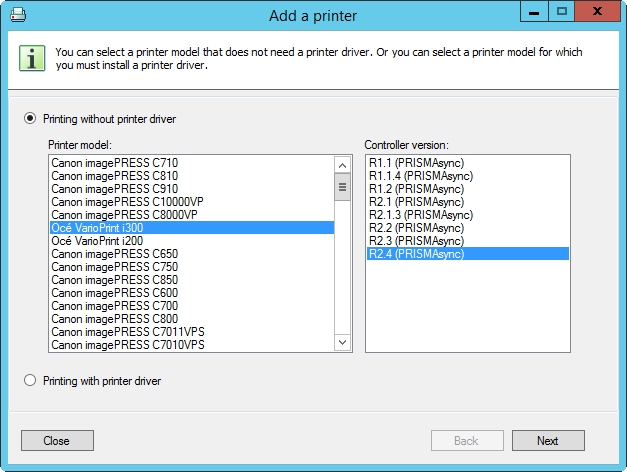
Click [Next].
Type the IP address of the printer and type the name of the printer. The printer will be added with this name to PRISMAprepare.
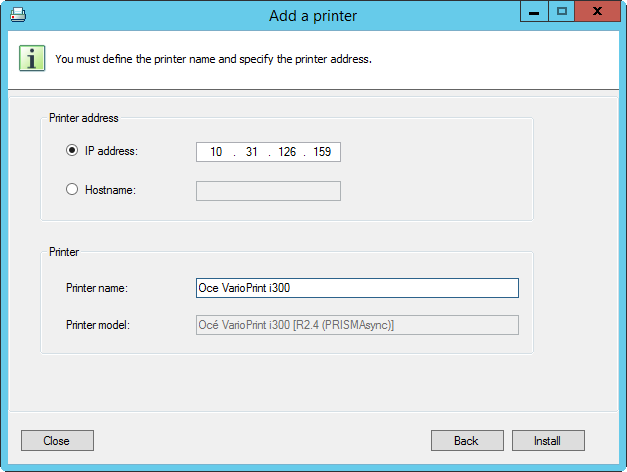
Click [Install].
You can configure the printer when the printer is installed and available for PRISMAprepare.
Click the [Destination] tab to configure the print queues.
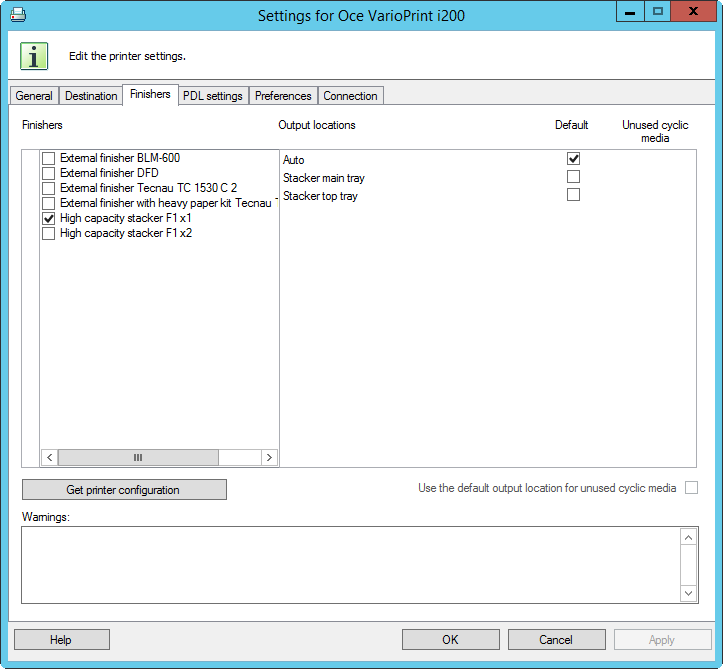
Click the [Finishers] tab to configure the finisher and/or the output locations.
Click [Apply] and [OK]. The printer is now available to PRISMAprepare.
After you have added your printer, you need to configure the application. Follow the steps in the next chapter, Configure the application