
It is important to perform the appropriate calibration procedures regularly. You can perform each calibration procedure separately. To ease the process of calibration, PRISMAsync Print Server offers an automated procedure. When you perform the automated color tasks, the calibration procedures will be processed automatically in the correct order and with limited operator interaction. The automated color tasks can perform:
Auto gradation adjustment
Shading correction
Media family calibration
G7 verification
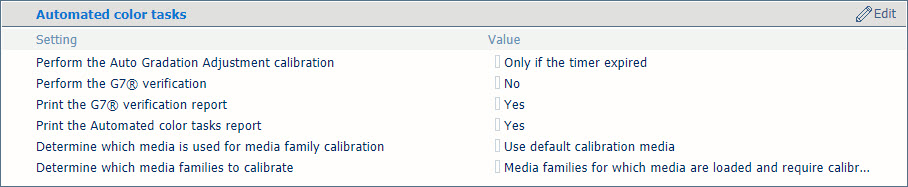
It is important to define the settings for the automated color tasks in the Settings Editor.
|
When you want to |
Settings |
|---|---|
|
Go to the automated color tasks settings |
Open the Settings Editor and go to: . 
|
|
Define when to perform the auto gradation adjustment calibration |
With this setting, you can determine when the auto gradation adjustment will be performed.
The advice is to always perform the auto gradation adjustment calibration within the automated color tasks. 
|
|
Define if you want to perform the G7 verification |
The G7 verification can be performed after a G7 media family calibration. 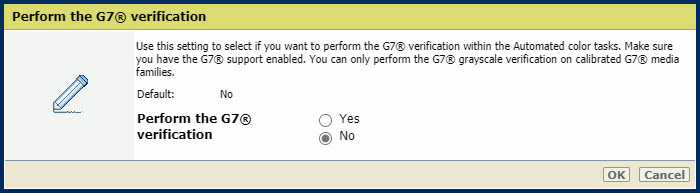
|
|
Indicate if you want to print the G7 verification report after the G7 verification is performed |
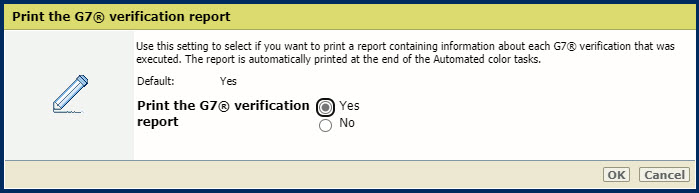
You can also download a detailed report of the performed G7® verification in the Settings Editor: . The result of every G7® verification is retained for four weeks. The latest 100 reports can be downloaded. 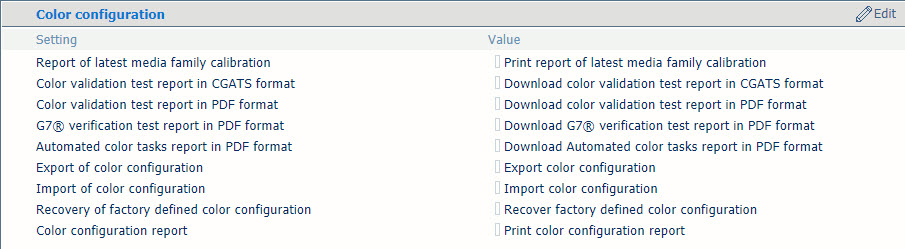 Color configuration
 |
|
Indicate if you want to print the automated color tasks report after the automated color tasks are performed |
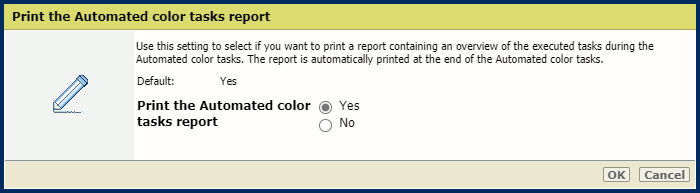
You can also download a detailed report of the performed automated color tasks in the Settings Editor: . The result of every automated color task is retained for four weeks. The latest 100 reports can be downloaded.
Color configuration |
|
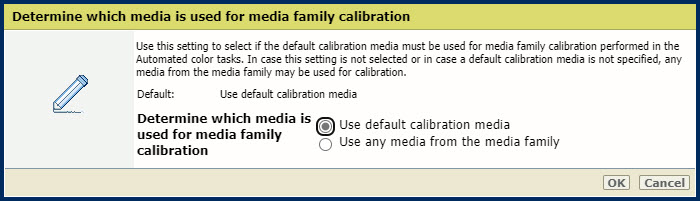
Define which media you want to use for the media family calibration |
|
|
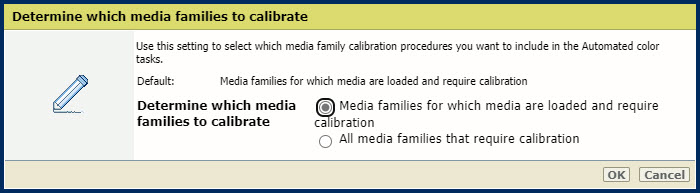
Define which media families you want to calibrate |
|
|
Define the media family calibration timer |
In you want media family calibration to be performed within the automated color tasks, you need to adjust the media family calibration timer. By default, the calibration timer for a media family is disabled (set to 0). If the calibration timer for a media family is disabled, the media family calibration will not be performed as part of the automated color tasks. To change the media family calibration timer, go to: . It is recommended to set the timer value so that the media family calibration is performed once a day. 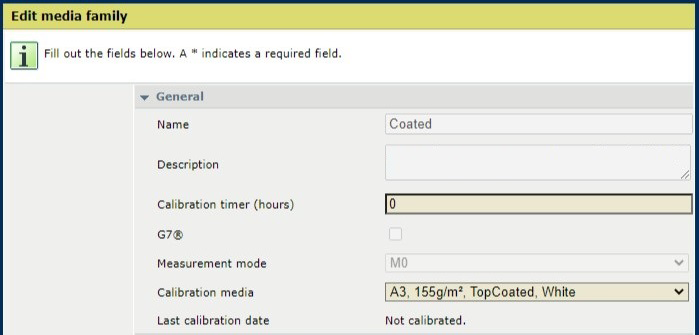
|
For all automated color tasks (except shading correction), the inline spectrophotometer is used. Use the following media for the automated color tasks:
Media sizes: A3 / 11" x 17", SRA3 / 12"x 18", 330 mm x 483 mm / 13" x 19"
Media weights for media type uncoated: 64 - 300 g/m² / 17 lb bond - 110 lb cover
Media weights for media type coated: 70 - 300 g/m² / 19 lb bond - 110 lb cover
i1Pro3 spectrophotometer (i1Pro2 also supported) when you want to perform the shading correction too.
Check if you have defined the required settings for the automated color tasks in the Settings Editor.
If necessary, load the calibration media.
Go to the control panel and touch .
 The automated color tasks
Touch [Automated color tasks].
You see the calibration tasks which will be performed according to the settings you defined in the Settings Editor.
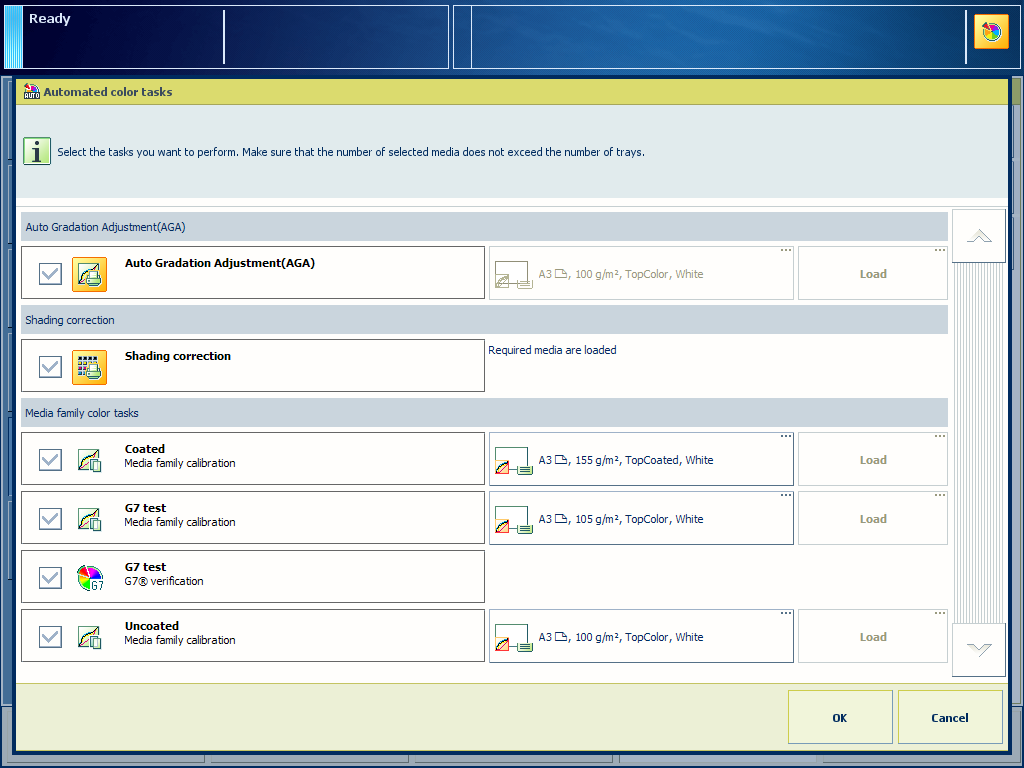
If preferred, deselect the task you do not want to perform.
Touch [OK] to start the first procedure.
Follow the instructions on the control panel.
After the automated color tasks have been finished, an overview of the performed tasks are presented on the operator panel. When a task has failed, it is marked with a warning sign. Dependent on the setting in the Settings Editor, a report with the overview of the tasks will be printed.
You can perform the failed task again via the separate procedure to obtain more information about the cause of the failure.