|
Configure colour defaults (1/2)
|
-
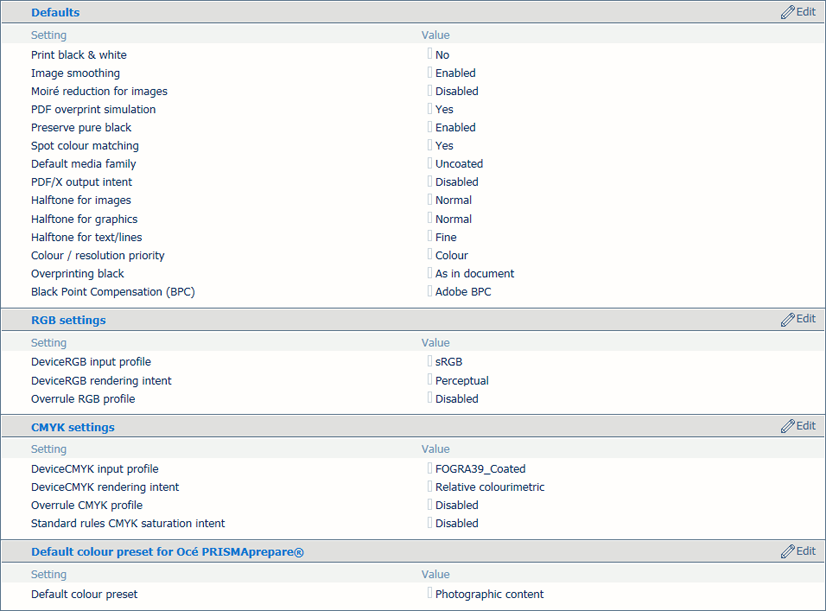
Enable [Print black & white] if jobs are printed in black & white by default.
-
Enable [Image smoothing] to apply Moiré patterns in all images regardless their resolution.
-
Enable [Moiré reduction for images] to reduce Moiré patterns in images with a resolution of 300 dpi or higher.
-
Enable [PDF overprint simulation] to make opaque objects look transparent. Underlying objects become visible. If this setting is disabled, the colours on top will knock out all underlying colours.
-
Enable [Preserve pure black] to apply pure black preservation when possible. Pure black preservation means that the colour black is composed of 100% K ink or toner. When pure black preservation is not possible or disabled, the colour black is composed of a mixture of C, M, Y, and K inks.
-
Enable [Spot colour matching] to apply spot colour matching, which indicates that spot colour definitions on the printer can be used.
-
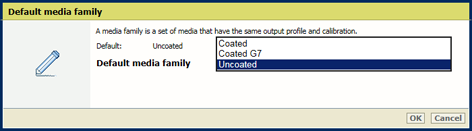
Use [Default media family] to define the default media family for print jobs that arrive without media family information
-
Use [PDF/X output intent] to define if PDF files are printed according to their embedded output intent. The DeviceCMYK input profile and the job ticket are ignored.
-
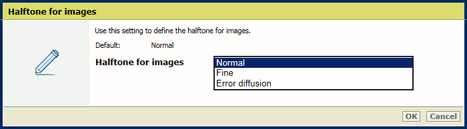
Use [Halftone for images] to indicate the default halftone for images.
-
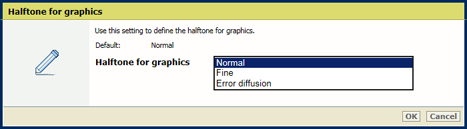
Use [Halftone for graphics] to indicate the default halftone for graphics.
|
|
Configure colour defaults (2/2)
|
-
Use [Halftone for text/lines] to indicate the default halftone for text and lines.
-
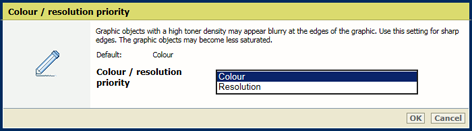
Use [Colour / resolution priority] if graphic objects with a high toner density may appear blurry at the edges of the graphic. Use this setting for sharp edges. The graphic objects may become less saturated.
-
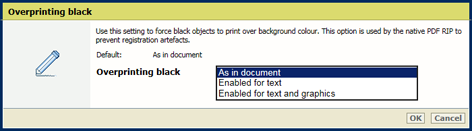
Use [Overprinting black] to indicate if you want to force black objects to print over the background colour. This option is used by the native PDF RIP to prevent registration artefacts.
-
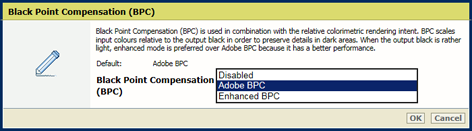
Enable [Black Point Compensation (BPC)] for the relative colourimetric rendering intent. Black Point Compensation scales input colours relative to the output black in order to preserve details in dark areas. When the output black is rather light, [Enhanced BPC] is preferred over [Adobe BPC] because it has a better performance.
|
|
Define Device RGB input profiles
|
-
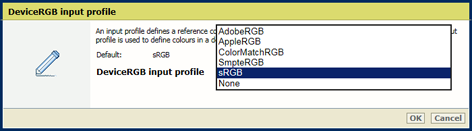
Use [DeviceRGB input profile] to select the default Device RGB input profile which defines a reference colour workspace for the RGB data of the objects in the print job.
-
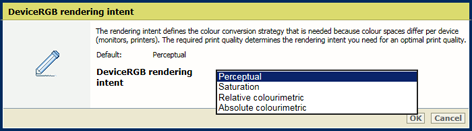
Use [DeviceRGB rendering intent] to select the default rendering intent which defines the colour conversion strategy for out-of-gamut colours.
-
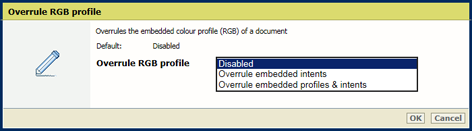
Enable [Overrule RGB profile] to overrule the embedded colour profile (RGB) of a document.
|
|
Define Device CMYK input profiles
|
-
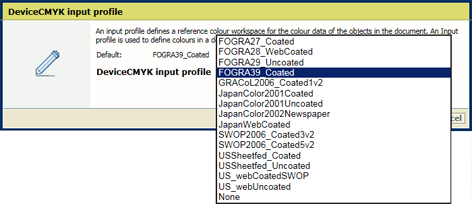
Use [DeviceCMYK input profile] to select the default Device CMYK input profile which defines a reference colour workspace for the CMYK data of the objects in the print job.
-
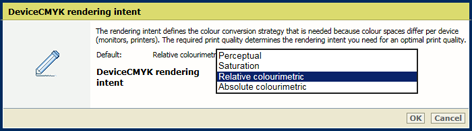
Use [DeviceCMYK rendering intent] to select the default rendering intent which defines the colour conversion strategy for out-of-gamut colours.
-
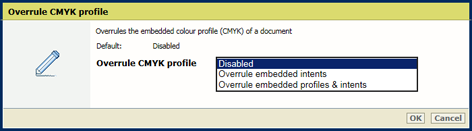
Enable [Overrule CMYK profile] to overrule the embedded colour profile (CMYK) of a document.
-
Enable [Standard rules CMYK saturation intent] to indicate how the CMYK saturation intent must be handled. By default, the colour management system preserves pure process colours. However, it can be required that the conversion must comply with standard colour management rules. Then, colour rendering occurs without pure process colour preservation. This setting is also available in the job properties.
|
|
Define the default colour preset for PRISMAprepare
|
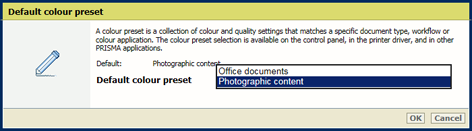
Use [Default colour preset] to indicate what colour preset must be used for PRISMAprepare documents.
|

 Colour defaults