
You can replace the Xtran pinch rollers without service assistance. The total amount of rollers over the full width of the printer is 32.
Video:
 Replace the rollers of the Xtran pinch.
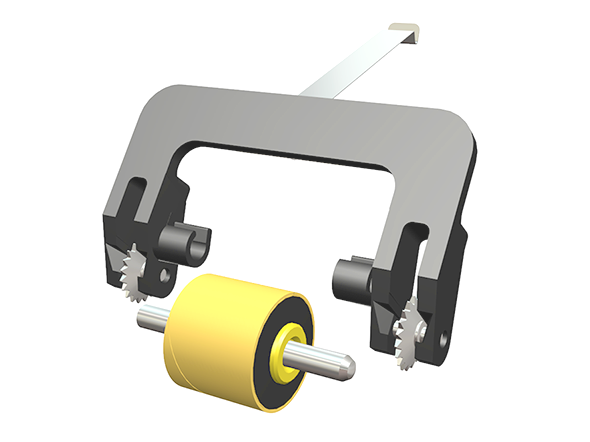
 The clamp and the roller with axis
Use Colorado M-series prescribed:
Microflex gloves for handling ink
Xtran pinch rollers, axis and clamps
Small screwdriver
Piece of paper (A3)
For information on the prescribed maintenance materials, see List of Colorado M-series maintenance materials.
Wear the prescribed gloves when contact with ink or maintenance materials is possible. Gloves should always overlap sleeves. Follow the Safety Data Sheets (SDS) guidelines carefully in order to ensure maximum safety.
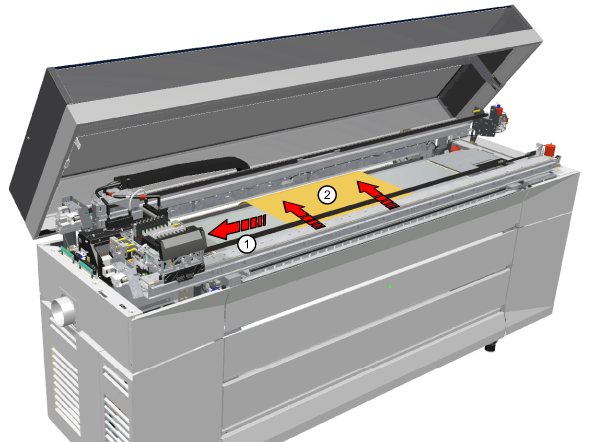
Touch the printhead carriage on the covered area only, otherwise you can damage the printheads.

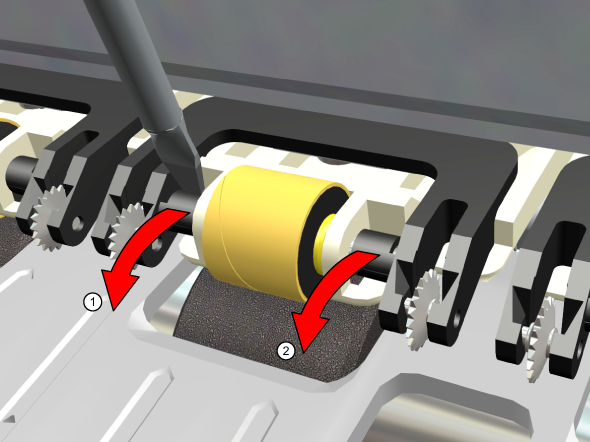
Use the small screwdriver to push the black plastic part of the axis on both sides away from the unit.
Only push at the top of the plastic part otherwise you will break the axis holder.


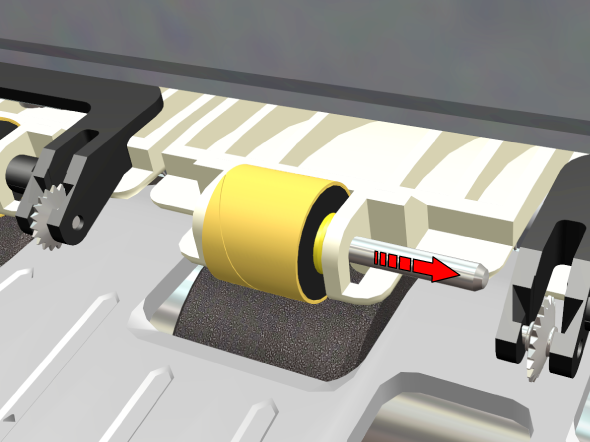
To ease installing the black clamp, lift the roll upwards slightly.