
When you have replaced one or several printheads.
To help you to solve specific print quality issues, as described in the chapter Troubleshooting.
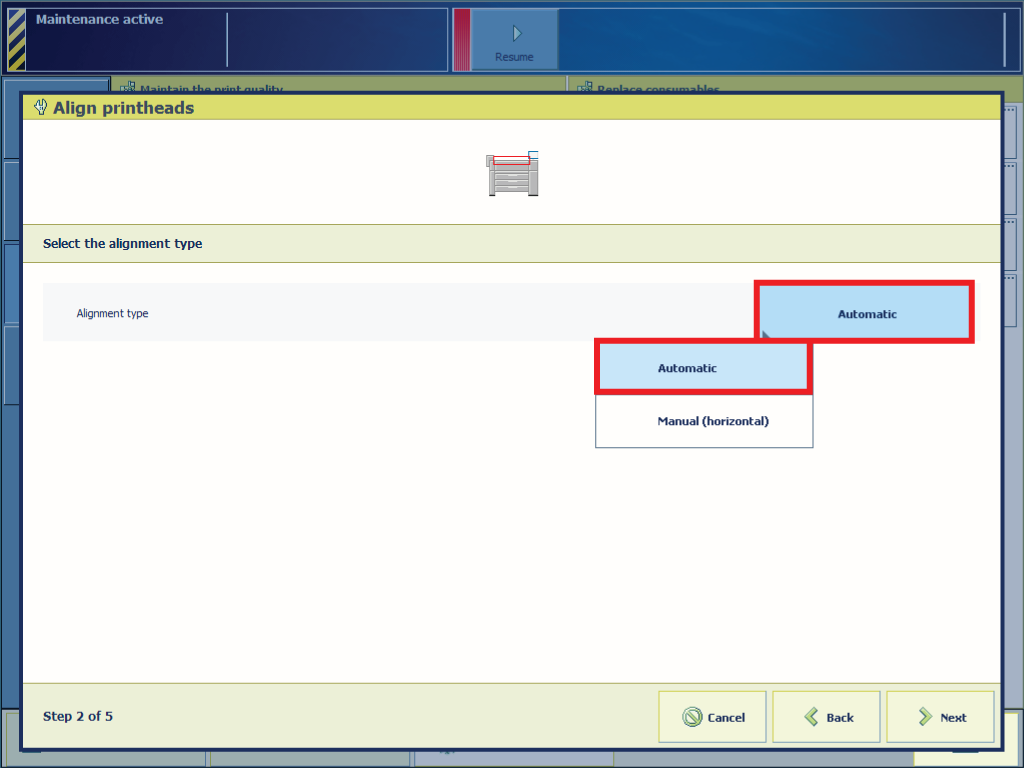
When you perform this procedure, the manual alignment values that you entered earlier are set to zero (See Align printheads - Manual (horizontal)).
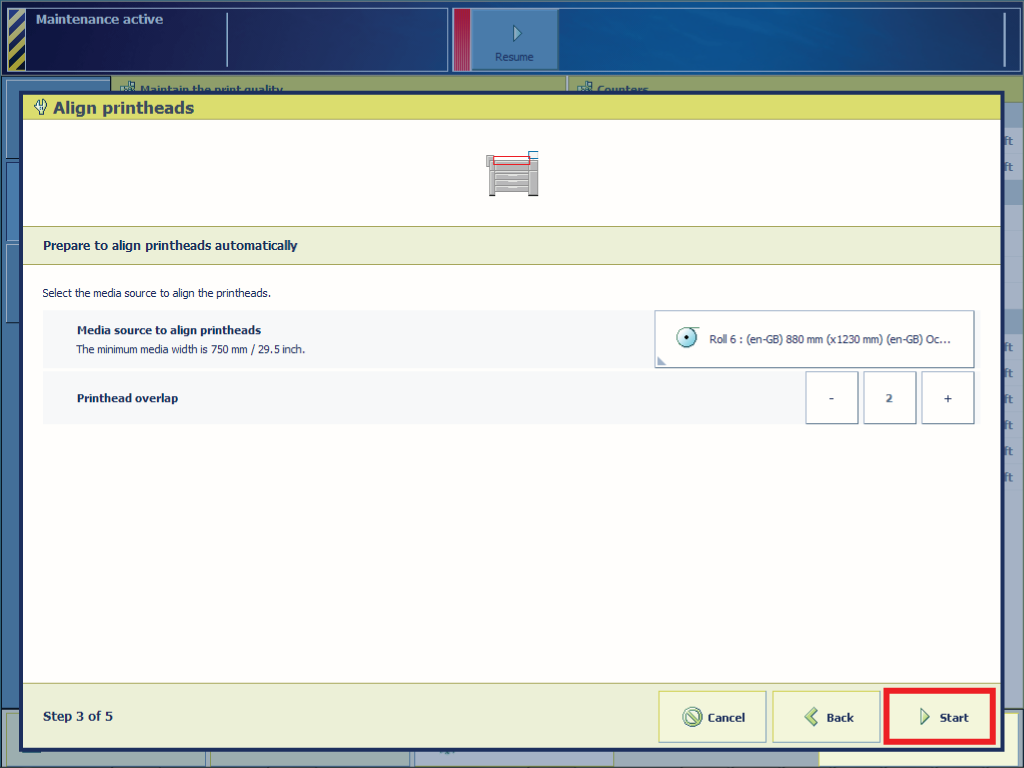
It is recommended to select the media type that you used when the problem that you want to solve occurred. The minimum media width to align the printheads is A0 (841 mm).
When you have recently placed a new printhead and the automatic printhead alignment fails, follow the Replace Printheads procedure to reset the new printhead.
When the printhead alignment fails, repeat the automatic printhead alignment procedure. When the printhead alignment fails again follow the procedure to solve printhead alignment failure.