In the Job Information and Parameters panel you can find the settings to define the position of the print job on the table.
There are two reference points for each zone, one on the left and one on the right. You can also define three custom reference points to mark a specific position on the table. In the Job Information panel you can select which reference point must be used to define the offset values.
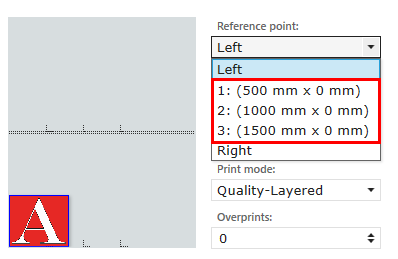
Left : the offset values reference the bottom left corner of the image or media
Right : the offset values reference the bottom right corner of the image or media
Custom reference points : the offset values reference the bottom left corner of the image or media.
When a custom reference point is selected, the horizontal and vertical distance cannot be changed manually.
Open the [Settings] tab, section: [Printer] and define the horizontal and vertical offset per point. The custom reference points are identical for Zone A and B.
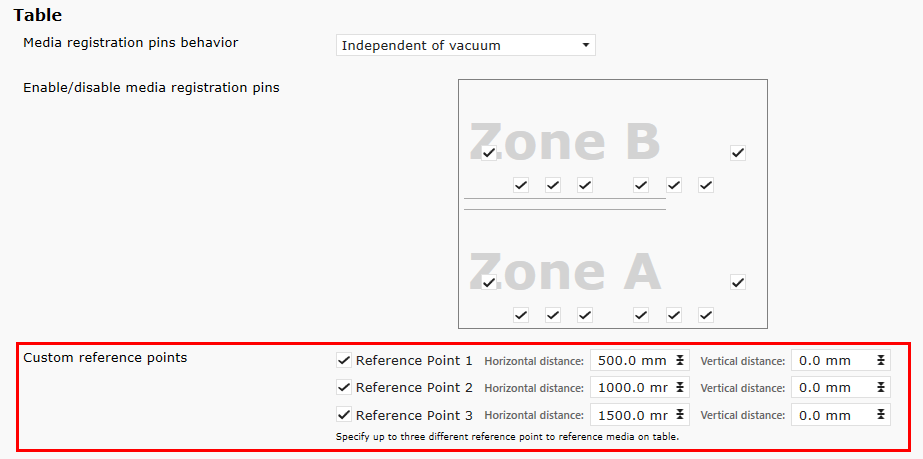
The points reference the bottom left corner of the image or media.
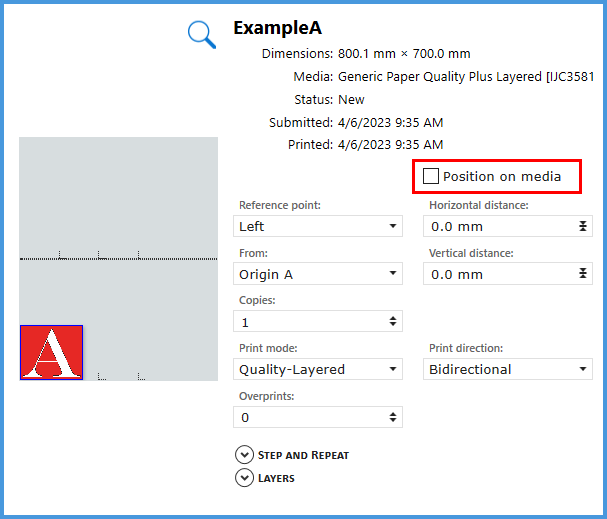
When Position on media is OFF, you can only set the offset values for positioning the image.
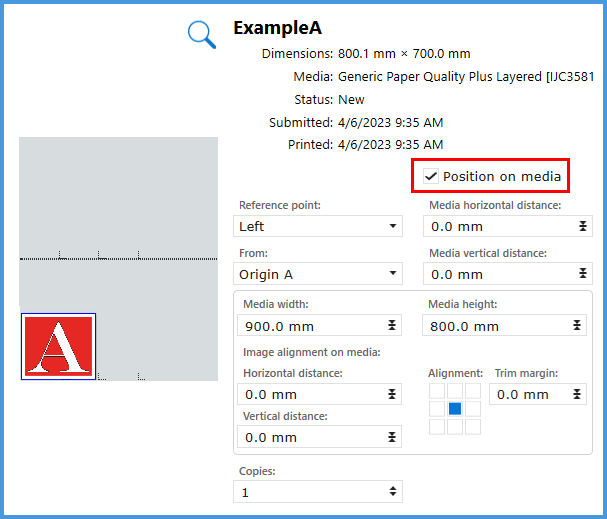
When Position on media is enabled, you can set the offset values for positioning of the media and also the positioning of the image on the media.
[Position on media] is not available for batch jobs. However it can be enabled for the individual jobs in the batch job.
When [Position on media] is enabled, there are some extra settings are available:
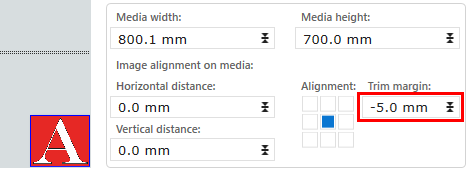
Media Width and Height - to set the media size.
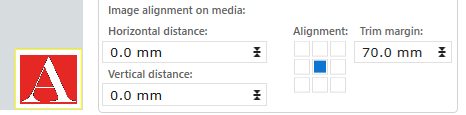
Image alignment on media - with the image offset values of the image on the media
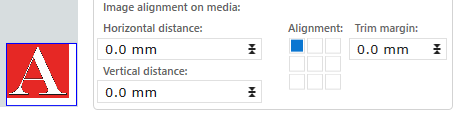
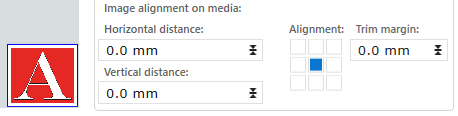
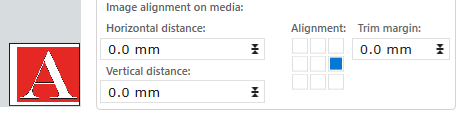
Alignment - to select a position of the image on the media.
Select a position in the [Alignment] icon to align the image on the media. The horizontal and vertical distance are related to the selected alignment.
When your image size is larger than the media size, the image automatically will be trimmed. Trimming is always enabled when [Position on media] is enabled.
In the preview in the Job Information panel you can check whether the image is trimmed or not:
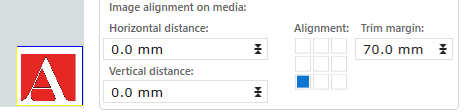
Yellow line: This edge of the image is trimmed.
Blue line: There is no trimming.

You can set a trim margin manually. The trim margin defines the area of the media where not will be printed. When in that area the image is positioned, the image will be trimmed.
The trim margin is related to the media size, not to the image size. Always check the preview. Depending on the alignment settings the outcome can be very different.
Full bleed
When you enter a negative value as trim margin, the image will be printed full bleed
After you have entered the settings, use the registration pins and the table rulers to place the media on the corresponding location on the table.