
When you have submitted your jobs, you can still manage them via the submitted jobs list.
You can switch the active printer while the submitted jobs list is displayed.
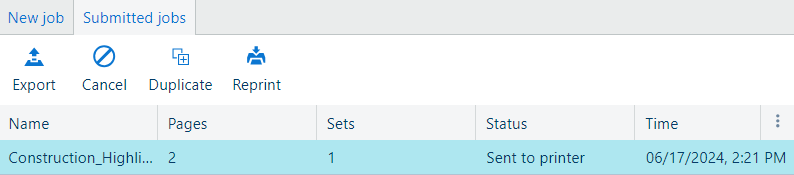
Open the pane with the submitted jobs list. Select the required job in the submitted jobs list to perform any of the actions described in the table below.
|
Action |
Description |
|---|---|
|
Cancel a job after submission |
Click on the cancel icon. This action is available only when a job has not been printed yet for plotWAVE/colorWAVE printers, or has not been fully submitted yet to the spooler for imagePROGRAF printers. The job status changes into [Canceling]. The submission of the documents to the printer is stopped. The job appears as [Canceled] in the list. You still can:
|
|
Delete a job |
Click on the remove icon. This action is available only when a job can be deleted. The selected job is deleted from the list. |
|
Export a job |
Click on the export icon. The selected job is exported for later use. For more information, see Export a job from the submitted jobs list. |
|
Duplicate |
Click on the duplicate icon. The job is duplicated to the Job pane ([New job] ) and uses the same settings as the original job. If necessary, edit the settings. |
|
Reprint a job |
Optionally, move your mouse over the selected job and change the number of copies. Click on the reprint icon. The job is submitted to the printer. It appears in the submitted jobs list. The job name is extended with a number, for example (1). |
You can select which information is displayed in the submitted jobs list. Click on the three vertical dots on the right-hand side of the table header.
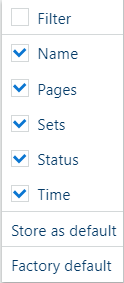
In a new window, you can select and deselect the displayed fields, store your selection as the default, and reset the selection to factory defaults.
When you select [Filter], text boxes become available in the submitted jobs list, allowing you to filter the documents.