
Before you scan to Microsoft 365, make sure the Microsoft 365 environment is set up. For more information see, Setting up the Microsoft 365 environment.
Before you scan to Microsoft 365, make sure the Microsoft 365 environment is defined as an external location. For more information see, Create an external location (Microsoft 365).
You can create a template with Microsoft 365 as destination to easily submit your job. For more information, see Create a new template.
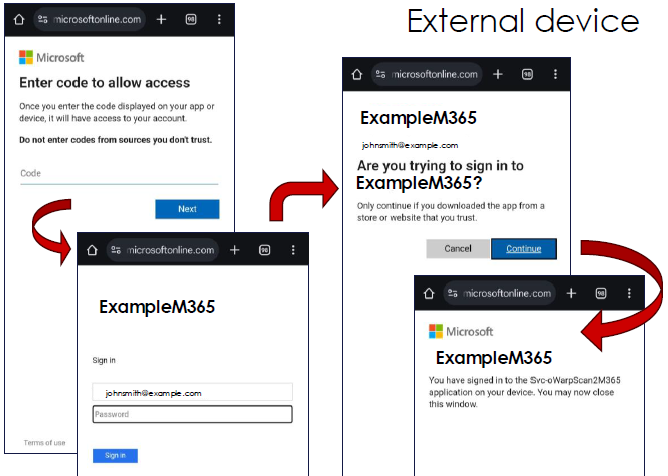
This process is completely managed by Microsoft.
Once the user is logged in, a white bust icon appears at the top of the user panel, with the username below it.
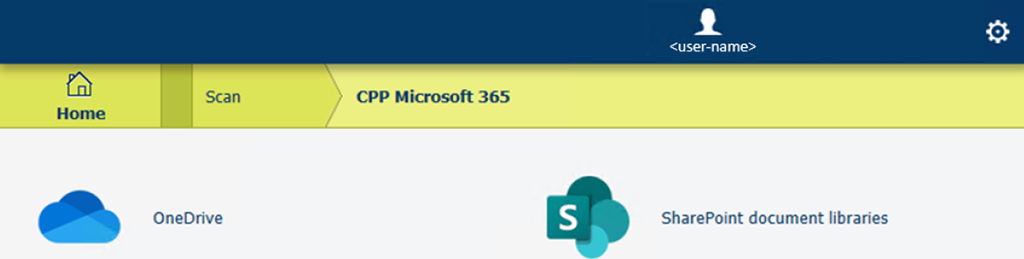
The breadcrumb bar at the top can be used to browse to higher levels in the folder structure.
to scan to the same location, tap the green button.
to scan to another location on the same Microsoft 365 cloud server, change the destination path and tap the green button.
If you change the Microsoft 365 cloud server, a different session will be started.