
You can print the verification chart on a specific media to verify if the media registration for that specific media is optimal.
You cannot print the verification chart on media that you can only print 1-sided because the verification chart is 2-sided. Use your own job to verify if the media registration is optimal.
Examples of 1-sided media are tab sheets and transparency media with paper backing.
Before you print the verification chart, make sure that the printer is warmed up. The printer must have printed for at least 20 minutes.
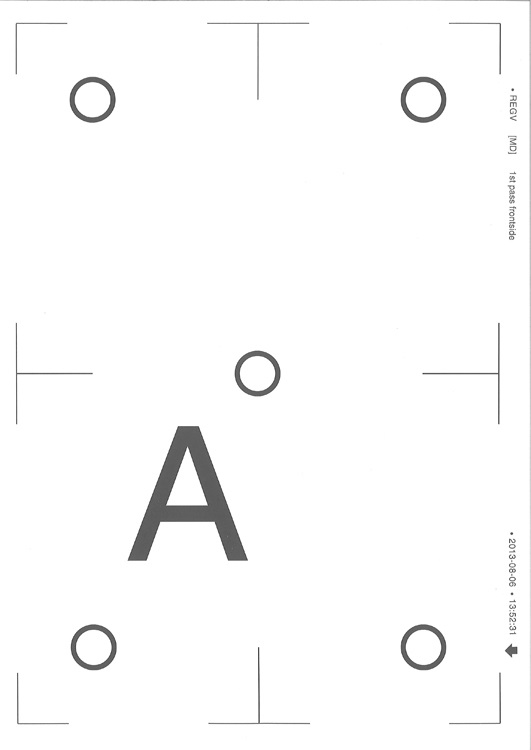
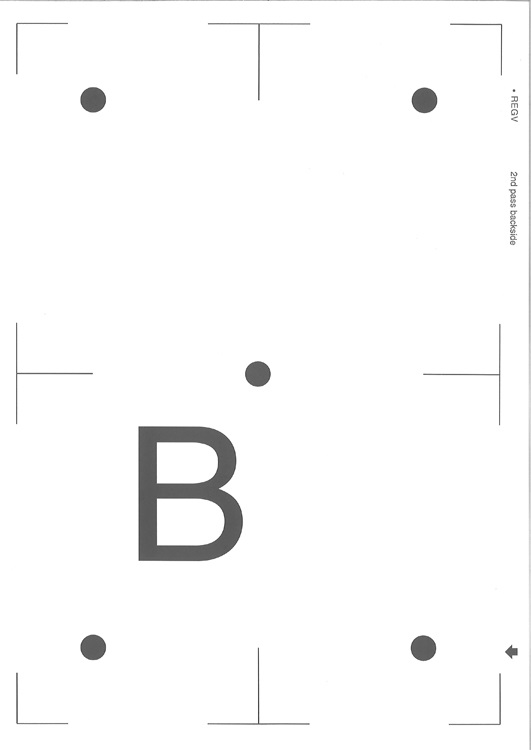 Front side (circles) and back side (dots) of the verification chart for media registration
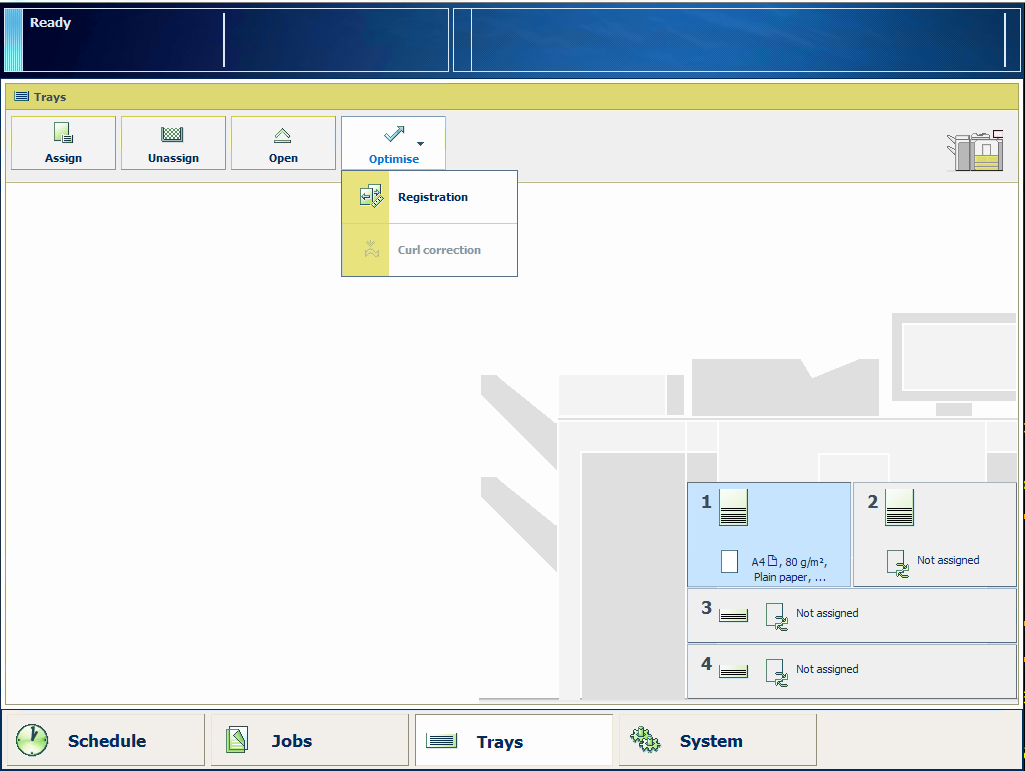 Print the verification chart via the trays view
The verification chart is printed and you can verify the media registration for the selected media.
The verification chart has an optimal result when the paper path is filled. Therefore three blank sheets precede the verification chart and two blank sheets are delivered after the verification chart is printed.
You are not charged for the blank sheets.
You must use the lines in the corners of the verification chart to measure the registration for manual registration adjustment.