
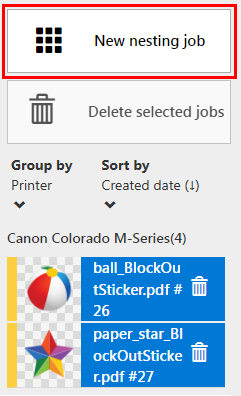
In PRISMAguide XL you can select multiple jobs to create one print job. The nesting is done rectangle based.
The button [New job] changes to [New nesting job].
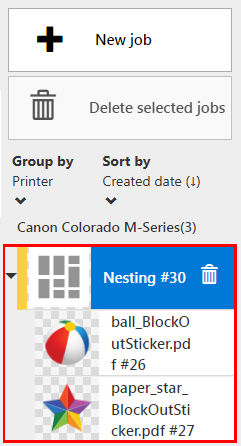
The media layout must be completed before a job can be added to a nesting job.
There are 3 tabs for viewing and changing the settings:
[Overview]
The [Overview] tab displays a summary of your nesting job.
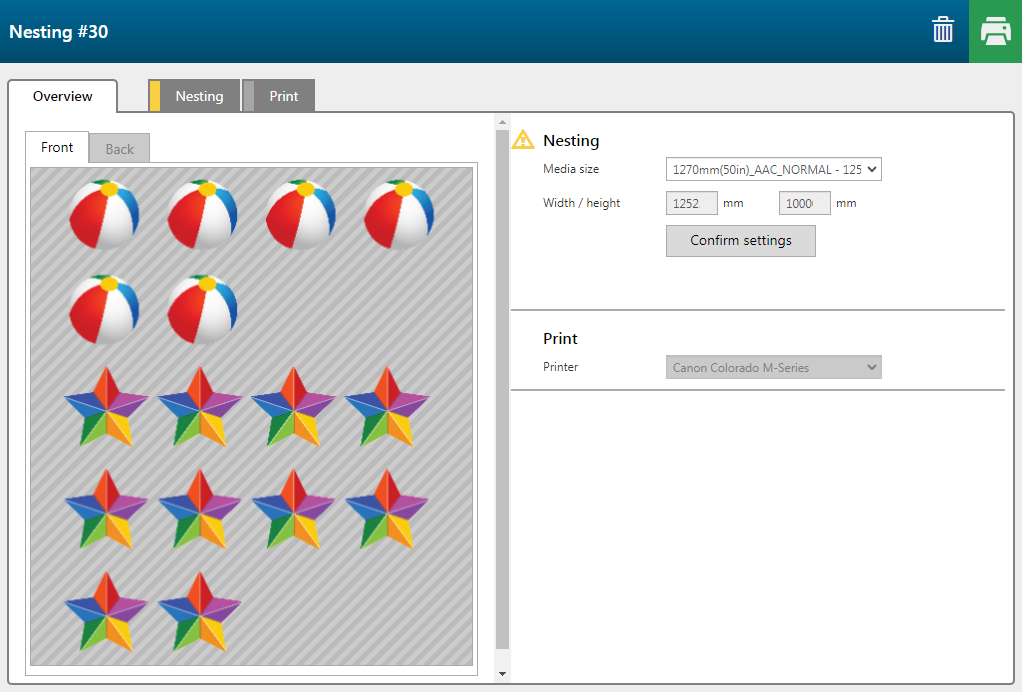
[Nesting]
In the [Nesting] tab you can change the nesting job settings.

|
Setting |
Description |
||
|---|---|---|---|
|
[Media size] |
Choose the size of your media. |
||
|
[Width / height] |
When you choose [Custom], you have to enter the size manually. |
||
|
[Allow rotation] |
Allow artwork to rotate to fit on the media. |
||
|
[Spacing] |
Add space between the separate jobs. |
||
|
[Horizontal / vertical margin] |
Add margins on the outside of the printed space. |
||
|
[Cut options] |
[None] |
No cut paths added. |
|
|
[Cut all jobs] |
Creates a rectangular cut path around each job within the nest. |
||
|
[Cut jobs without cut data] |
Creates only a rectangular cut path around each job that does not have a cut path defined. |
||
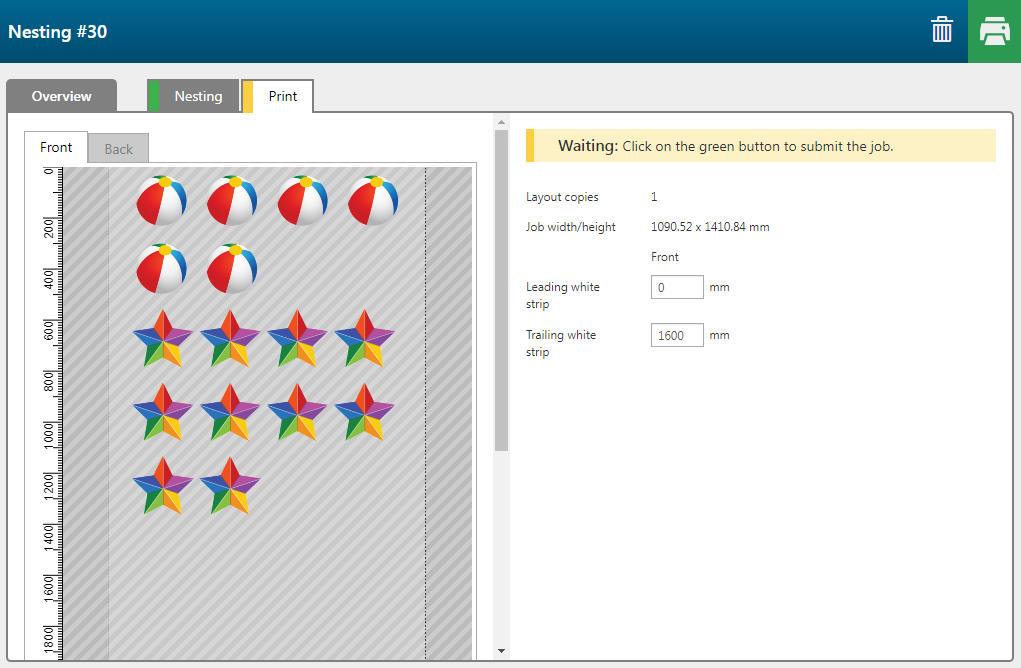
[Print]
The [Print] tab shows a graphical representation of the print surface and allows you to change the print related settings.
The preview shows only the first 5 meters and the last 5 meters.

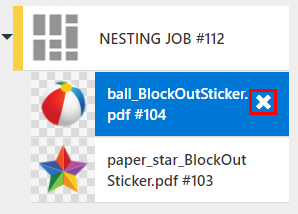
If you want to change the settings in a singular job that is in a nesting job, you must remove the job from the nesting job. Then change the settings and add it to the nesting job again.
|
Remove a job from a nesting job |
|
|---|---|
|
|
|
In the job list the job is now placed outside the nesting job. |
|
|
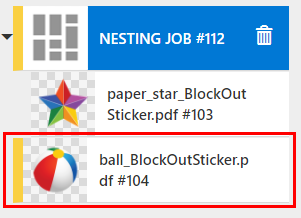
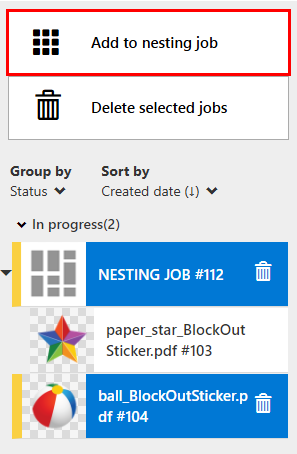
Add the job to the nesting job |
|
|---|---|
|
|
|
When the job is added to the nesting job the settings of the job cannot be changed anymore. |
|
|
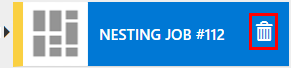
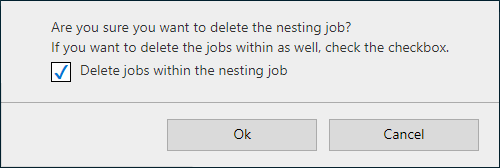
Delete a nesting job |
|
|---|---|
|
|
|
|