
This topic describes how you can create a recipe that helps you to create new applications.
For this example we want print a glass table top with a fixed size. The table top has a diameter of 60 cm. We want it to print on the backside of the media. Also we want to add a logo and a white layer.
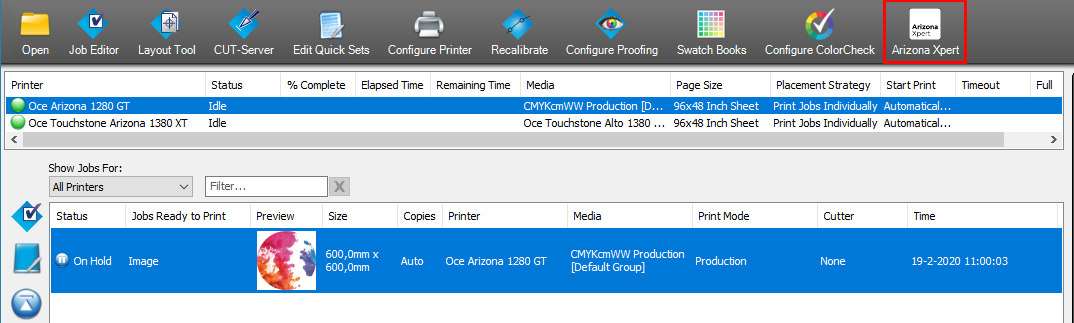
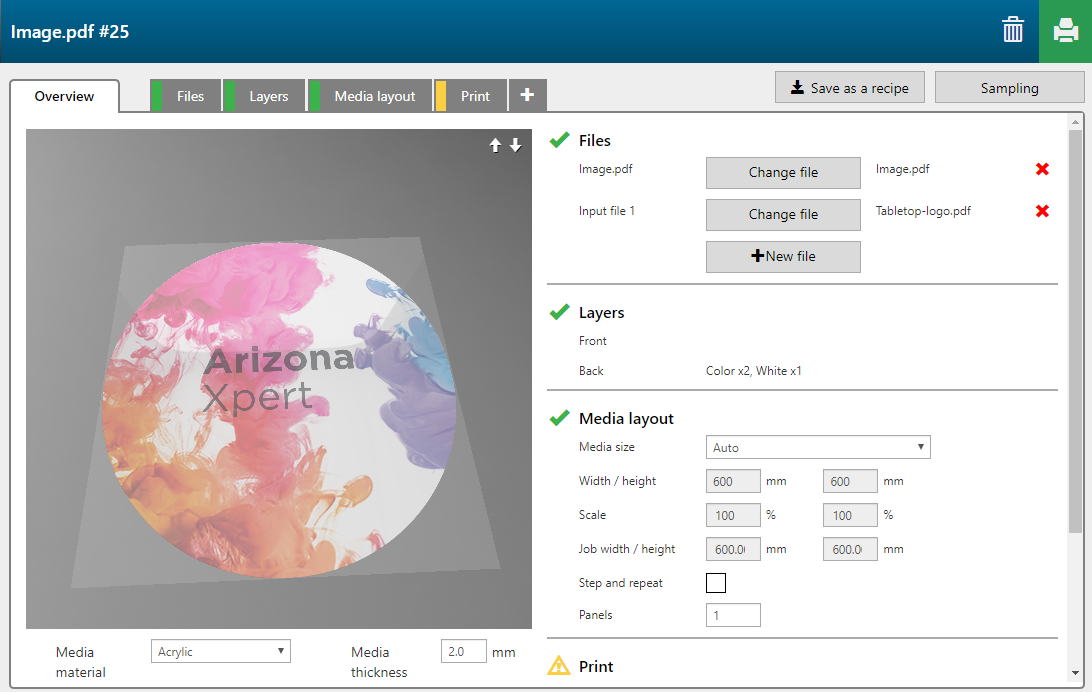
A new Arizona Xpert Engine job is created.
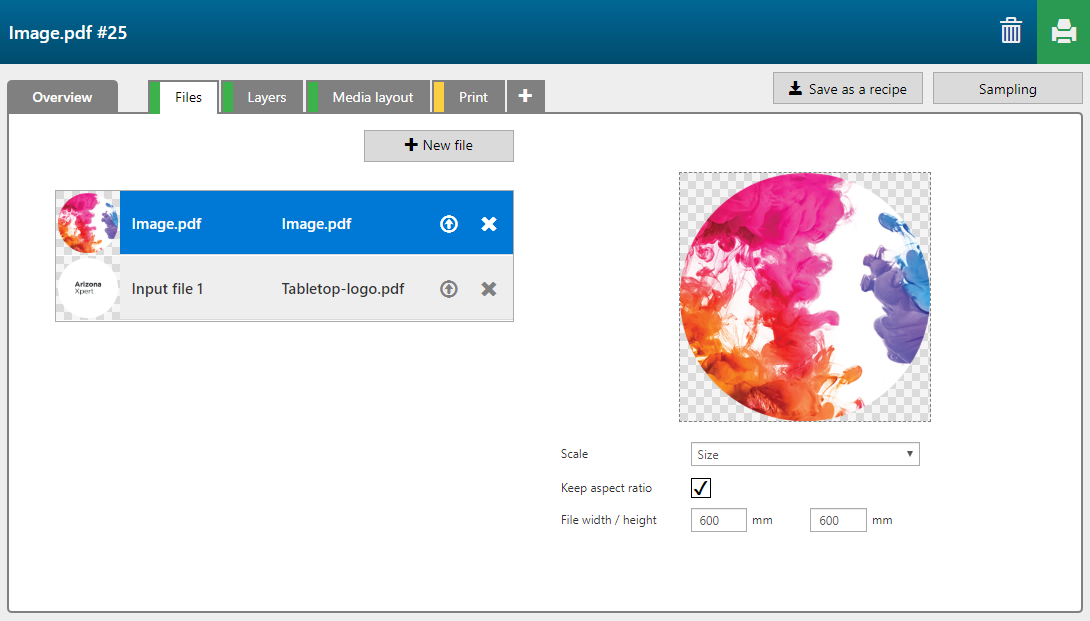
In the [Files] tab one file is present: Image.pdf
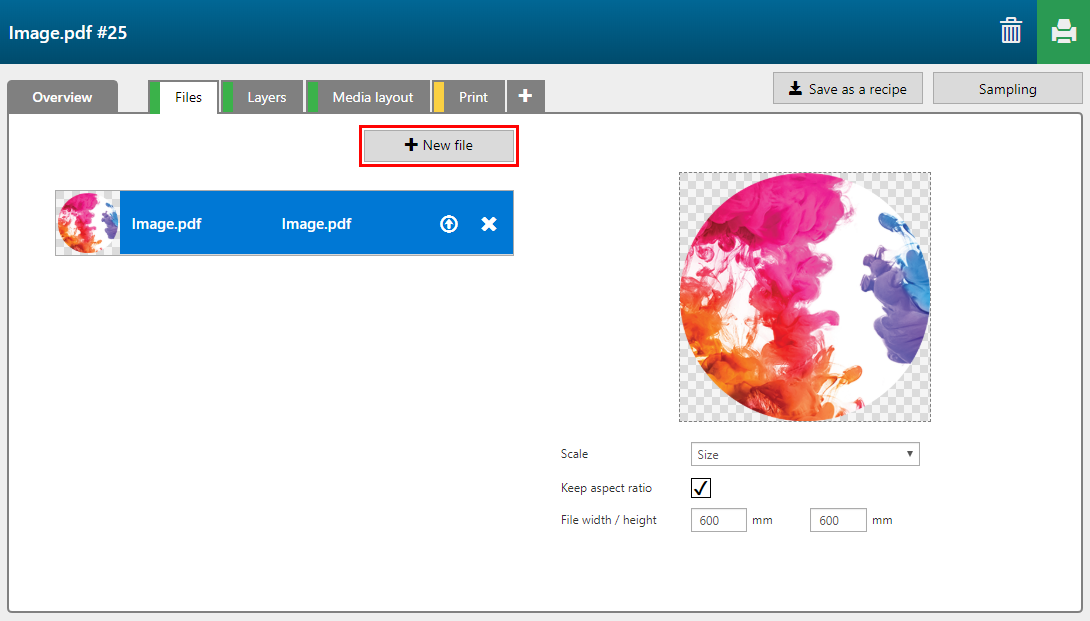
In this case a logo and a circle that matches the size of the table top.
The pages and layers in the PDF will be recognized in Arizona Xpert Engine. You can assign these pages or layers as input to a print layer.
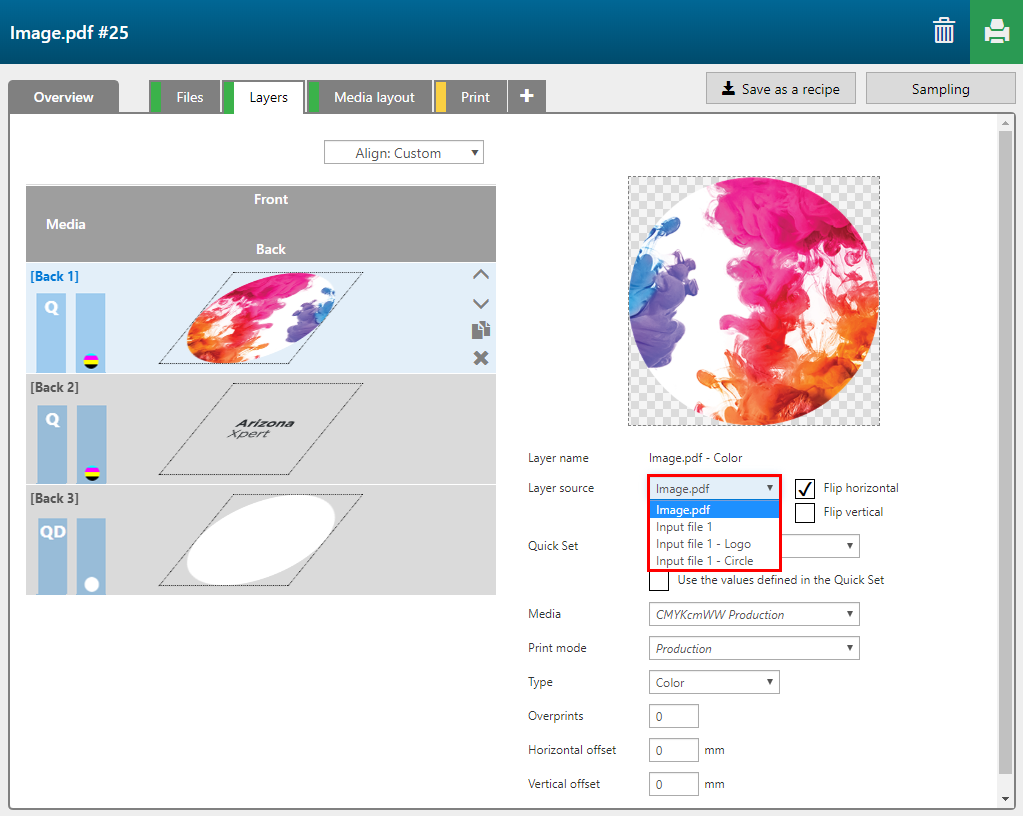
Create 3 back layers, using the buttons and menu. Assign [Layer source] and [Type] to the print layers.
Back 1
[Layer source]: Image.pdf
[Type]: Color
Back 2
[Layer source]: Inputfile1-Logo
[Type]: Color
Back 3
[Layer source]: Inputfile1-Circle
[Type]: Image Area mask
Tick the checkbox [Flip horizontal] for all layers because the image is printed on the back side.
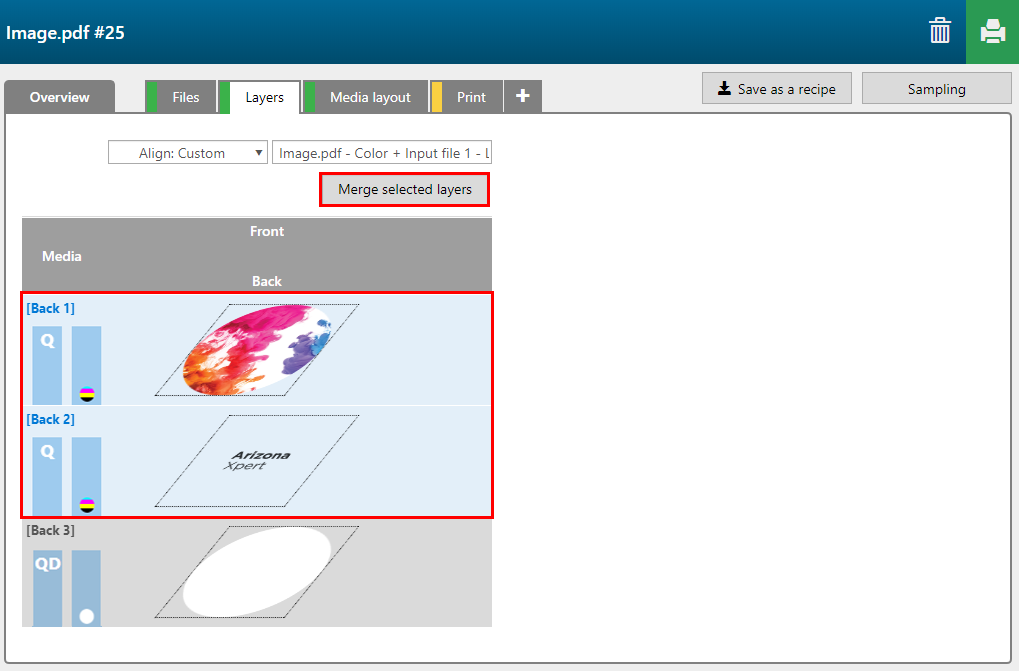
When the two layers are merged, they will be printed in a single pass.
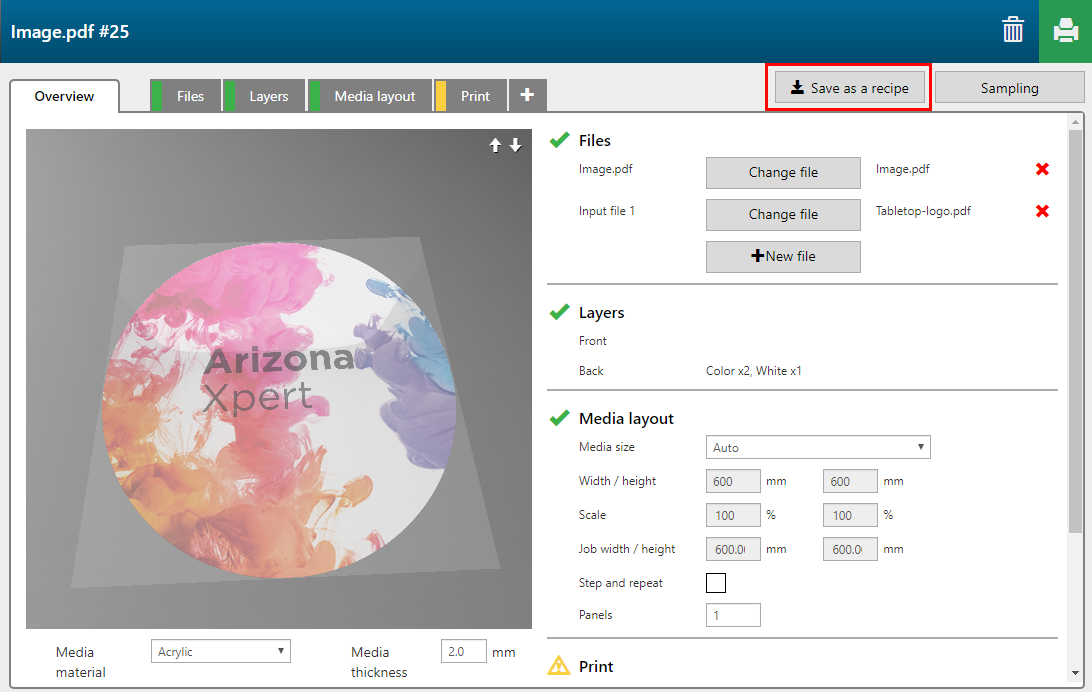
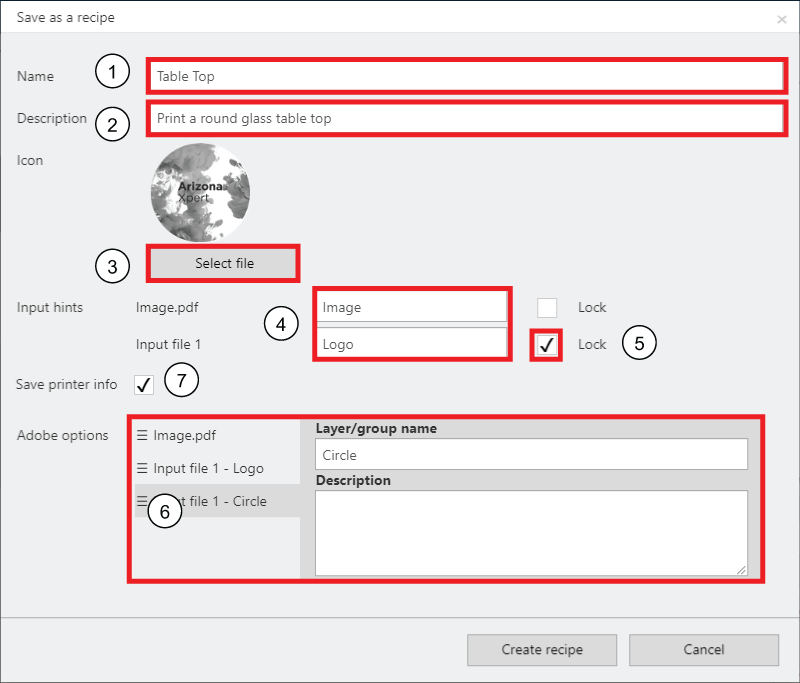
Define a name for the new recipe
Add a description of the functionality.
You can upload an icon to identify the recipe in the Arizona Xpert Engine user interface.
Define input hints for the type of input files that are needed to create an application using the new recipe.
Tick the [Lock] check box of the files you want to embed in the recipe.
The locked files will be added to the design when you apply the recipe to a new application.
If you want to use the recipe in Arizona Xpert Extensions define the names and descriptions of the layers/ groups.
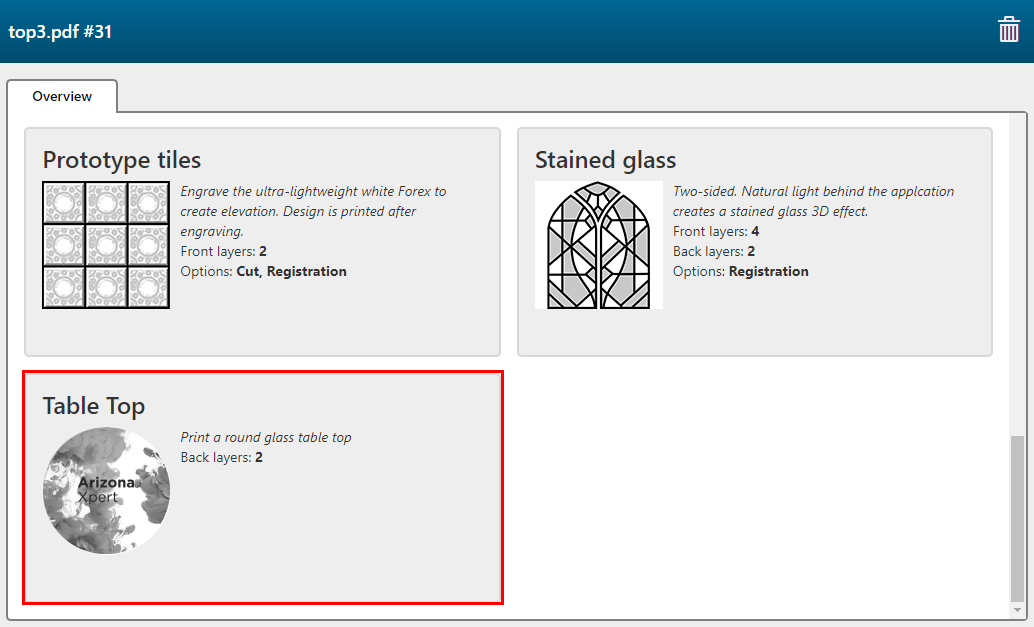
Your recipe is added to your recipe collection and is ready to be used for new applications.
You can also export the recipe for use in Arizona Xpert Extensions. See Export a recipe.