
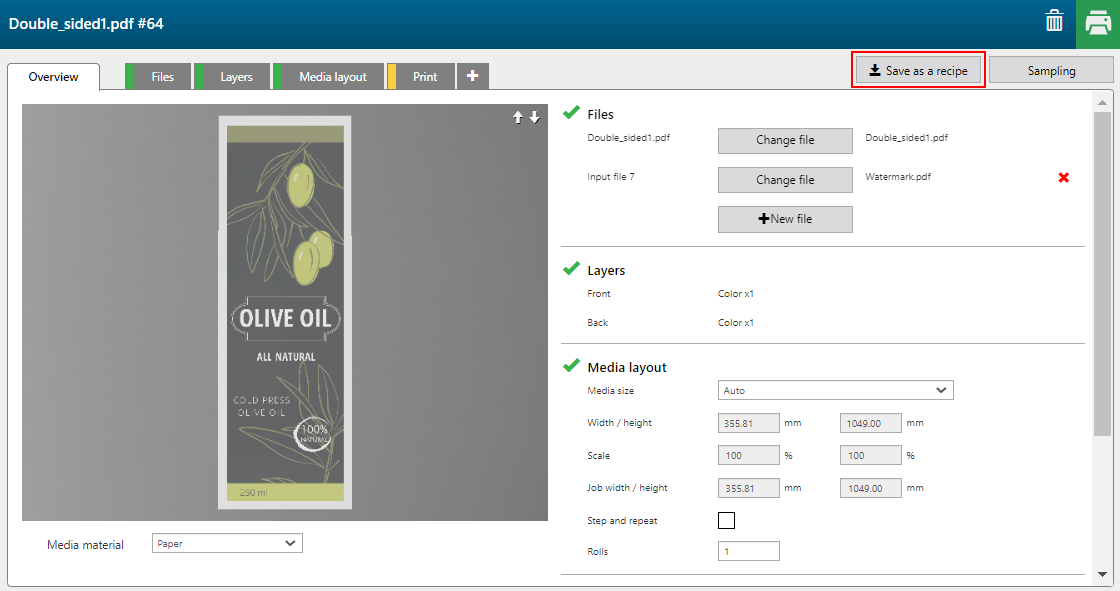
In this example, we want to save the application we created earlier as a recipe. See: Create a custom application.
The recipe will include the logo on the front side, its offset values, and the merging of Front 1 and Front 2 layers.
|
Setting |
Description |
|
|---|---|---|
|
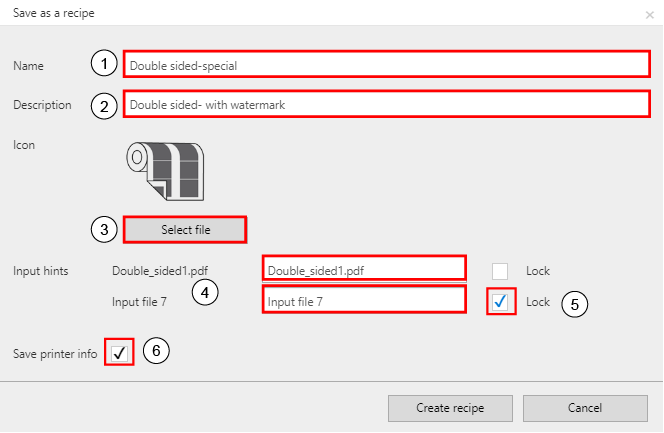
1 |
[Name] |
Define a name for the new recipe |
|
2 |
[Description] |
Add a description of the functionality. |
|
3 |
[Icon] |
You can upload an icon to identify the recipe in the PRISMAguide XL Engine user interface. Click on [Select file] to browse and select an image. |
|
4 |
[Input hints] |
Define input hints for the type of input files that are needed to create an application using the new recipe. |
|
5 |
[Lock] |
Tick the [Lock] check box of the files you want to embed in the recipe. The locked files will be added to the design when you apply the recipe to a new application. |
|
6 |
[Save printer information] |
Check out [Save printer info], if you want to use the recipe for a specific printer only. Otherwise leave the checkbox unchecked. |
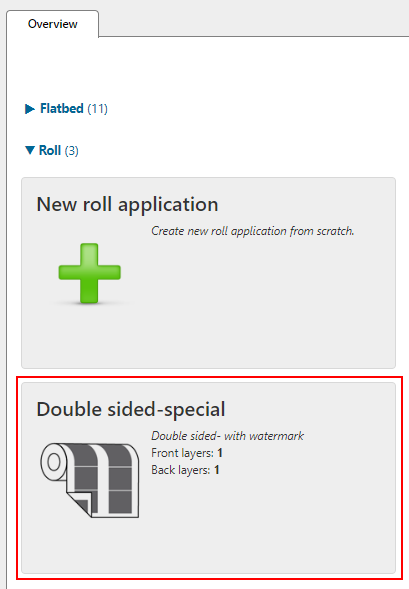
The recipe is now available for new applications.
Created recipes can be exported from PRISMAguide XL Engine.
See Export a recipe for the procedure.