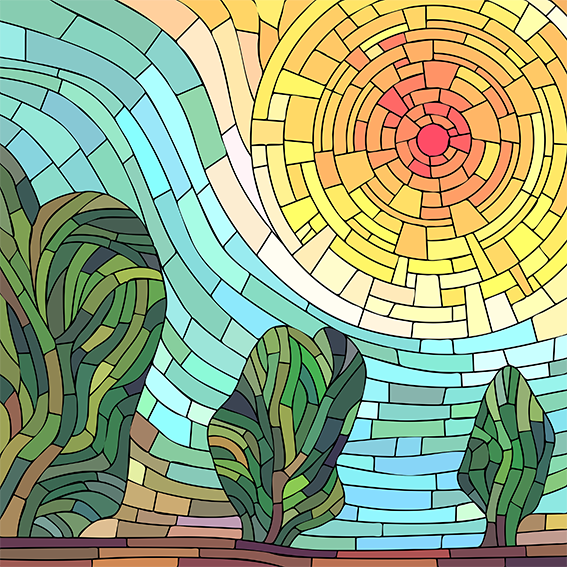
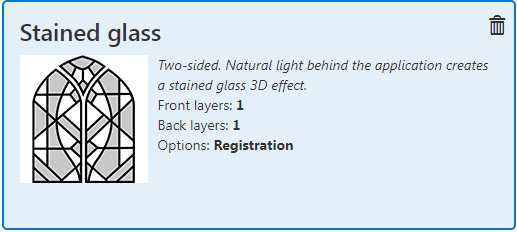
The [Stained glass] recipe creates an application that, illuminated from behind, gives a stained glass 3D effect.
In the example below, the 2 page PDF contains the following information.
One page with the image in spot color 1 to apply black ink.
One page with the color image.
Check / select the settings for:
[Printer]
[Media]
[Print mode]
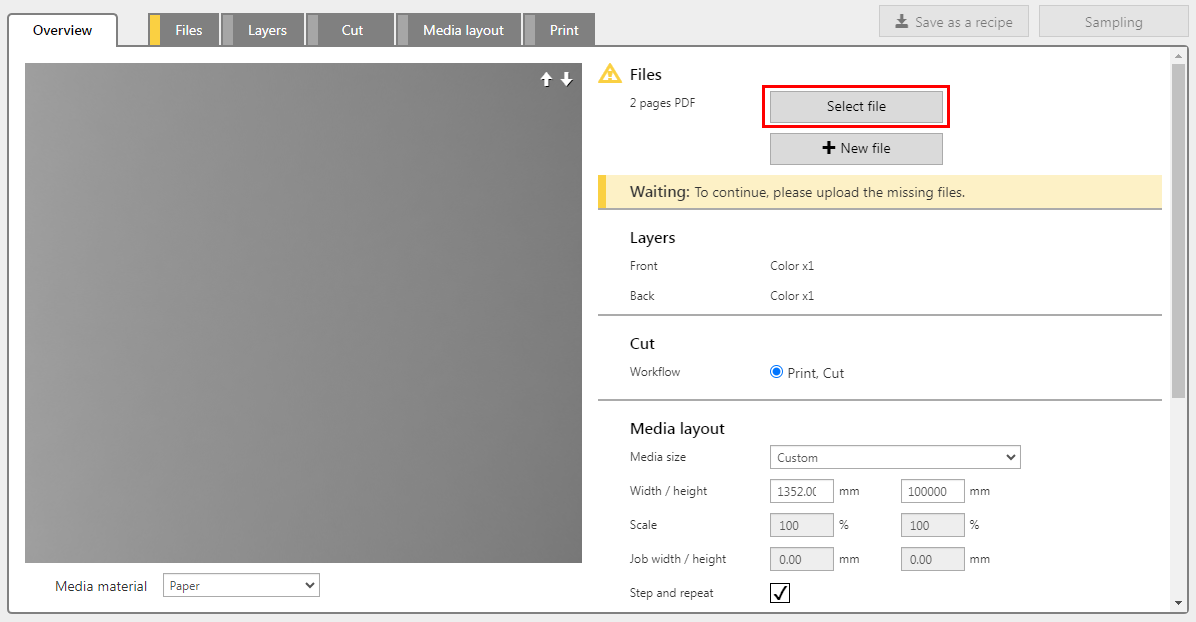
The recipe automatically assigns the settings per layer. Check the settings and adjust if necessary.
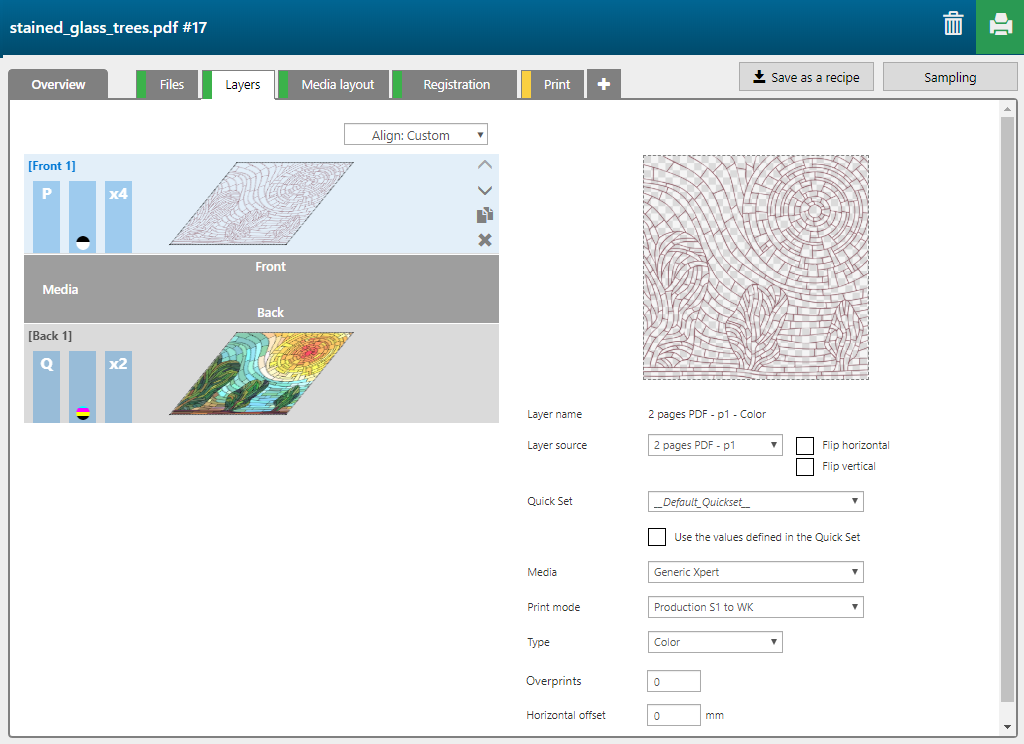
The [Stained glass] recipe contains 6 layers, 4 printed on the front side of the media, 2 printed on the back side.
|
Layer number |
[Layer name] |
[Layer source] |
[Print mode] |
Remark |
|---|---|---|---|---|
|
[Front] 1 |
2 pages PDF - p1 - Color |
2 pages PDF - p1 |
Production S1 to WK |
Spot color 1 is printed in both black and white in order to get a grey-ish mix that resembles lead.. [Overprints] = 3 layers, so in total 4 layers. |
|
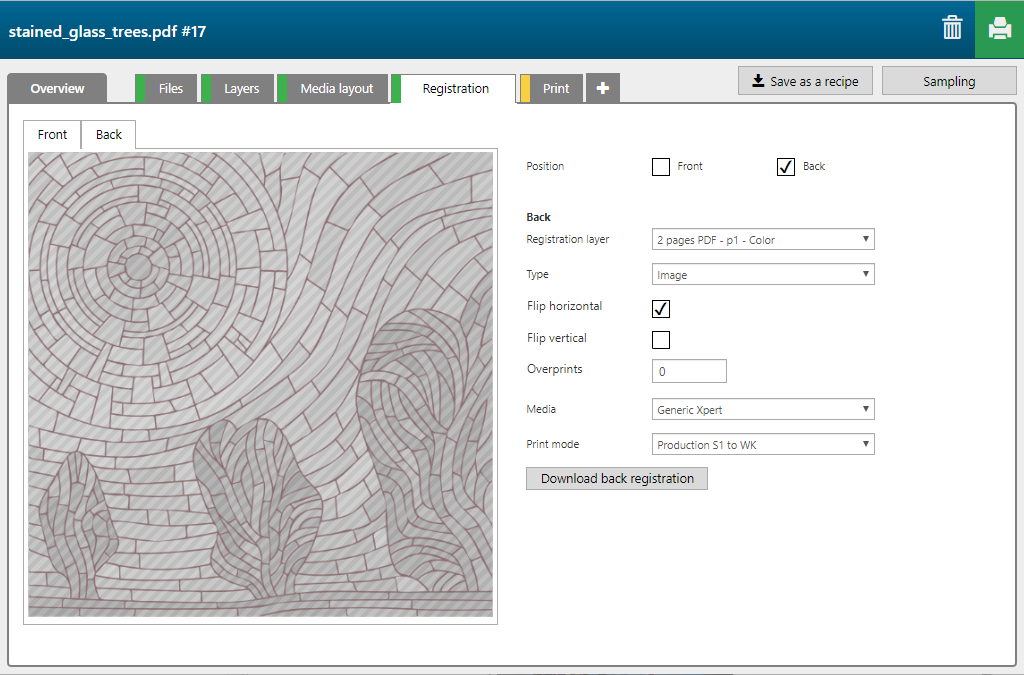
[Back] 1 |
2 pages PDF - p2 - Color |
2 pages PDF - p2 |
Quality |
The image is printed in CMYK. [Overprints] = 1 layer, so in total 2 layers. |
In this case, we use the lead lines image to properly register the front and the back