
With automated workflows you have the opportunity to assign properties to jobs addressed to a particular print queue. For example for jobs for a specific customer, for jobs that are submitted from a specific application, or for jobs that have the same job properties.
There is one default automated workflow. You can create custom automated workflows.
 Automated workflows
|
When you want to |
Solution |
|---|---|
|
Go to the automated workflows |
|
|
Add an automated workflow |
|
|
Copy an automated workflow |
|
|
Edit an automated workflow |
|
|
Delete an automated workflow |
|
|
Restore the factory defined automated workflow |
|
|
Set the default colour preset for an automated workflow |
|


|
Automatic workflow setting |
Description |
|---|---|
|
[Queue name] |
Name of the automated workflow. For LPD/LPR printing this name is the name of the queue. The label name of a job that has used an automated workflow, also refers to this name. |
|
[Description] |
Description of the automated workflow. |
|
[Overrule job ticket] |
Job settings that are defined on other locations, are by default ignored to ensure that only the settings of the automated workflow are used. |
|
[Number of sets] |
Indicate the number of sets. |
|
[Sorting] |
Indicate if you want to sort the output per set or per page. |

|
Automatic workflow setting |
Description |
|---|---|
|
[Media] |
Select the media from the media catalogue. |
|
[Fit to media size] |
Indicate if the page is scaled or clipped according to the media size. |
|
Automatic workflow setting |
Description |
|---|---|
|
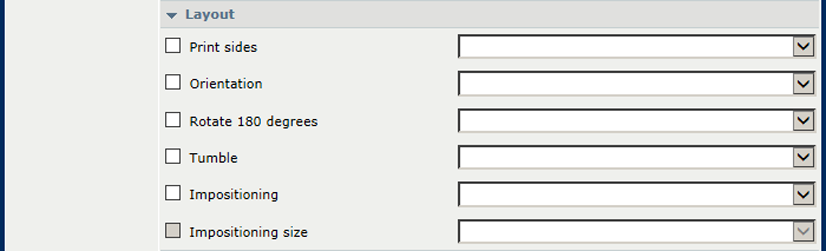
[Print sides] |
Indicate if the output is printed 1- or 2-sided. |
|
[Orientation] |
Indicate if the reading direction of the document is parallel to the short edge or long edge of the page. |
|
[Rotate 180 degrees] |
Indicate if pages are rotated 180 degrees. |
|
[Tumble] |
Indicate if you bind two-sided documents at the top or the bottom edge. The tumble option rotates the image on the back side of the sheet 180 degrees. |
|
[Impositioning] |
Indicate if the multiple pages are printed on a sheet, for example to create a booklet. |
|
[Impositioning size] |
Select a size for booklets in case media are not selected. |
|
Automatic workflow setting |
Description |
|---|---|
|
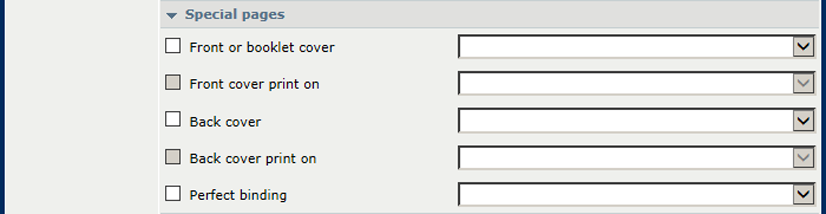
[Front or booklet cover] |
Select the media from the media catalogue. |
|
[Printing on front cover] |
Indicate if the cover is printed. |
|
[Back cover] |
Select the media from the media catalogue. |
|
[Printing on back cover] |
Indicate if the cover is printed. |
|
Automatic workflow setting |
Description |
|---|---|
|
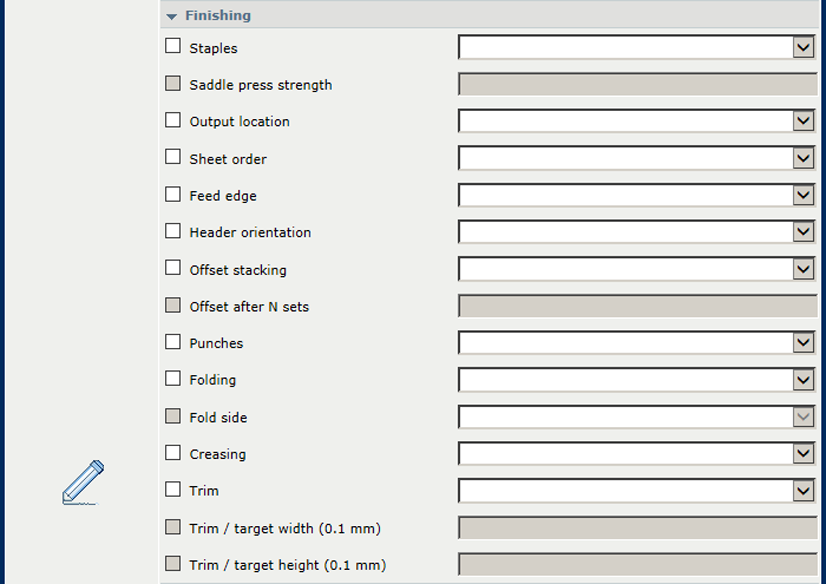
[Stapling] |
Select the staple method and location. |
|
[Saddle press strength] |
Indicate the strength for saddle press stapling |
|
[Output tray] |
Select the output location. |
|
[Sheet order] |
Select the order of the sheets in the output tray. |
|
[Feed edge] |
Select the orientation of the sheets in the output tray. |
|
[Header orientation] |
Select the orientation of the sheets in the output tray. |
|
[Offset stacking] |
Indicate if the set are delivered with an offset. |
|
[Offset after N sets] |
Indicate if a series of sets are delivered with an offset. |
|
[Punching] |
Select the number of punch holes and their location. |
|
[Folding] |
Select the folding method. |
|
[Fold side] |
Indicate the fold side. |
|
[Creasing] |
Indicate the pages you want to crease. |
|
[Trimming] |
Select the trimming method. |
|
[Trim / target width ({0})] |
Enter the trim value or the width to which you want to trim. |
|
[Trim / target height ({0})] |
Enter the trim value or the height to which you want to trim. |
|
Automatic workflow setting |
Description |
|---|---|
|
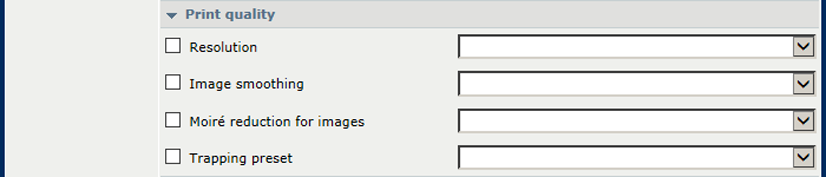
[Image smoothing] |
Use this setting to apply an anti-aliasing algorithm to smooth images with a low resolution. |
|
[Moiré reduction for images] |
Apply a Moiré reduction algorithm to enhance photographic images. When images have a resolution below 300 dpi, the Moiré reduction only takes effect when image smoothing is enabled. |
|
[Trapping preset] |
Select a trapping preset. |
|
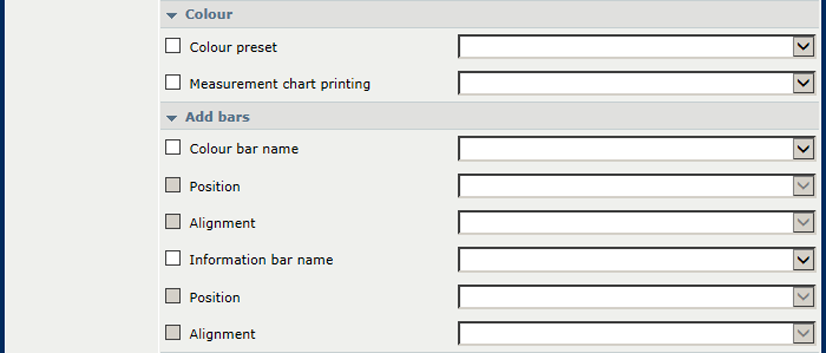
[Colour bar], [Location], [Alignment] |
Select a colour bar and its location. |
|
[Information bar], [Location], [Alignment] |
Select an information bar and its location. |
|
[Colour preset] |
Select a colour preset. |
|
[Printing of measurement charts] |
Use this setting only for printing measurement charts for G7 calibration or external profiling. Improper use of this setting may cause pollution of the printer. |
|
Automatic workflow setting |
Description |
|---|---|
|
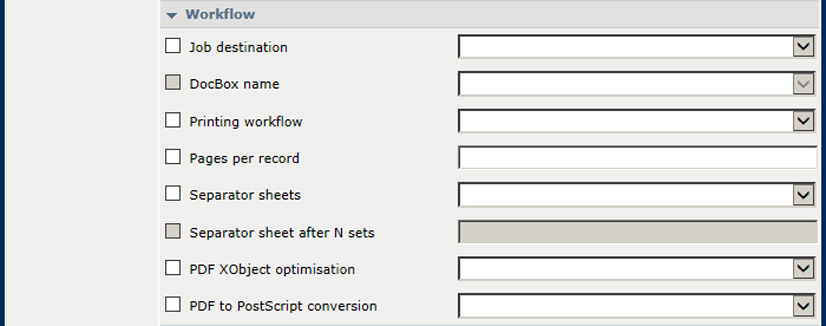
[Job destination] |
Select the destination of the jobs: scheduled jobs, waiting jobs or DocBox. |
|
[DocBox name] |
Select the DocBox. |
|
[Printing workflow] |
Select the job processing on the PRISMAsync Print Server. |
|
[Pages per record] |
Indicate if the PDF job is handled as variable data print job. Then, enter the pages per record. |
|
[Separator sheets] |
Indicate if separator sheets are used. You can use separator sets per a series of sets, if required. |
|
[PDF XObject optimisation] |
Select whether PDF/X objects are cached per document or per page. |
|
[PDF to PostScript conversion] |
Indicate if you want to convert PDF to PostScript instead of only using the native PDF RIP, which is the default setting value. |

|
Automatic workflow setting |
Description |
|---|---|
|
[Accounting ID] |
Enter accounting ID. |
|
[Cost center] |
Enter cost centre. |
|
[Custom] |
Enter extra account information. |
|
Automatic workflow setting |
Description |
|---|---|
|
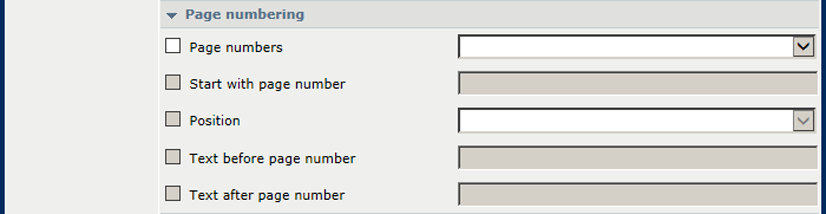
[Use page numbers], [Start with page number], [Location], [Text before page number], [Text after page number] |
Indicate if and where page number are printed. Enter text to be printed before or behind the page number. |

