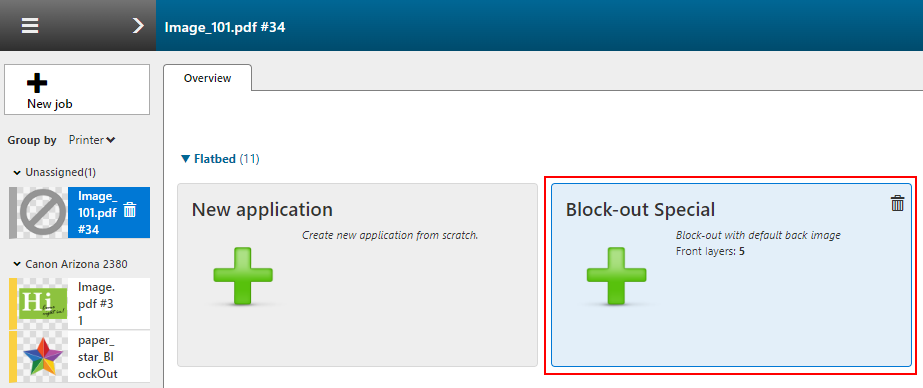
This topic describes how you can print an application from an ONYX job, using a custom recipe. When you assign a recipe to your job, all print settings are set to the predefined recipe specifications.
In this example we use the new recipe we created in a previous topic. The block-out application is printed one side of clear media and will be viewable from both sides. The backside image is part of the recipe. A black layer in the middle blocks out the light. Between the block-out layer and the two color layers that represent the 2 sides of the application, white masks will be used. Different print modes are used for the different layer types of the application. See Create a new application in PRISMAguide XL Engine.

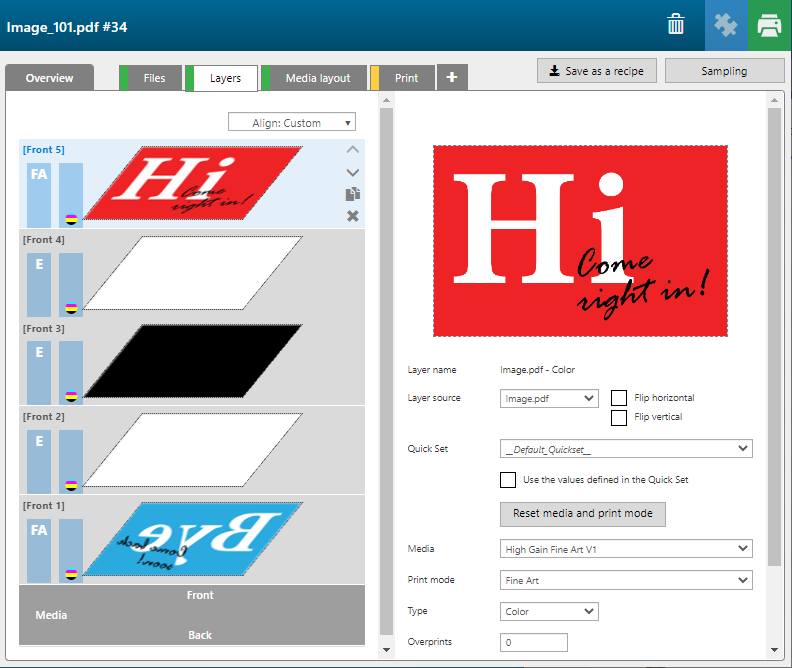
Check the print settings of each layer. The application has 5 layers, as defined in the recipe, and all the print settings are preserved (i.e. the same media profiles, print modes, layer types, locked input files, et cetera.). As defined in the recipe the image for the backside and the block-out layers are added.

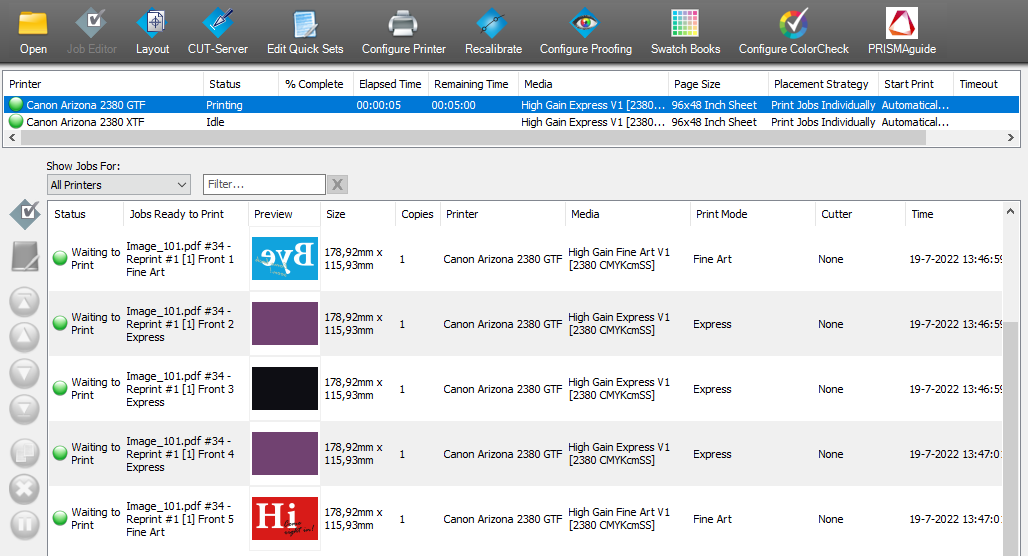
The order of the print jobs in the RIP Queue is not important. The order in which the layers have to be printed is stored in the batch settings.