
In the [Media layout] tab you can define how many copies of your application should be printed on the media and how these copies should be divided.
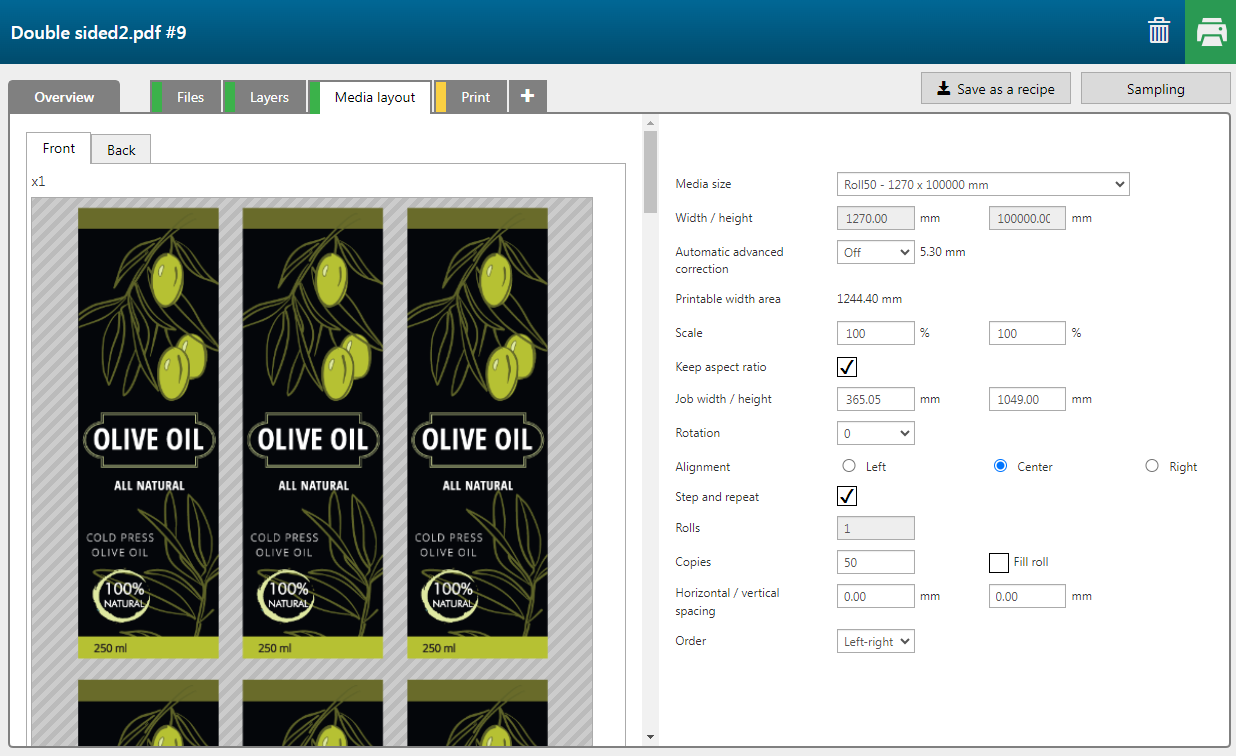
|
Setting |
Description |
|---|---|
|
[Media size] |
Select a media size available for your printer model. |
|
[Width / height] |
This setting is only available when you have selected [Media size] - [Custom]. Otherwise the [Width / height] is filled in automatically. |
|
[Automatic advanced correction] |
Select the [Automatic advanced correction] setting: [Off] [Normal] [Enhanced] [Robust] |
|
[Printable width area] |
The area of the media that can be printed. |
|
[Scale] |
Enter the scale percentage in the [Scale width / height] text boxes. |
|
[Keep aspect ratio] |
When the [Keep aspect ratio] check box is ticked, the file size is scaled proportionally to fit the box defined by [File width / height]. |
|
[Job width / height] |
Calculated value. Cannot be changed. |
|
[Rotation] |
Enter the rotation of your job in degrees (0, 90, 180, 270). When you have ticked the checkbox [Fill roll], you can select [Auto]. The software then attempts to rotate all the copies 90 degrees to see if it can fit more copies on a panel. |
|
[Alignment] |
Select the alignment of the job: [Left] [Center] [Right] |
|
[Step and repeat] |
Tick this checkbox to enable step and repeat. |
|
[Rolls] |
The number of rolls is calculated automatically. It depends on the number of copies and the size of the media. |
|
[Copies] |
Enter a specific number of copies or tick [Fill panel] to let the software compute how many copies can be fitted on the selected media size, using all the other specified settings. |
|
[Fill roll] |
Let the software compute how many copies can be fitted on the roll, using all specified settings. |
|
[Horizontal / vertical spacing] |
Enter the horizontal and the vertical spacing between the jobs. |
|
[Order] |
Select how to place the copies: [Left-right] [Top-bottom] |
|
[Confirm settings] |
Click the button to confirm the settings. |