Loading

Configure the PRISMAelevate XL ALPS Engine printer

Introduction

NOTE

The PRISMAelevate XL 2.1 functionality requires that Onyx Thrive 22.5 or higher is installed and that PRISMAelevate XL 2.1 printer drivers with media profiles for Alto, Alto-Plus and Brila profiles are available.

Procedure

  1. First install a PRISMAelevate XL 2.1 software. See Install the PRISMAelevate XL ALPS Engine for the details.
  2. Open Onyx Thrive, select your printer and click on [Configure Printer].
  3. Click [OK].
  4. Select the [Device] tab and click on [Configure Port].
  5. To configure the printer port select 'TCP/IP Printer or Print to File' and click on [Configure].
  6. Enter the configuration settings:
    1. Enter the IP address of the computer on which the PRISMAelevate XL ALPS Engine has been installed.
    2. Enter the port number that you have declared during the installation of the PRISMAelevate XL ALPS Engine.

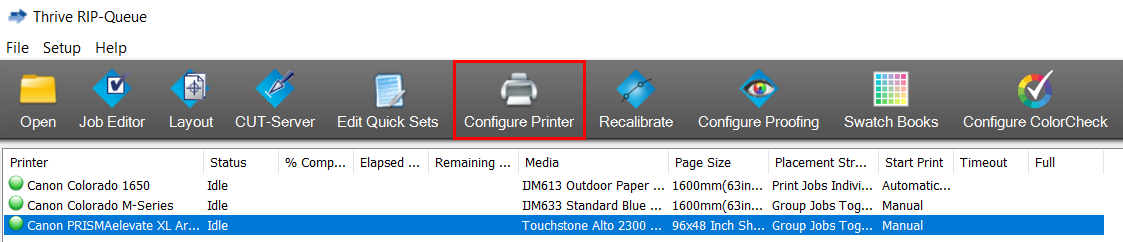
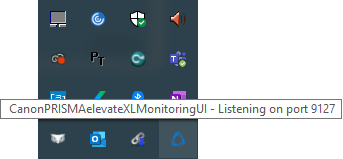
      You can move your mouse over the PRISMAelevate XL icon in your system tray to check the port number.
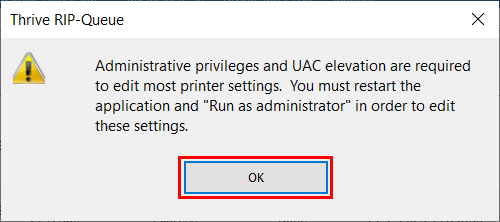
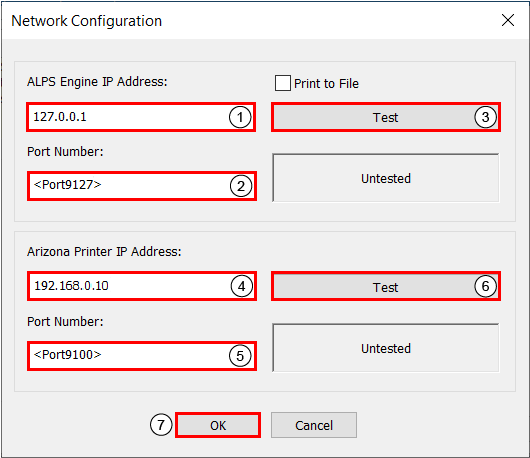
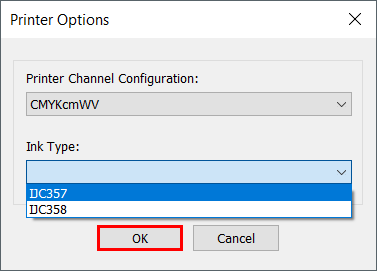
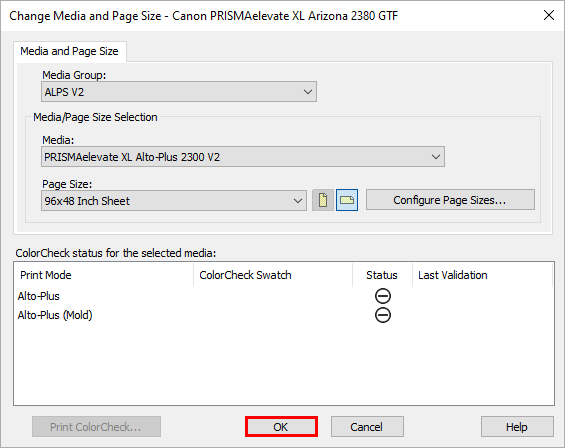
    3. Test the IP address.
    4. Enter the IP address of the printer.
    5. Enter the input port number of your printer (by default 9100).
    6. Test the IP address.
    7. Click on [OK].
  7. Next, you need to go to the Printer Channel Configuration. Click on [OK].
  8. Click on [OK].
  9. Click on [Features].
  10. Select 'Printer Channel Configuration' and click on [Configure].
  11. Select the correct Printer Channel Configuration and the ink type.

    Then click [OK].

  12. Click on [Done].
  13. Click on [OK].
  14. Click on the button indicated below to change the media settings.
  15. Click on [OK].
    NOTE

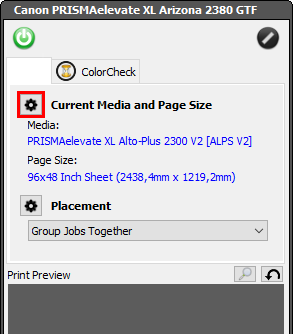
    PRISMAelevate XL media profiles can have different names.