
When a file is opened in PRISMAprepare, the page size is derived from the PDF trim box. In this exercise, the PDF bleed area is increased, so that when the document is printed, the page content is clipped to the edge of the paper (full bleed).
Open the file EightBusinesscards_Bleed_3.5x2.pdf.
Go to the [Pages] workspace.
In the menu, select . Note the page size (trim area) which is 3.5 x 2 inch.
Note that currently the trim area == bleed area == media area.
Set the trim box for all pages to 3.4 x 1.9 inch.

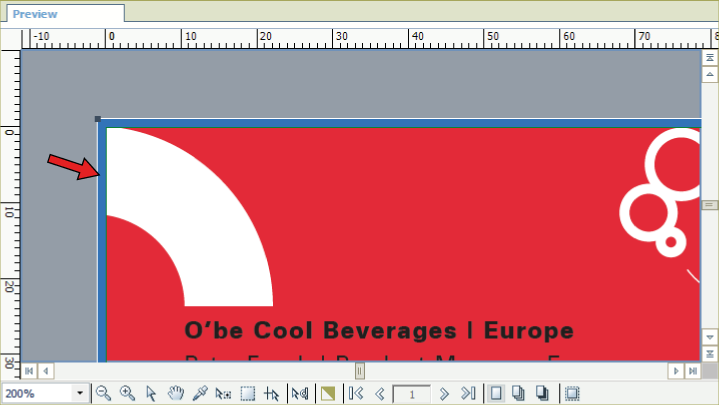
Select the [Bleed box]. Note that the bleed area is now set to 0.05 inch for all pages. For this exercise, fill the bleed area with a colour, e.g. blue.
The [No bleed area] keeps the page content and page size unchanged. The [Enlarge page content] scales the page content to fill-up the bleed area with the content of the document.
Click [Close] to close the [PDF boxes] dialogue.
Go to the [Production] workspace.
Select a physical printing device, e.g. a Canon imagePRESS series or Océ VarioPrint series printer. If not available, select the PRISMAprepare print to PDF printer.
In the [Layout] section, do:
For [Imposition template], select the imposition method [Cut and stack].
Define the maximum rows horizontally and vertically by selecting [Maximum] for option [Cut and stack]. Set the gutters for imposition type to 0.2 inch, horizontal and vertical.
Select a media of size Tabloid Extra 12x18 for [Document media].
For [Print content], select [Trim box].
For [Print marks], enable [Corner trim marks].
The preview shows white lines between the business cards.
For [Print content], select [Bleed box].
The preview shows the blue bleed area between the business cards.
Save the file in the 'Participants' folder on the desktop with the name Scenario_62.pdf.