
This topic describes how to load a media roll.
You can print on the inside or outside of the input roll. You can wind the printed output on the inside or outside of the output roll. This procedure includes each of these options.
You can start the media loading procedure yourself, or load media when the printer asks for different media for a print job.
Before you load a roll on the printer:
Make sure you have added a media profile with the correct media type via the RIP.
Check the media width of your roll before loading. When your media width is not present in the list on the user interface, you can type it in.
Put on gloves to avoid pollution of the media by your fingerprints.
|
1 |
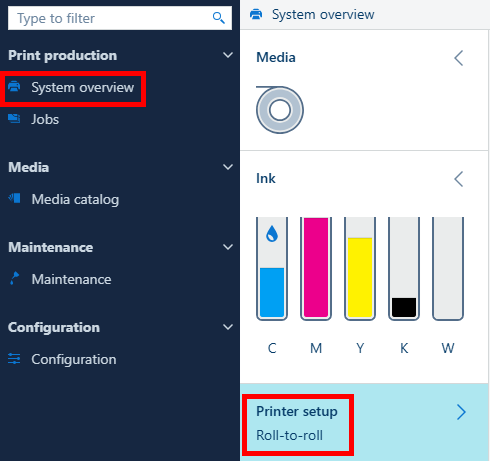
On the user interface, go to the [System overview] app. Under [Printer setup], make sure [Roll to roll] is enabled. |
|
|
2 |
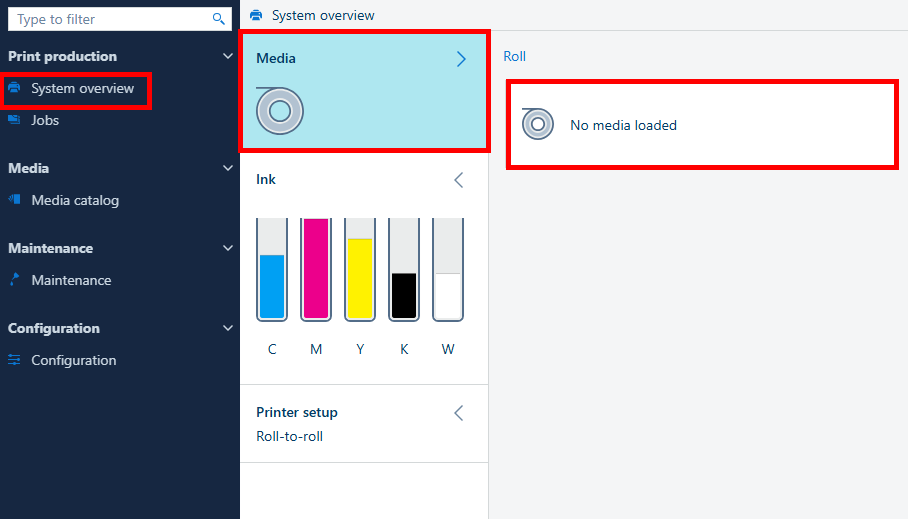
On the user interface, go to the [System overview] app. Under [Media], check the currently loaded media. Tap the [Roll] tile. A dialog will open. If media is loaded already and you want to load different media, you need to unload this media first. See Cut and unload a media roll. |
|
|
3 |
Select the media from the list. If the media does not appear on the list, you have to create it first. See Manage media profiles in ONYX. |
|
|
4 |
Check if the selected media is already loaded in the printer.
|
|
|
5 |
Select which side of the input roll you want to print on. This affects how you have to place the media roll on the spindle.
|
|
|
6 |
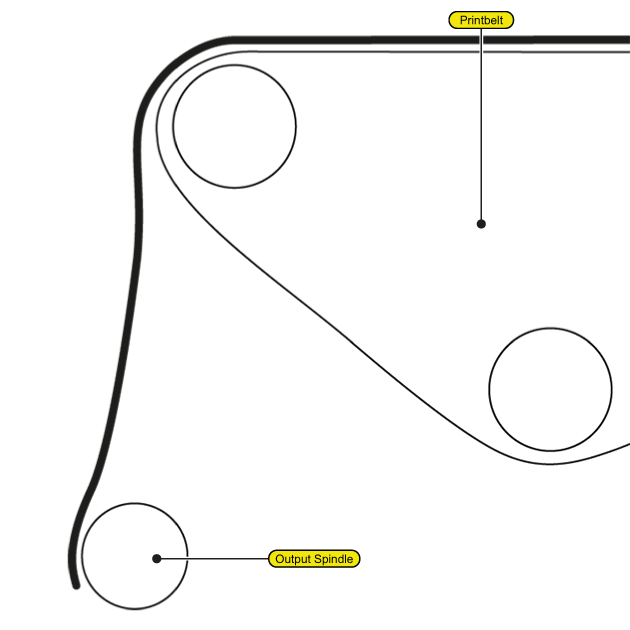
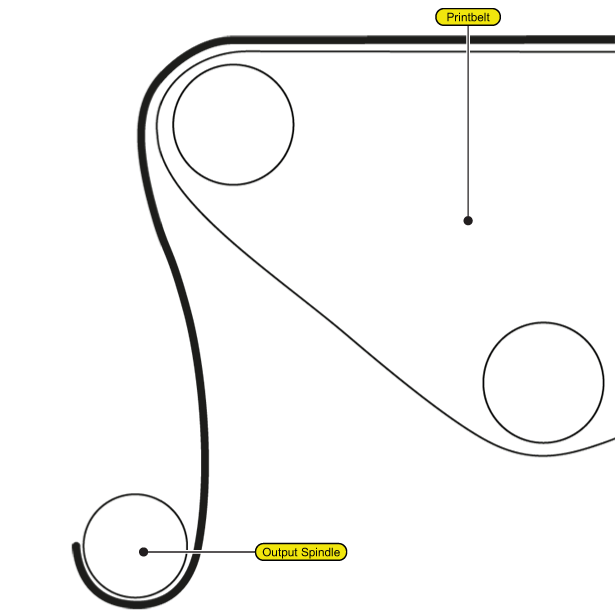
Select how you want to wind the printed output:
|
|
|
7 |
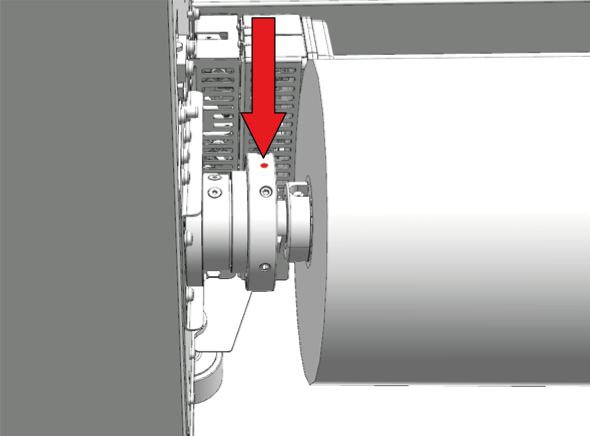
Adjust the position of the input spindle. The red dots must point upwards. |
|
|
8 |
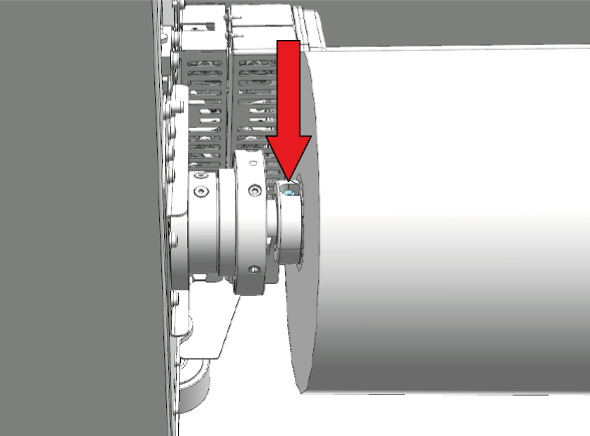
Press the air valve to deflate the input spindle. |
|
|
9 |
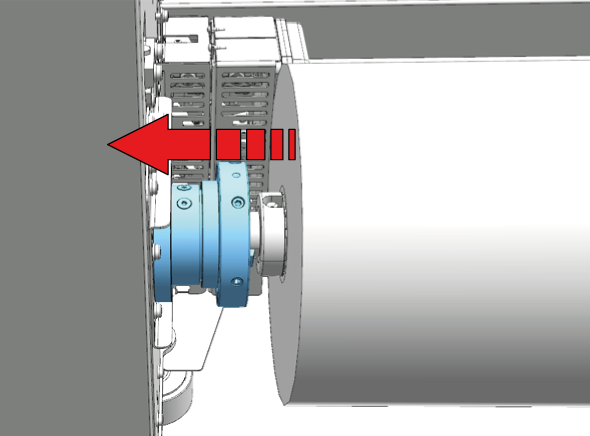
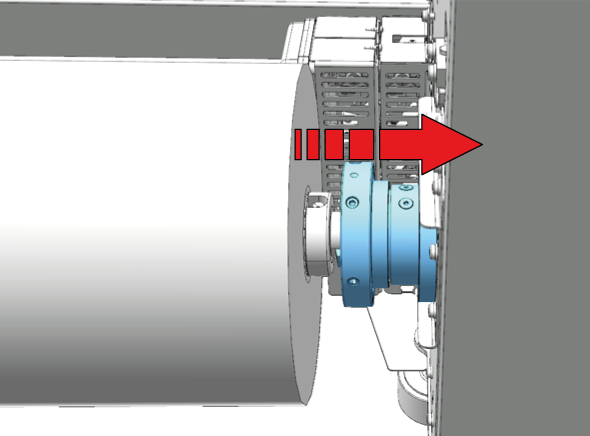
Open the flanges on both sides of the input spindle. Slide the flanges outward to open them. |
|
|
10 |
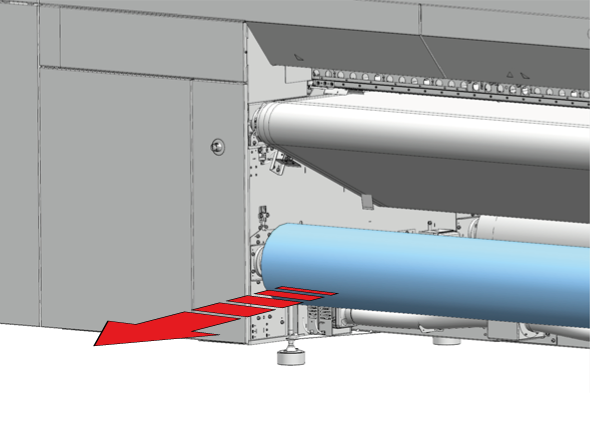
Take the input spindle out of the printer. |
|
|
11 |
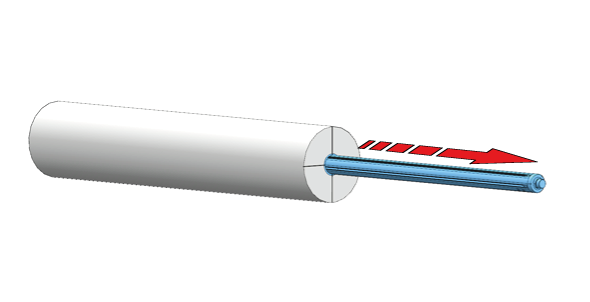
If a media roll is already on the input spindle, remove the media roll from the spindle. |
|
|
12 |
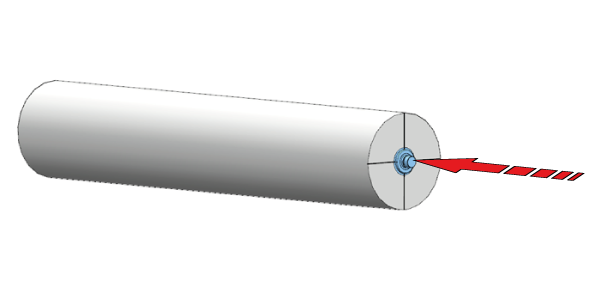
Insert the input spindle into the core of the new media roll. |
|
|
13 |
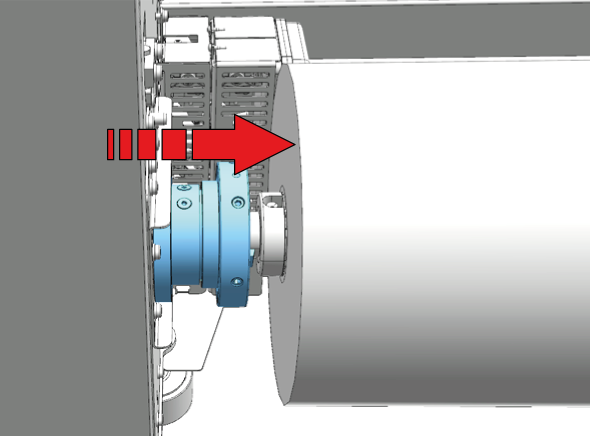
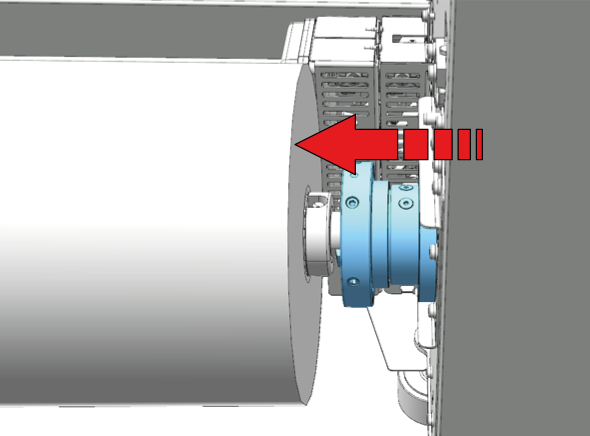
Place the input spindle back into the printer and slide the flanges inward to close them. |
|
|
14 |
Align the roll on the spindle with the help of the ruler. Check on the left and right side of the roll if both are aligned on the same size. |
|
|
15 |
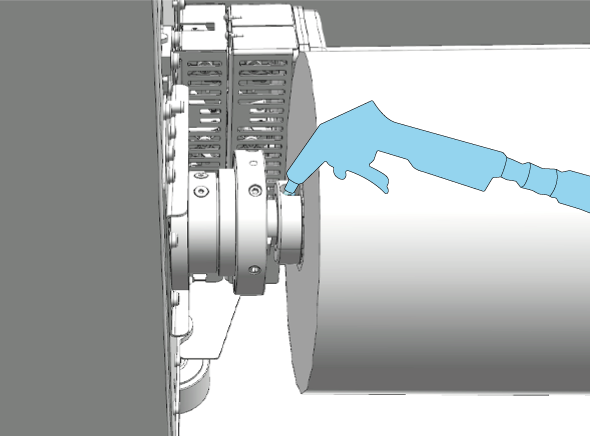
Push the pressured air pistol against the valve and inflate the input spindle. |
|
|
16 |
Use the media control buttons to unwind the media for about 1 meter (40 inch). |
|
|
17 |
Press the vacuum button or tap the food pedal to enable the vacuum. |
|
|
18 |
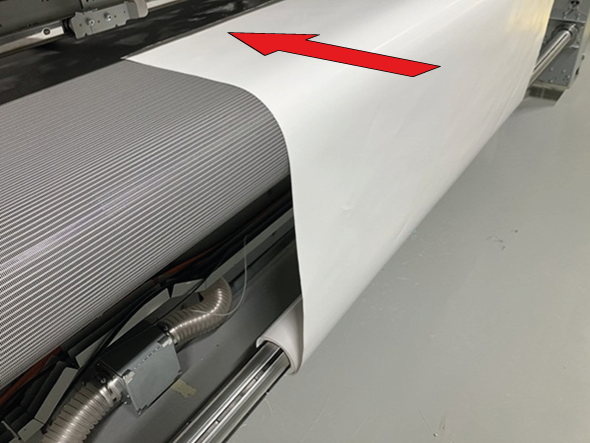
Take the leading edge of the media and place it on the print belt. |
|
|
19 |
On the user interface, tap [Next]. The printer automatically aligns the media and moves it into the correct position to tape it to the output spindle. |
|
|
20 |
Take the leading edge of the media and tape it to the empty core. The tape method depends on how you wind the printed output:
|
|
|
21 |
On the user interface, tap [Next] to finish the action. |
