
PRISMAsync Print Server offers a CMYK editor with a pixel-precise preview to adjust the color density for specific media. You can emphasize colors or other elements for images printed on media that belong to a media family. The new CMYK curves are added to the media family calibration values.
There are two modes to edit the CMYK values of a media family:
Basic mode, for simple CMYK editing with sliders for quick and easy color tweaking.
Advanced mode, for precise CMYK editing.
Be aware that the CMYK adjustments affect all media of the media family.
This topic describes how to:
Open the CMYK editor
Adjust the CMYK curves in basic mode
Adjust the CMYK curves in advanced mode
Calibrate the printer. (Calibrate the printer)
You must always perform a printer calibration before you continue with this procedure.
Check the print quality to decide if you want to proceed.
Touch .
Touch [Edit CMYK curves].
Select the media family.
Select the halftone.
Touch [Edit].
The [Basic mode] window opens.
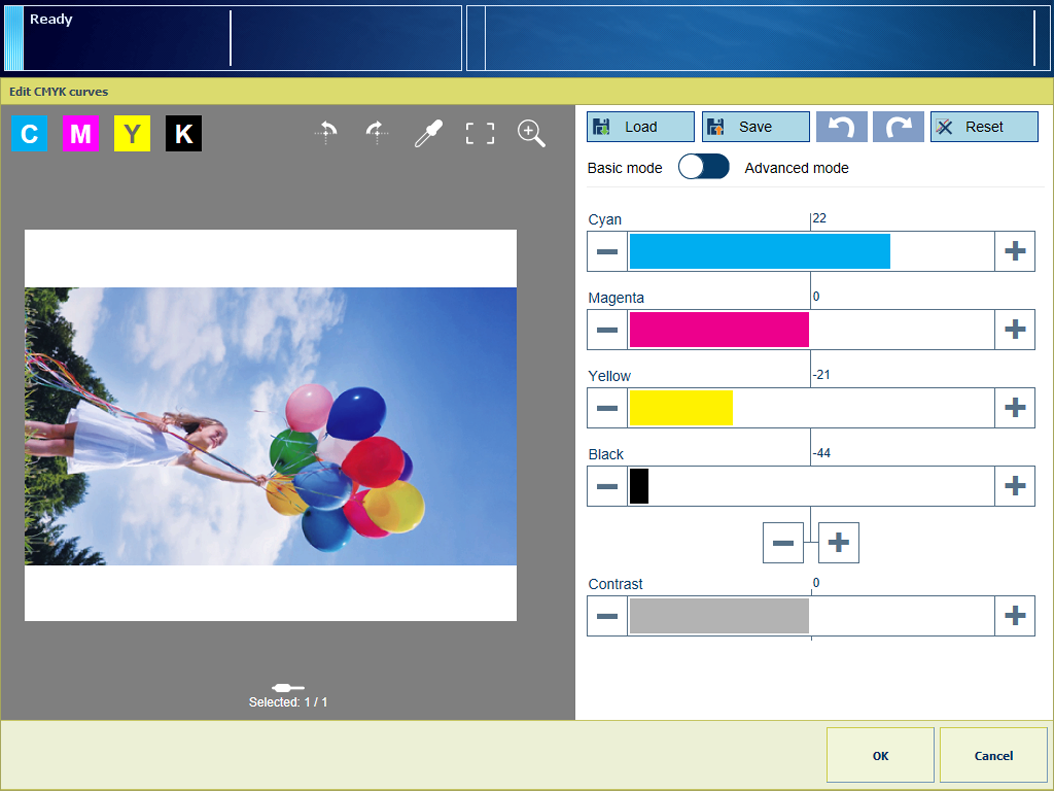 CMYK editor in basic mode
Adjust the density values for the four colors.
Use the zoom  function to check the result of the adjustment in a specific area.
Use your finger to pan the image.
Touch [OK].
Repeat this procedure for other halftones, if required.
Use the table below to adjust the CMYK curves in advanced mode.
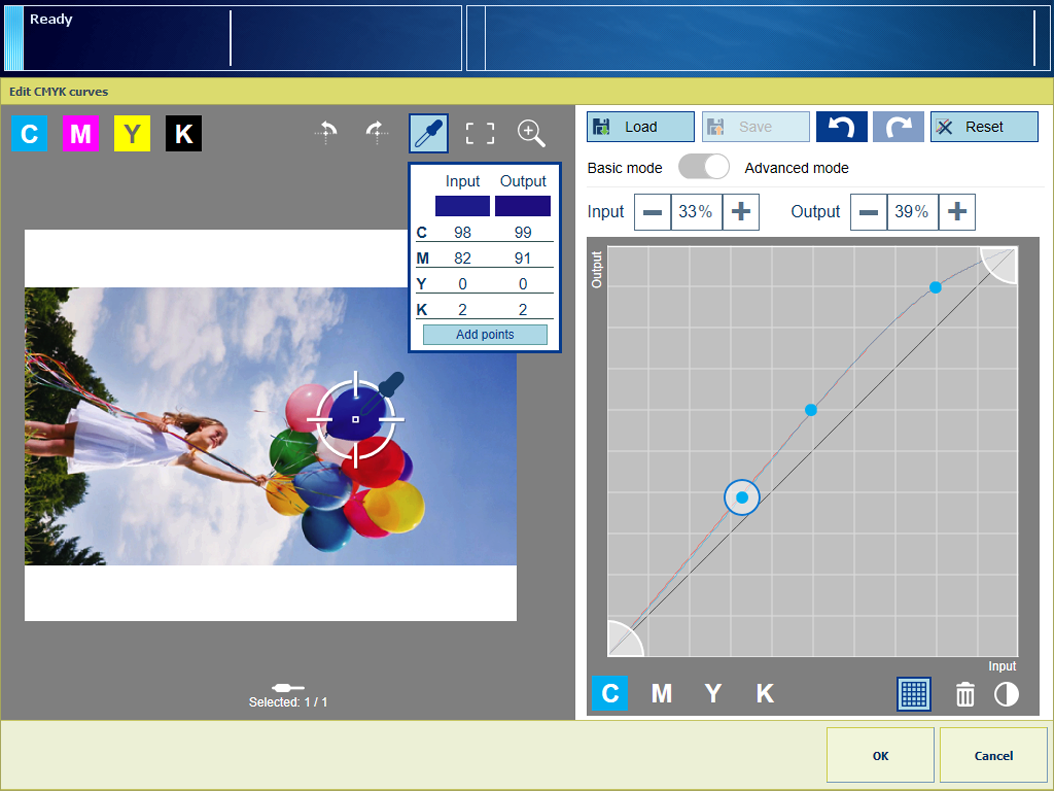 CMYK editor in advanced mode
|
Task |
Instruction |
|---|---|
|
Go to the advanced mode |
|
|
Preserve colors |
|
|
Apply a CMYK-curve preset |
|
|
Define the color clipping range |
|
|
Adjust the curves manually |
|
|
Adjust the contrast of all colors |
|
You can perform the above tasks also for other halftones.
 icon.
icon.
 icon with your finger on the color you want to preserve.
 icon.
icon.
 .
.
 .
.
 icon.
icon.
 .
.
 icon.
icon.
 icon.
icon.