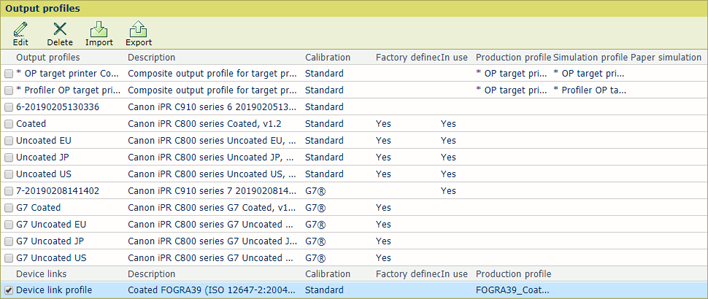

You can make a composite output profile.
Make sure the required production and simulation profile are available for import in the Settings Editor.
Open the Settings Editor and go to: .
 [Input profiles] tab
Click [Import].
Browse to the output profile of the target printer.
Enter a unique name and description.
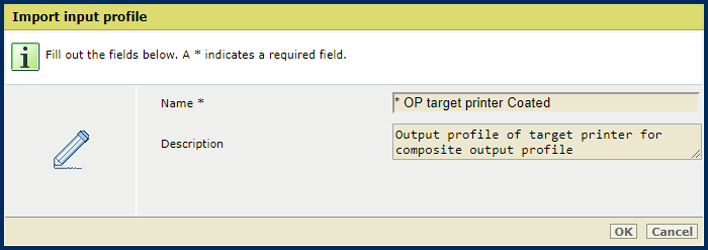 Output profile of target printer as input profile
Click [OK].
Repeat step 2 - 5 to import the accurate output profile, if required.
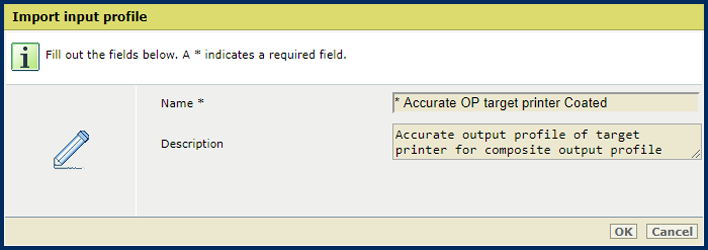 Profiler output profile of target printer as input profile
The profiles are added to the list of input profiles.

Open the Settings Editor and go to: .
 Output profiles tab
Select the output profile of the production printer.
Click [Export].
 [Export] option
Click [Import].
Browse to the exported output profile.

Browse to the output profile of the target printer.
Click [OK].
Define a unique name and the description.
Select the G7® check box to use G7® simulation, if required.
At [Production profile], select the output profile of the target printer from the list of input profiles.
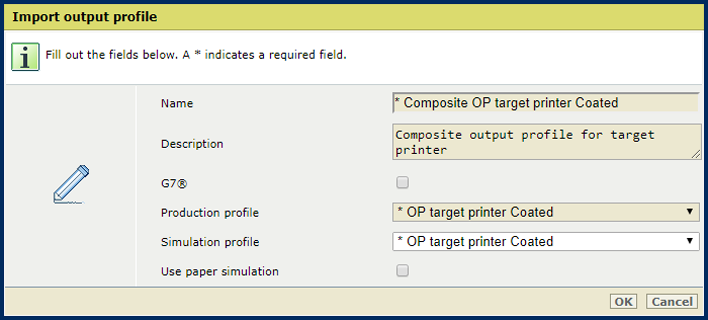 The production profile is the same as the simulation profile
For exact color simulation, select at [Simulation profile] the profiler output profile of the target printer from the list of input profiles.
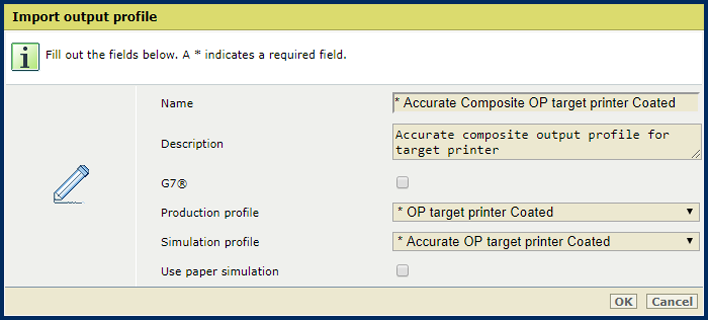 The production profile and simulation profile differ
Select the [Use paper simulation] check box to enable paper simulation.
When paper simulation is enabled, the color of the media on the simulated printer is simulated by the rendering intent. absolute colorimetric The rendering intent relative colorimetric is applied with black preservation but without black point compensation.
Click [OK].
 Composite output profiles in list of output profiles
Open the Settings Editor and go to: .
 Output profiles tab
Click [Import].
Browse to the device link profile.
Click [OK].
Define a unique name and the description.
Select the G7® check box to use G7® simulation, if required.
At [Production profile], select the output profile of the target printer from the list of input profiles.
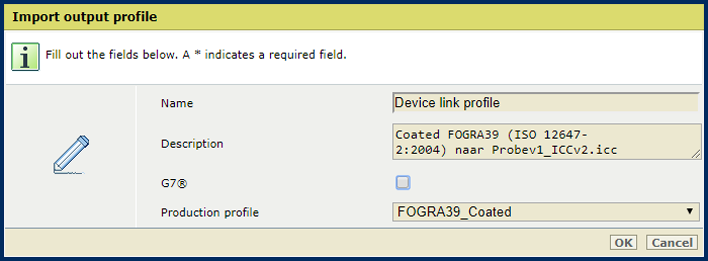
Click [OK].
Composite output profiles are added to the list of output profiles.
