
The dashboard indicates when you must prepare the replacement of a full ColorGrip waste box (Filling levels of supplies and waste). Moreover, the LED of the full ColorGrip waste box switches on to indicate that the action is necessary. The LED stays on until the ColorGrip waste box is replaced.

|
The ColorGrip waste box is full. |

|
The ColorGrip waste box is full and the buffer is nearly full. |

|
Both the ColorGrip waste box and buffer are full. An action-required screen appears and shows how to replace the full waste box. |
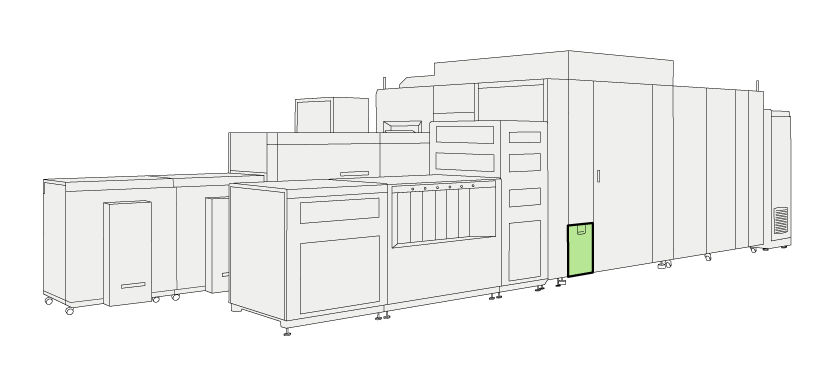 Location of the waste compartment
In order to keep your hands clean, it is advised to use nitrile gloves when you work with ink, ColorGrip, PML, or SU70. For details see the related material safety data sheets. (Learn about printer maintenance)
Inks, ColorGrip, PML and/or SU70 contain 1,2-Benzisothiazol-3(2H)-one. From the point of view of occupational health and safety, it is not recommended that people who are sensitive to chemicals (e.g., people with asthma) work with ink or chemicals.
When you spill any liquid, wipe up the drops with disposable towels and transfer the used towels to a sealable container appropriate for disposal.
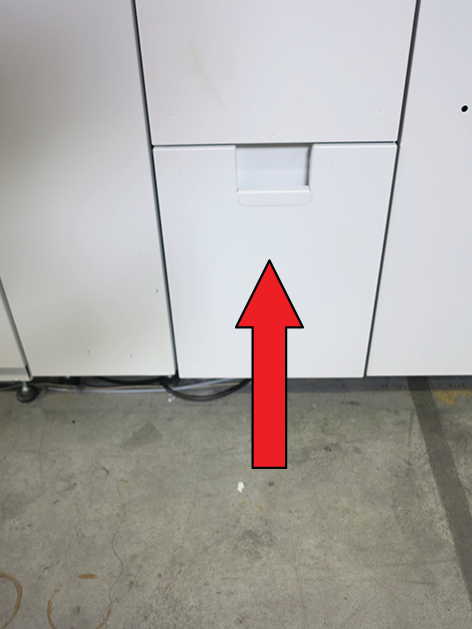
Take an empty waste box, labeled as ColorGrip waste box, and place the box next to the waste compartment.
The instruction video for this maintenance action is available, see Replace the ColorGrip waste box.
|
Action |
|||
|---|---|---|---|
|
1 |
Open the door of the waste compartment. |

|
|
|
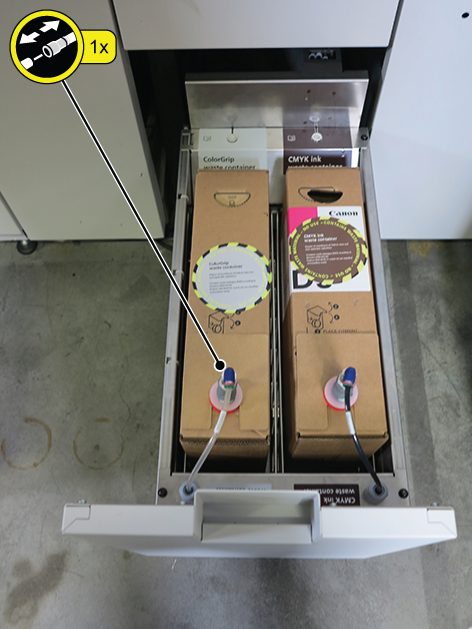
2 |
Detach the connector.
The supply tube can drip liquid. Use cleaning cloths to clean the tube. |
|
|
|
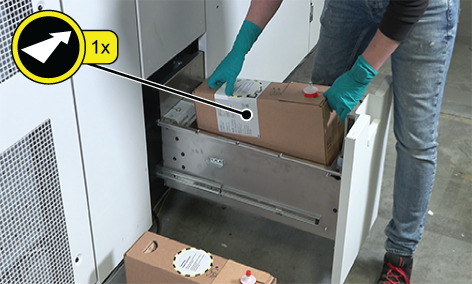
4 |
Take out the full waste box.
|

|
|
|
5 |
Place the empty waste box in the tray. Ensure that you position it correctly in the space designated for the ColorGrip waste box. |
|
|
|
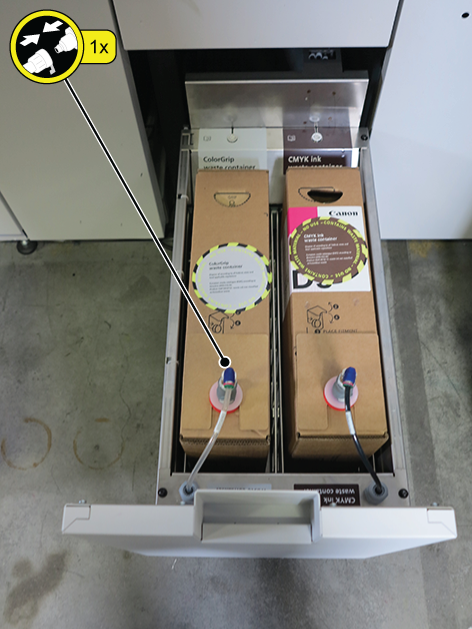
6 |
Attach the connector to the spout of the empty waste box. Use some force to push the connector until you hear a click. |
|
|
|
7 |
Close the door of the waste compartment. |
|
|
The instruction video for this maintenance action is available, see Recycle the ColorGrip waste box.
|
Action |
|||
|---|---|---|---|
|
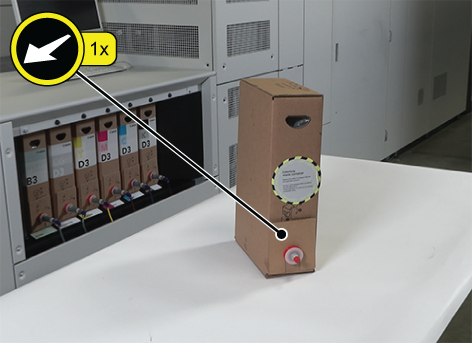
1 |
Remove the spout fixation tool. |
|
|
|
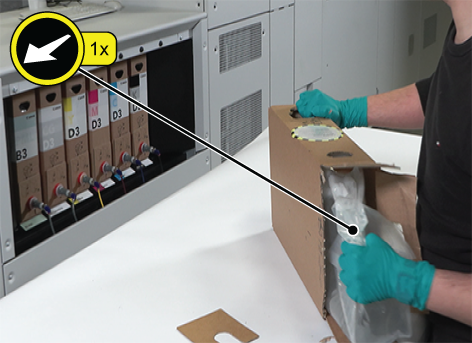
2 |
Push the spout back inside the box to allow for the removal of the ink bag. |

|
|
|
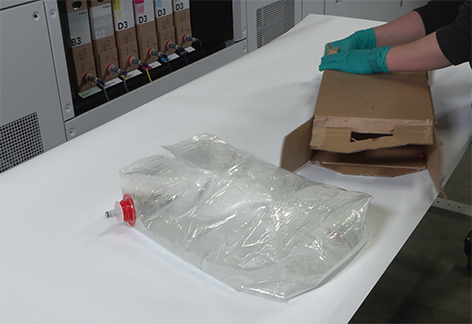
3 |
Open the top of the waste box. |

|
|
|
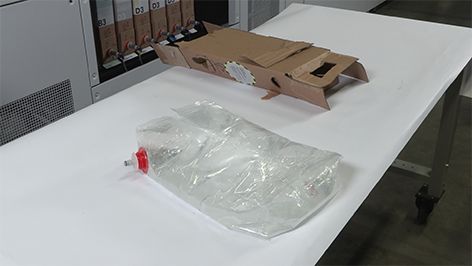
4 |
Remove the full ColorGrip bag. |
|
|
|
5 |
Open the other side of the waste box. |
|
|
|
6 |
Flatten the waste box for easy disposal. |
|
|
|
7 |
Dispose of the ColorGrip bag and waste box according to the local guidelines and policies of waste processing companies. It is recommended to place the ColorGrip bag inside a plastic barrel or container to contain potential leaks if the ColorGrip bag breaks. |
||