
When you notice unwanted white edges between colour planes, use a trapping preset to correct the connection between the colour planes. A trapping preset is a collection of trapping settings for a job or job subset. Use the trapping preset editor to create your own trapping presets. You can select a trapping preset for a print job. (Learn about the print job settings)
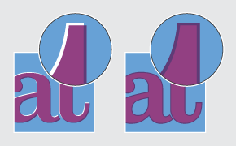 Printed output without trapping preset (left-hand side) and with trapping preset
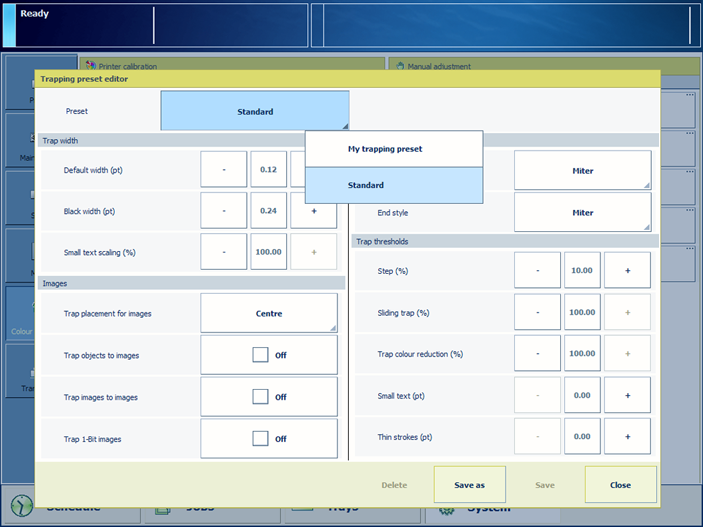 Trapping preset editor
The trapping preset window provides an interface to create trapping presets. The following groups of settings are available:
Trap width: value to specify the overlap for each trap
Trap appearance: options to control the shape of the trap joins
Images: options how to trap images
Trap threshold: values to specify when trapping occurs
Be aware that an edge can appear at locations where colour planes overlap each other.
You must always perform a printer calibration before you continue with this procedure.