
The [Adjust image] tile of the job properties provides the pixel-precise preview. When a job is ready to print, you want to be sure that the set job properties guarantee the print quality you require.
When you want to adjust the output density of one or more colors of CMYK, you use the CMYK curve editor.
The preview bitmaps are created by the PRISMAsync Print Server RIP. The RIP applies the CMYK curves and the CMYK calibration curves to create the preview bitmaps.
There are two modes to edit the CMYK curves.
[Basic mode] : simple CMYK editing with sliders for quick and easy adjustments.
[Advanced mode] : CMYK editing for precise and reproducible adjustments.
Use the tour below to explore the options of the pixel-precise preview.
Select a two-sided color job in the list of waiting jobs.
Press [Edit].
Press [Adjust image].
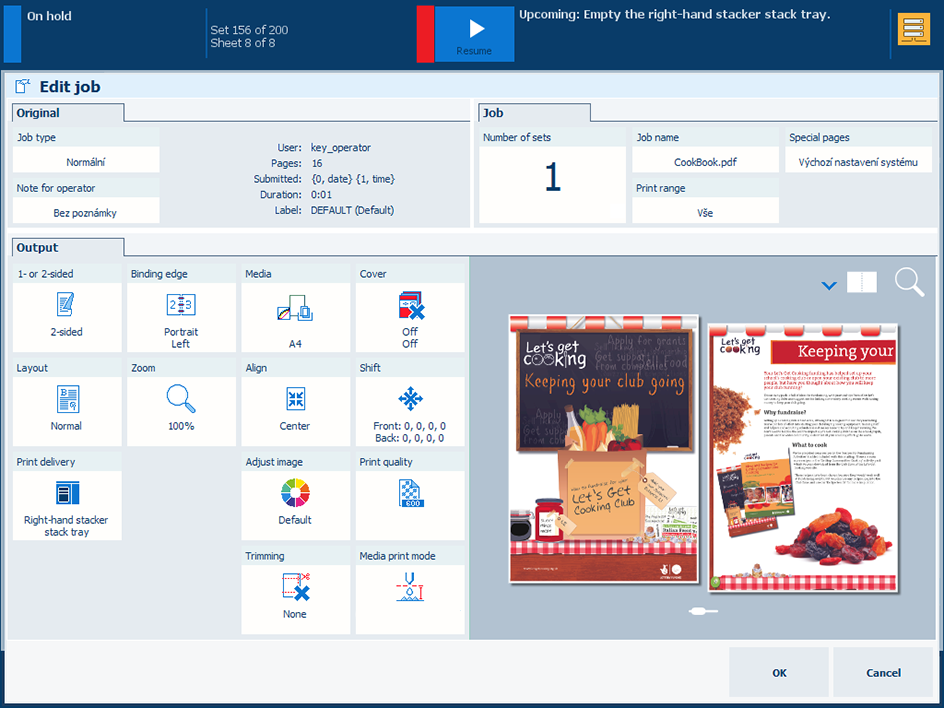 Edit job
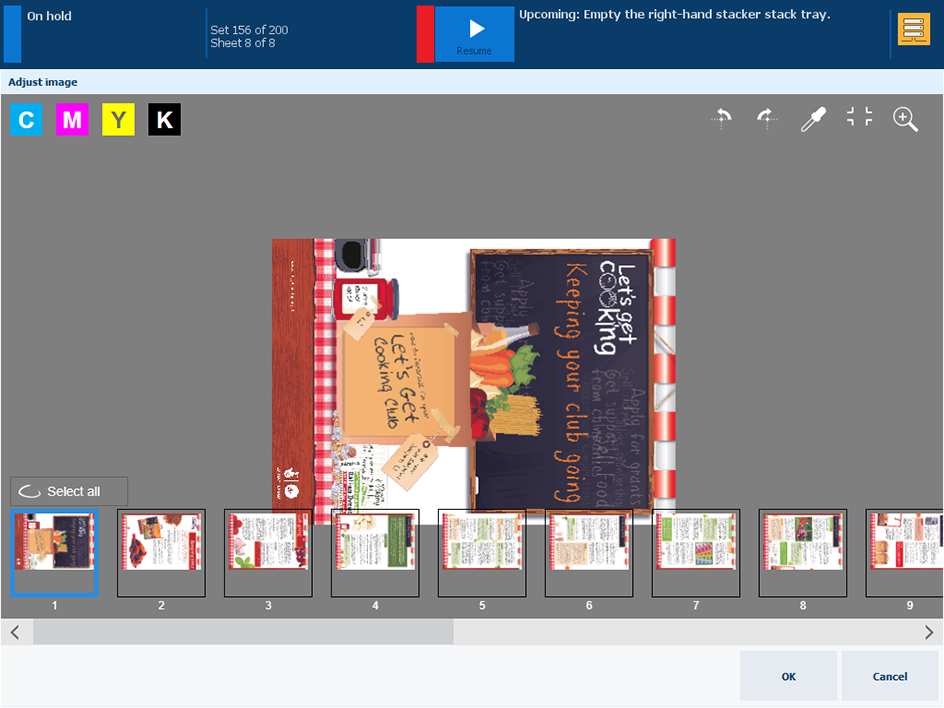
Browse the document.
Touch
 to hide the CMYK editor.
Touch
 to rotate the pages.
Select a page to examine.
2. Press
 .
.
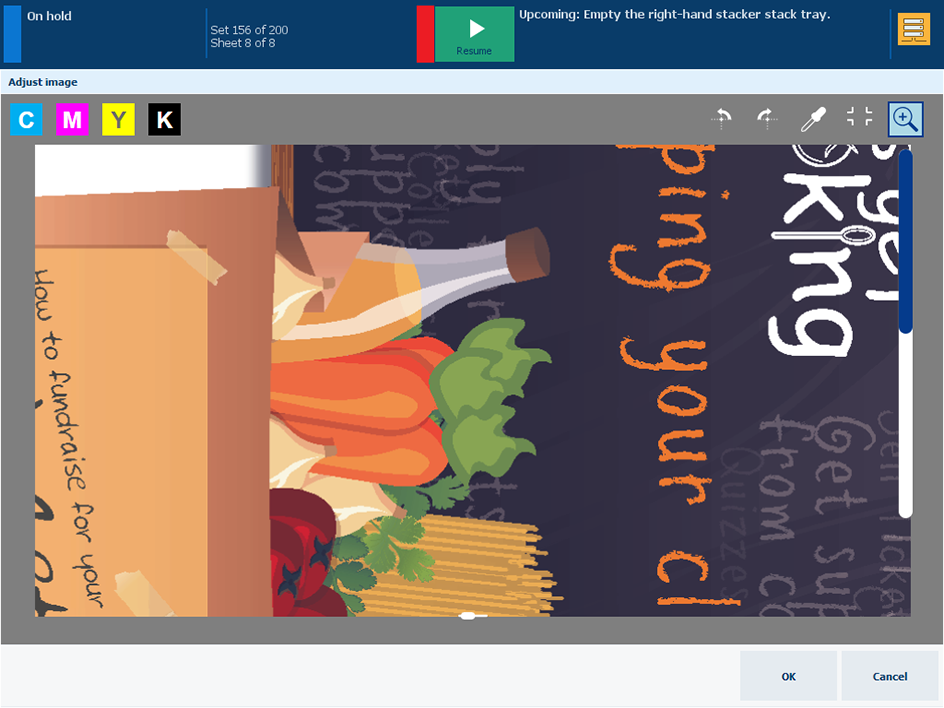
Use the zoom bar to zoom in or out.
Touch
 to hide the zoom bar again.
You can swipe the page to find the area you need.
Touch the color picker tool
 .
.
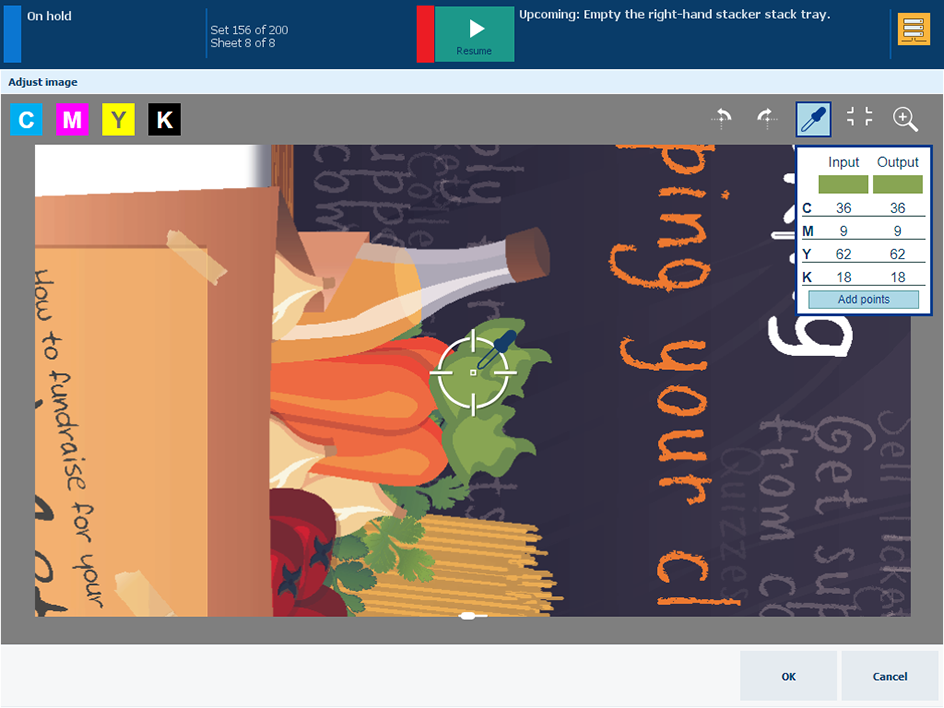
Move the color picker tool to a page location.
When you select a black text area, it is possible to check if the text color is pure or rich black.
The input density (%) and output density (%) of the CMYK colors are displayed.
Touch one of the color channels. In this example [M] is selected.

Touch
 to show the CMYK curves editor.
The [Basic mode] allows for simple CMYK editing with sliders for quick and easy adjustments.
The [Advanced mode] allows for precise and reproducible adjustments.
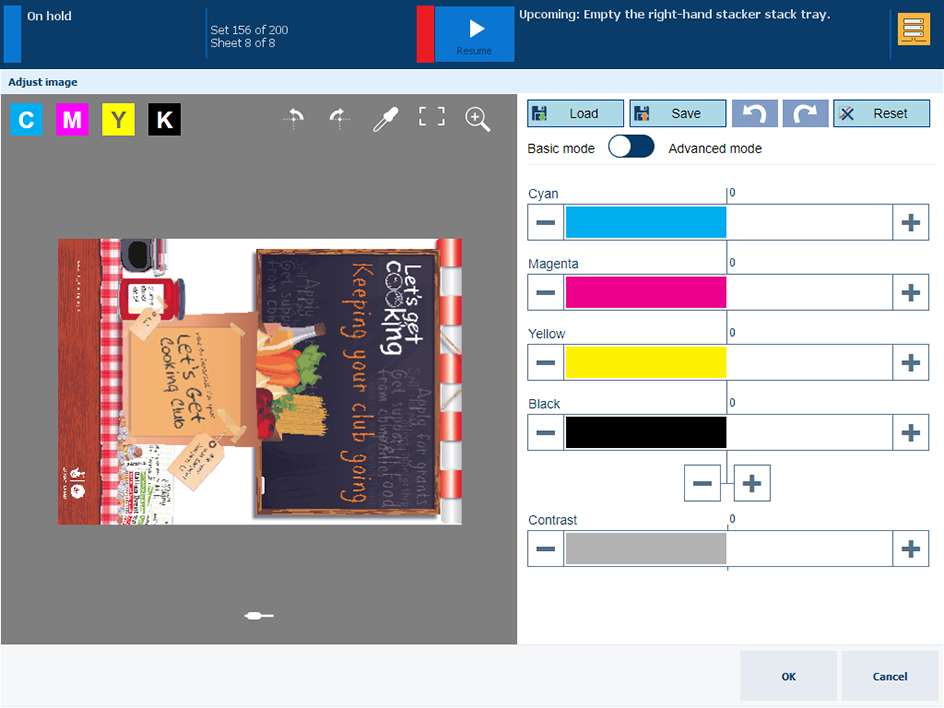 CMYK curves editor in basic mode
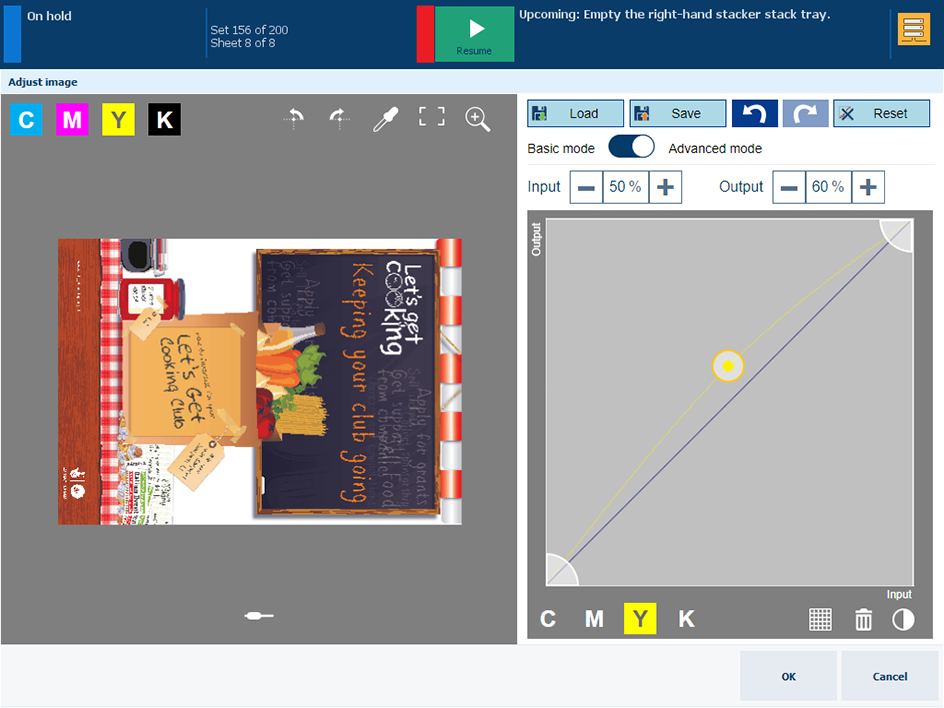 CMYK curves editor in advanced mode