
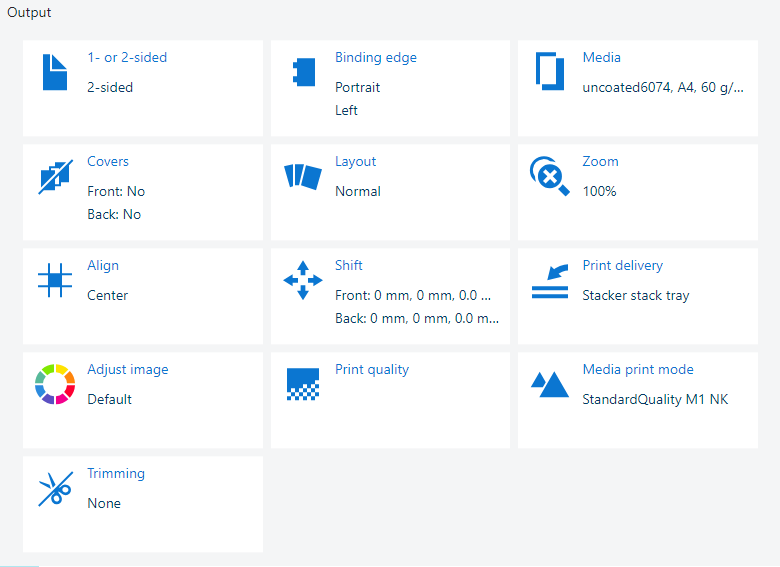
 Output settings
The [Adjust image] setting provides the pixel-precise preview. When a job is ready to print, you want to be sure that the set job properties guarantee the print quality you require.
When you want to adjust the output density of one or more colors of CMYK, use the CMYK curve editor.
Use the information below to explore the possibilities of the pixel-precise preview.
Open the job in the [Edit job] app.
Click [Adjust image].
Click [Start].
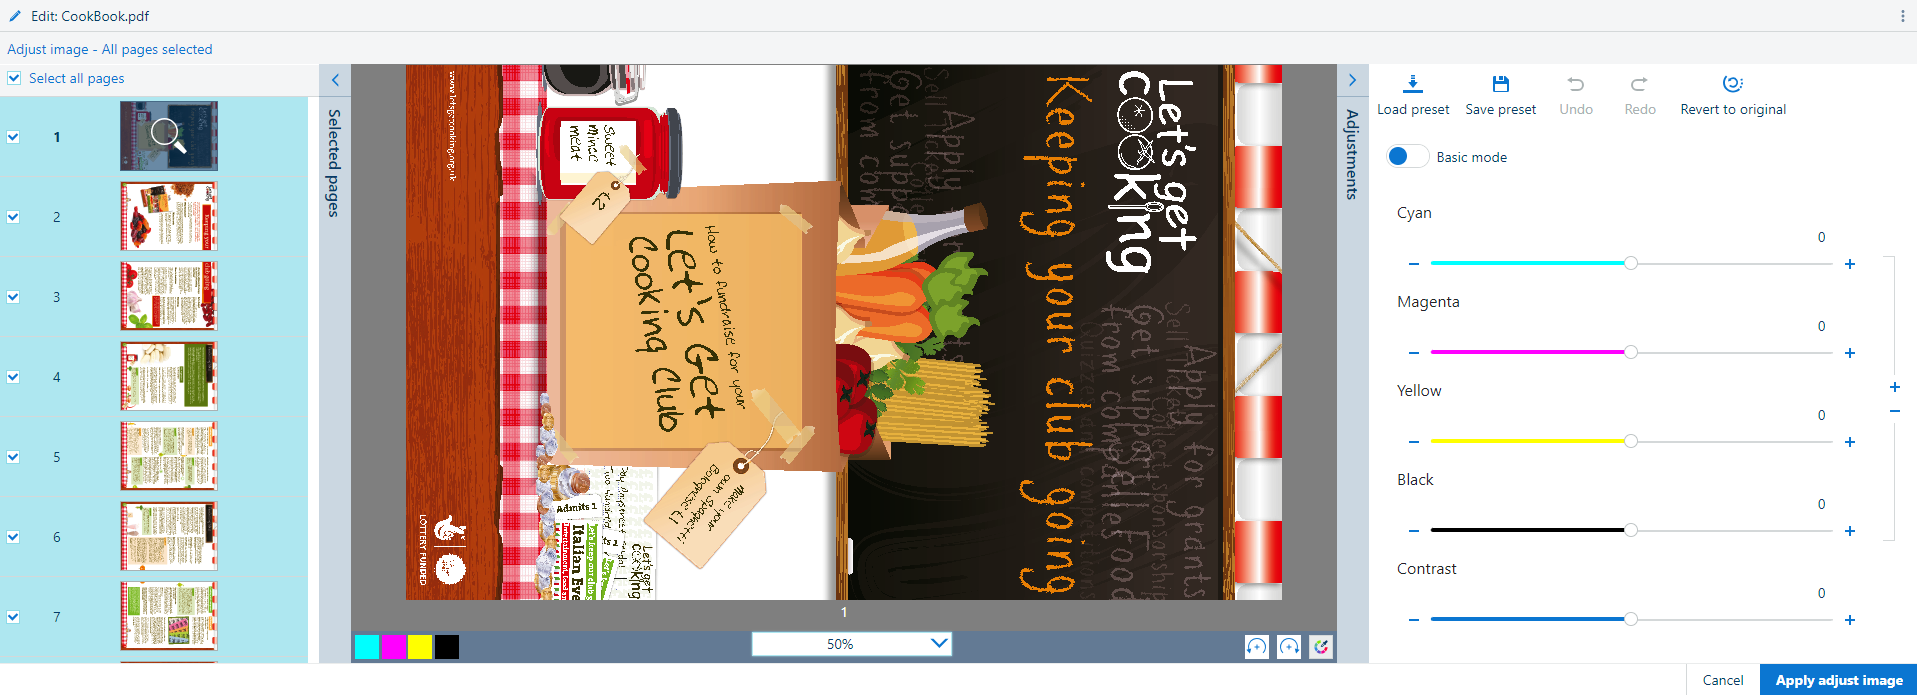 Adjust image
Browse the document with the help of the [selected pages] panel.
Select the pages. To select all pages, click [Select all pages].
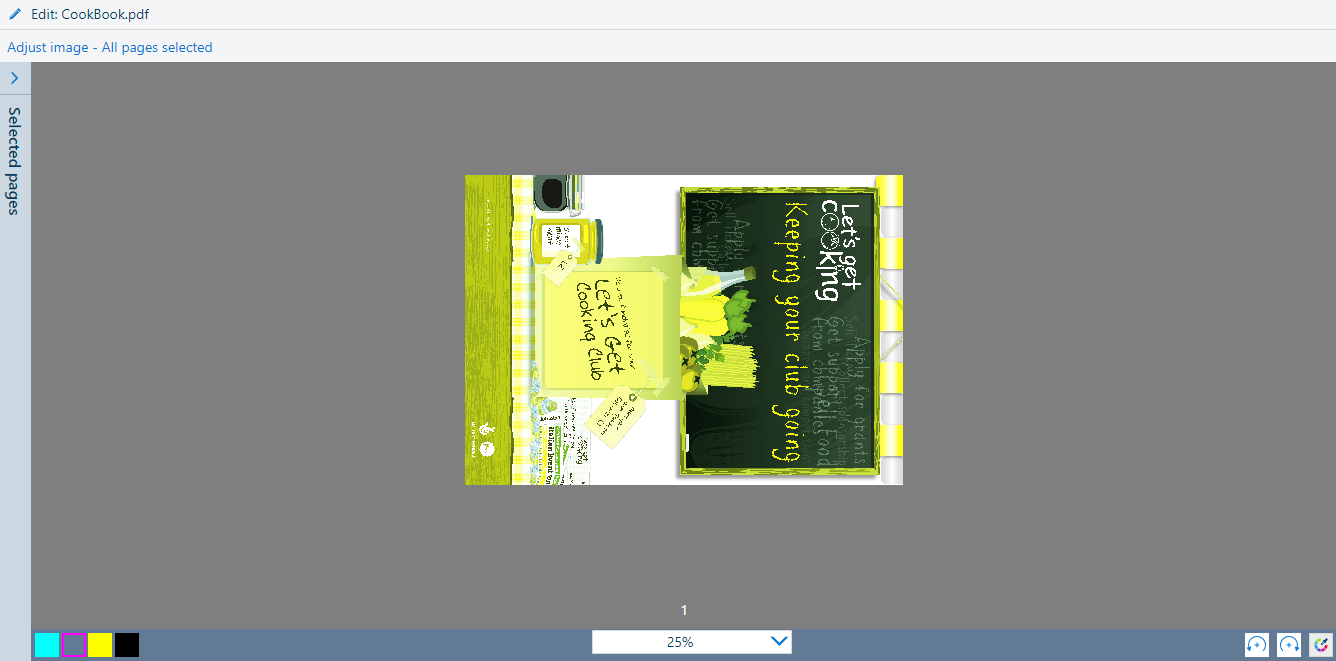
Touch
 to rotate the pages.
Select the zoom factor.
You can also use the scroll wheel to zoom in and out.

Click
 to compare the adjusted colors to the original colors.
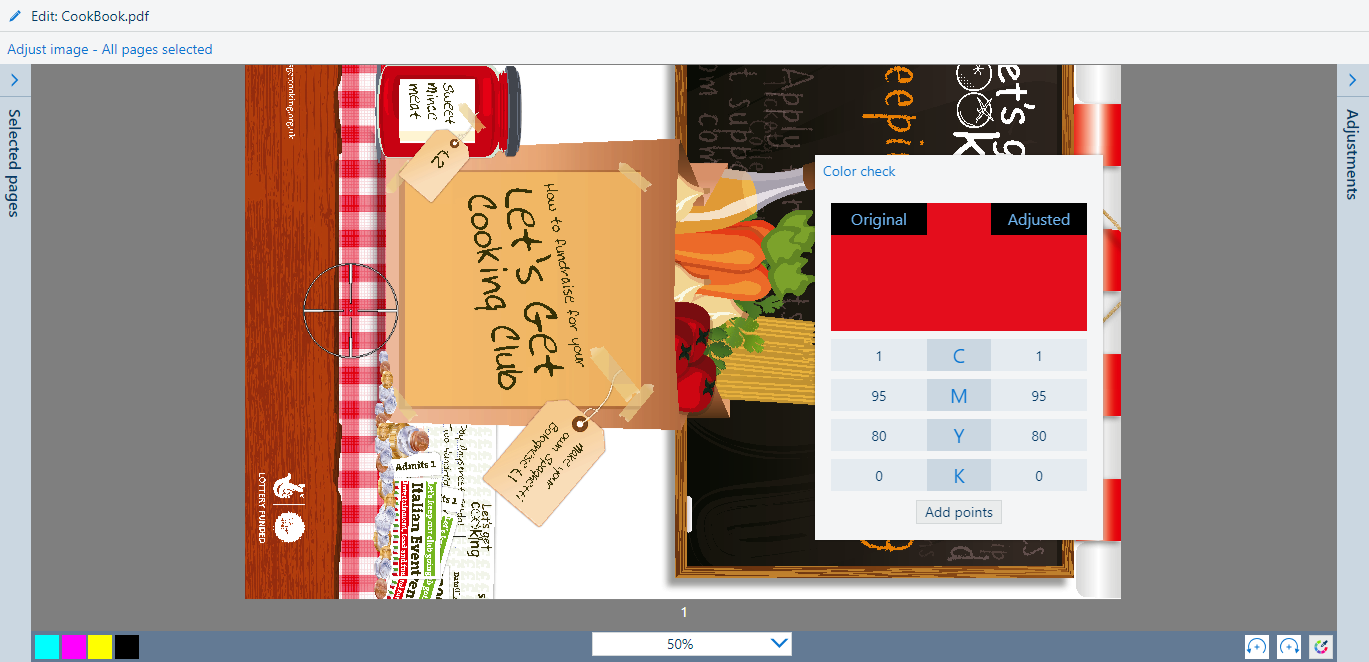
Touch one of the color channels. In this example, [M] is selected.
Use the toggle button to switch between [Basic mode] and [Advanced mode].
The [Basic mode] allows for simple CMYK editing with sliders for quick and easy adjustments.
The [Advanced mode] allows for precise and reproducible adjustments.
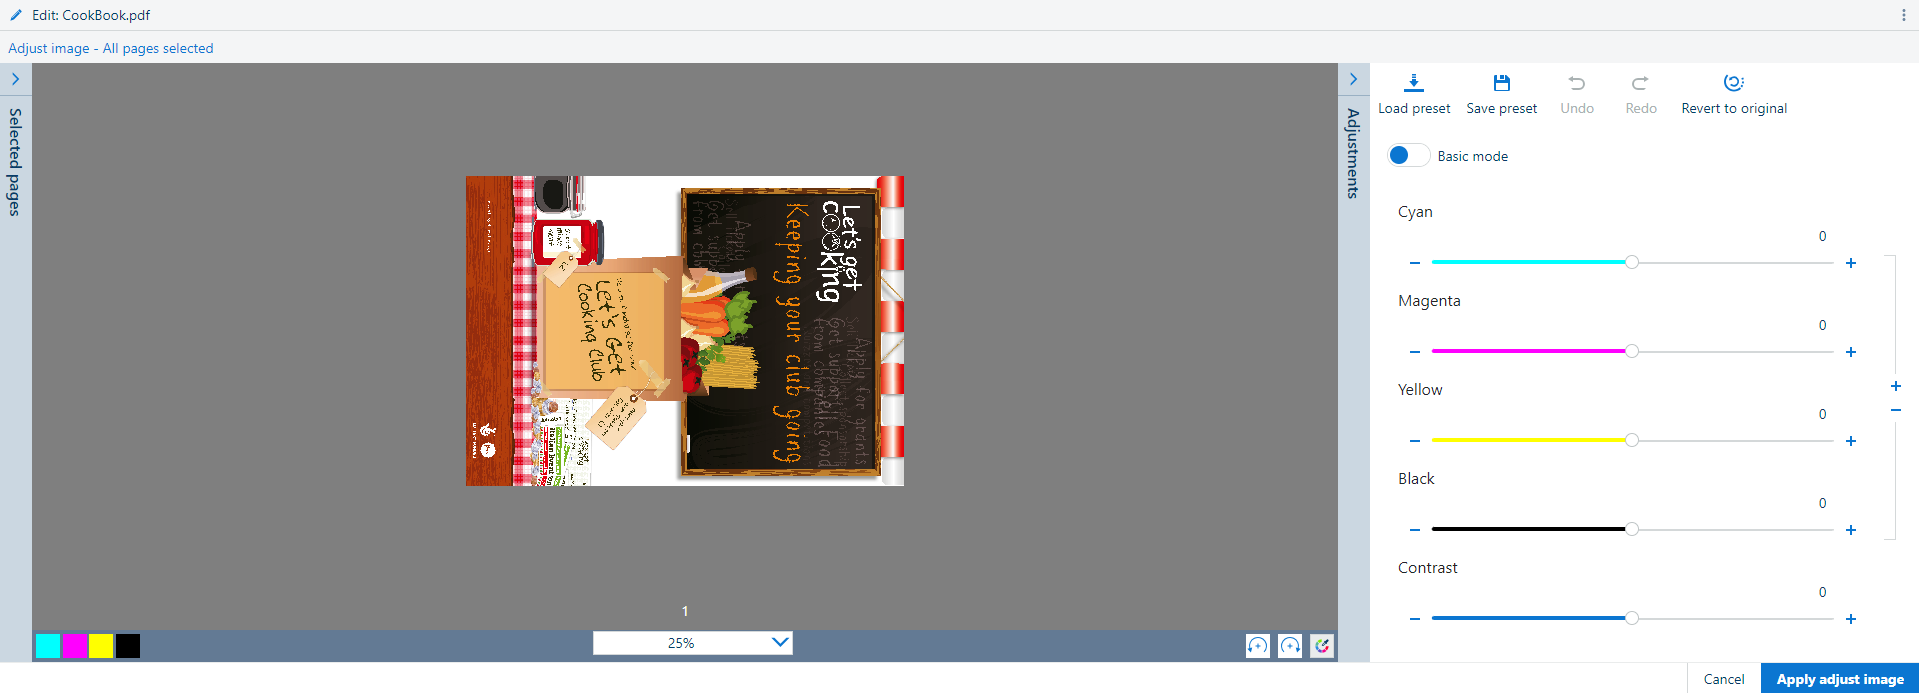 CMYK curves editor in basic mode
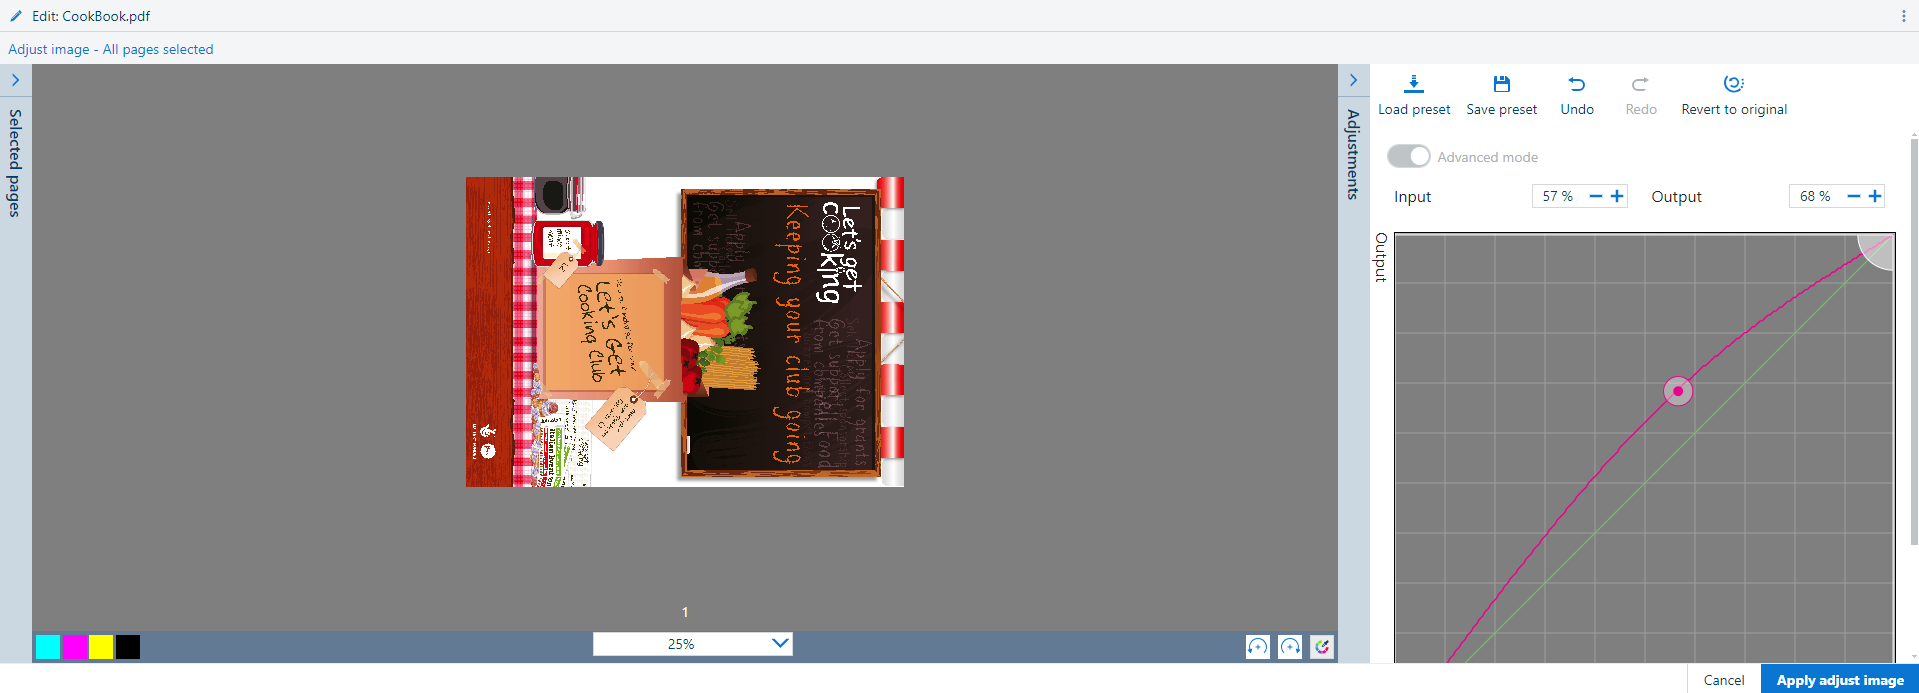 CMYK curves editor in advanced mode
Use the [Cyan], [Magenta], [Yellow], [Black], and [Contrast] sliders to adjust the colors.
Click [Load preset] to select one of the available color presets.
Click [Undo] to undo the last change.
Click [Redo] to redo the last change.
To save the changes in a color preset, click [Save preset] and enter a name.
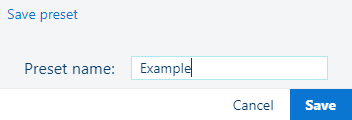 Save preset
Click [Confirm] to confirm the color preset name that you entered.
Click [Revert to original] to undo all changes.
Click [Apply adjust image] to apply the changes to the job.
Click [Cancel] to undo all changes and exit the [Adjust image] screen.