This topic describes how you can create a custom report based on an existing report. For detailed information of the tables, stored procedures, and views that you can use, see "The available tables, stored procedures and views of the PrintAccounting database".
To create a report from scratch, see Create a new Crystal report and add it to PRISMAdirect.
1. Download a default report of PRISMAdirect
Open the [Configuration] workspace.
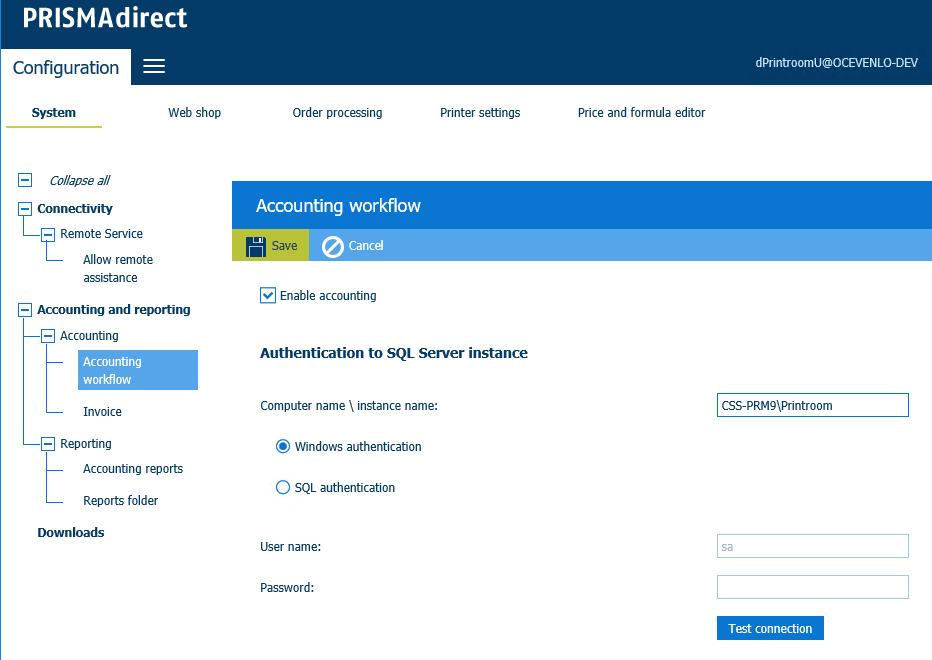
Click [System] - [Accounting and reporting] - [Accounting] - [Accounting workflow].
Enable the [Enable accounting] option.
Click [System] - [Accounting and reporting] - [Reporting] - [Reports folder].
Type the path to the reports folder. For example, C:\\MyReports. You have to create the reports folder on the server of PRISMAdirect. The reports folder stores the reports that are generated in workspace [Reporting].

Open the [Order processing] workspace and finalize an order.
When you finalize an order, any available accounting information is stored in the database along with the values of a number of ticket items. For example, information about the media and sheets.
Open the [Reporting] workspace.
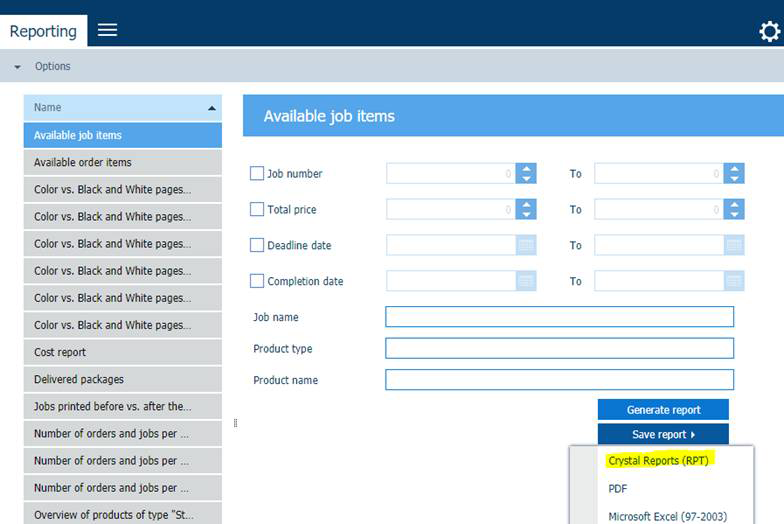
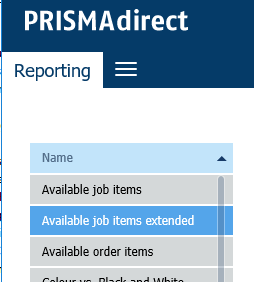
Select a report that has the most in common with the custom report that you want to create. Click [Generate report].
Click [Save report] and select Crystal Reports (RPT).
The report is downloaded to the reports folder. In this example: C:\\MyReports.
Go to the reports folder and change the name of the report. For example, you can rename the report to "Available job items extended.rpt".
2. Make the PrintAccounting database available to Crystal Reports
Open Crystal Reports and open the report.
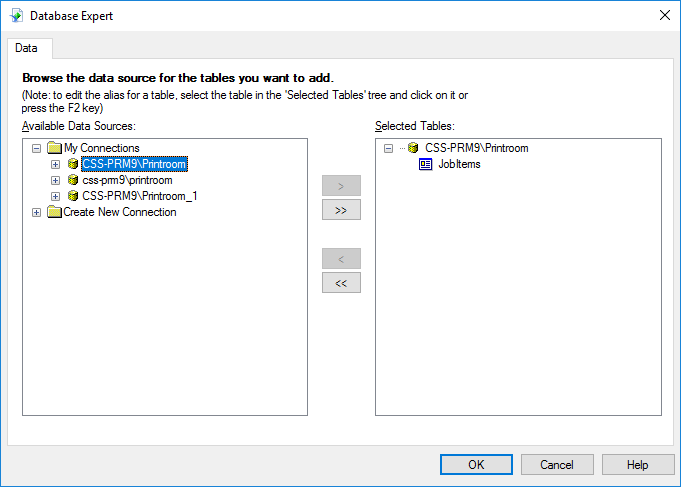
Click "Database - Database Expert".
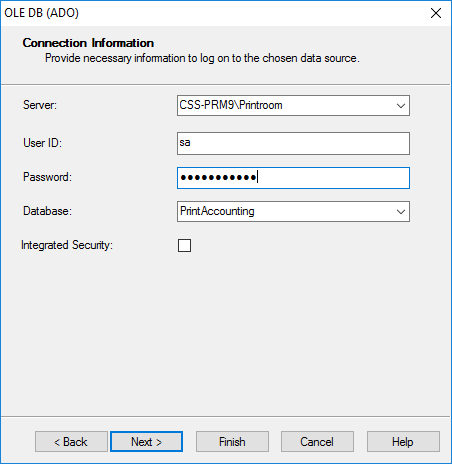
Double-click <computer_name>\Printroom to log in to the PrintAccounting database.
Type the password for user sa in the "OLE DB (ADO)" dialog that appears automatically. You have defined the password for user sa when you installed PRISMAdirect.
Click [Finish].
The PrintAccounting database is now available to Crystal Reports.
3. Customize the report with additional items from the PrintAccounting database
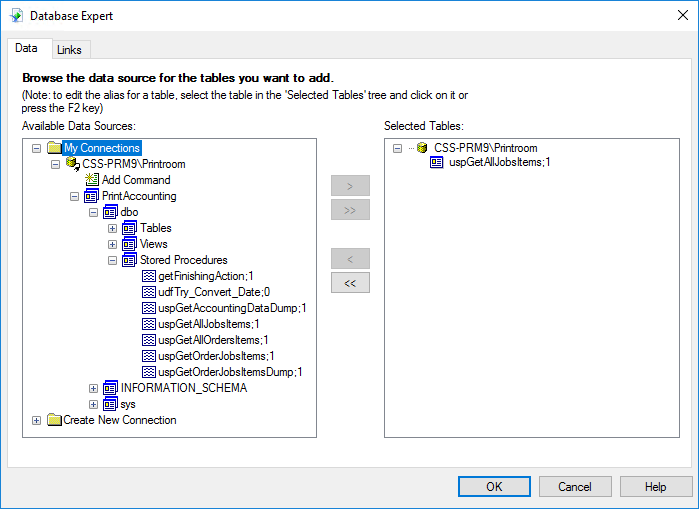
In the "Database Expert" dialog, you can see that the default report that you selected contains table JobItems. In this example, you want to add one or more custom job items to the customized report.
Use only one stored procedure per report. Do not select an additional table or stored procedure when you already use a stored procedure for a report. More than one stored procedure in a report can lead to serious performance issues, especially for databases with many records.
When you create a report, you can select tables or one stored procedure. Each table contains a limited set of ticket items. A stored procedure is a group of SQL-statements compiled into a single execution plan. You can select one of the following stored procedures per report:
uspGetAllOrdersItems
Contains all order ticket items including the custom ticket items at order level.
uspGetAllJobsItems
Contains all job ticket items including the custom ticket items at job level.
uspGetOrderJobsItems
Contains all order and job ticket items including the custom ticket items at order level and job level.
Select the table JobItems in the right-hand screen and click "<" to remove the table.
Go to the stored procedures, select uspGetAllJobsItems and click ">" to add it to the selected tables. This stored procedure contains all job items, both the default items and the custom items.
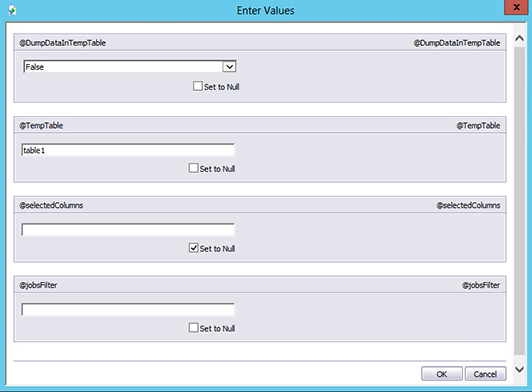
The "Enter Values" dialog appears automatically:
Select False for @DumpDataInTempTable.
Type a unique name for @TempTable, for example "table1".
@selectedColumns:
Later in this procedure, you can select which fields you want to display in the report. In that step, you can select from a set of available fields.
Enable option "Set to Null" if you want to display all available fields.
Fill this parameter with the desired fields names if you want to display only a subset of the available fields. Separate each field name with a comma.
You can filter the results of the stored procedure using a valid WHERE clause. The WHERE clause is the condition of a SQL query. The name of the parameter that can contain the WHERE clause depends on the selected stored procedure. In this example, procedure uspGetAllJobsItems is selected and therefore the parameter name is @jobsFilter:
Type a valid WHERE clause in this parameter to filter the results of the stored procedure.
For example, stored procedure uspGetAllJobsItems queries the tables JobItems and JobCustomItems. Table JobItems contains amongst others column JobNumber. So, you can filter the results by using JobNumber > 5 AND JobNumber < 20 in parameter @jobsFilter.
Leave this parameter empty if you do not want to filter the results of the stored procedure. Do not select "Set to Null".
Click OK.
Click OK and close the "Database Expert" dialog.
A message can appear ("A stored procedure has been used in this report. Please make sure …"), click OK. A second message can appear ("Refresh report data?"). Click OK.
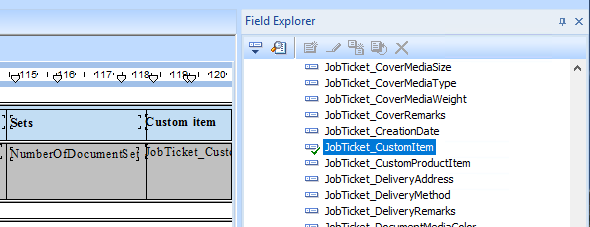
Click "View - Field Explorer".
Expand the stored procedure to find the item that you want to add to your custom report.
Right-click the item and select "Insert to report".
The item is added to the report.
Configure the report to accommodate for the new custom job item.
You can add and remove items to and from the report. Change the design of your report accordingly.
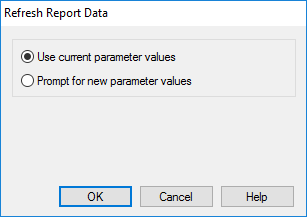
Click "Report - Refresh Report Data".
Select "Use current parameter values" and click OK.
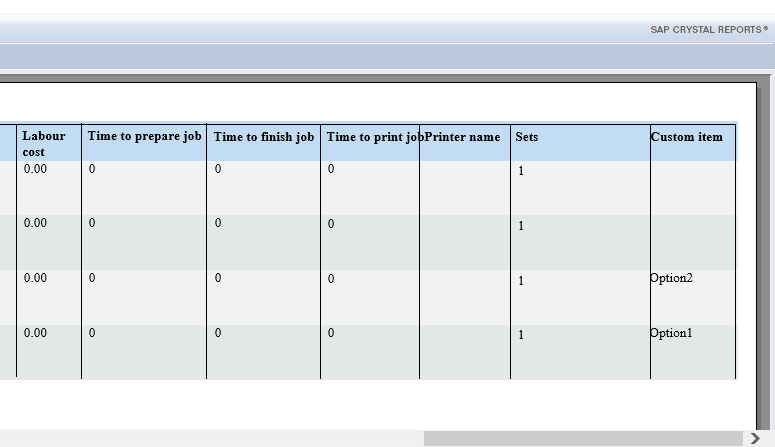
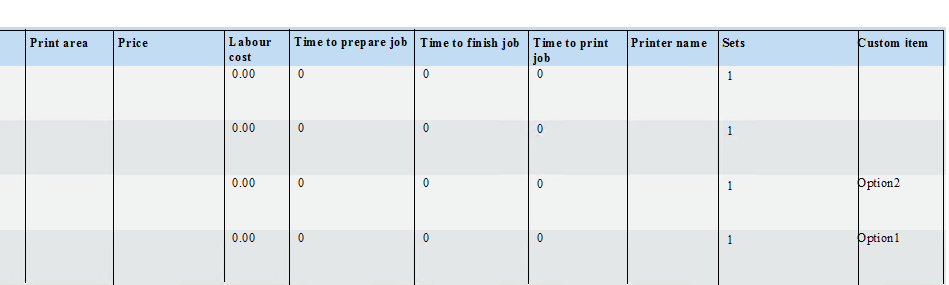
The preview of the report appears. The current values for the newly added items are displayed in the report. Check if your report is correct.
Click "File - Save".
4. Upload your custom report in PRISMAdirect
Open the [Reporting] workspace.
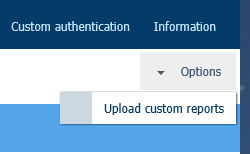
Click [Options] - [Upload custom reports].
Browse to the RPT file in question.
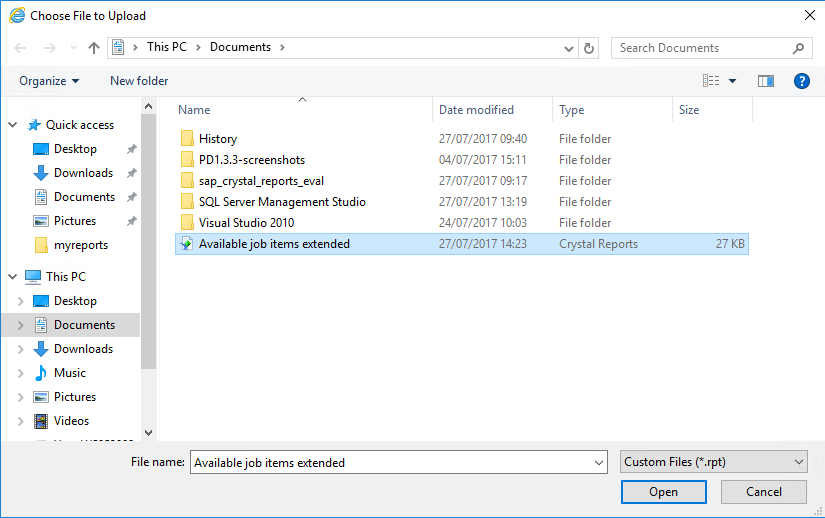
Click [Open].
The report is added to the [Reporting] workspace.
Now, you can generate the concerning report in PRISMAdirect. The report contains the new Custom item.