
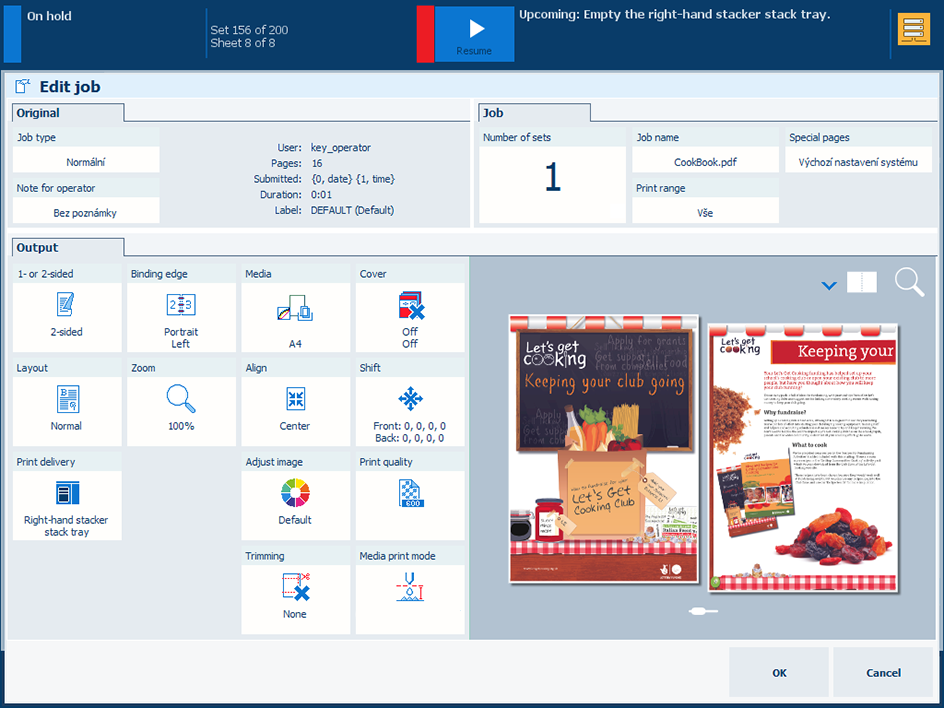
The print quality settings are defined during the job preparation. When jobs arrive in the list of waiting jobs, there is time to check the print quality properties.
The [Adjust image] tile gives access to the pixel-precise editor and the CMYK curve editor.
 Edit job
Touch the job.
Press [Edit].
On the [Output] tab, touch [Print quality].
The color preset settings define the main color settings of the job. You can change one or more settings for your job. In addition, you can save the changed color preset for later reuse.
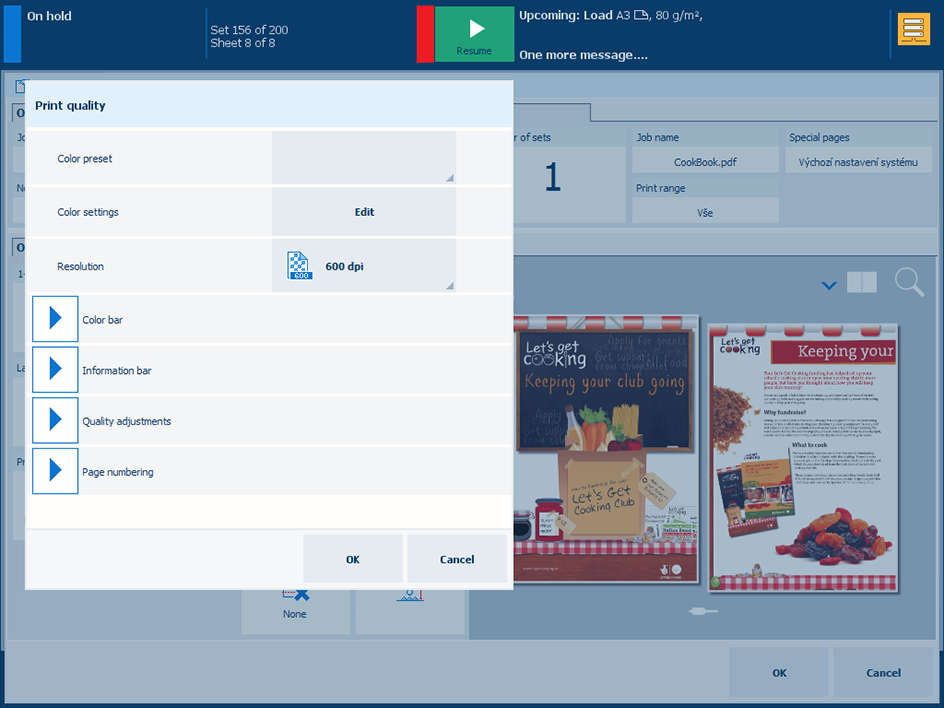 Print quality properties
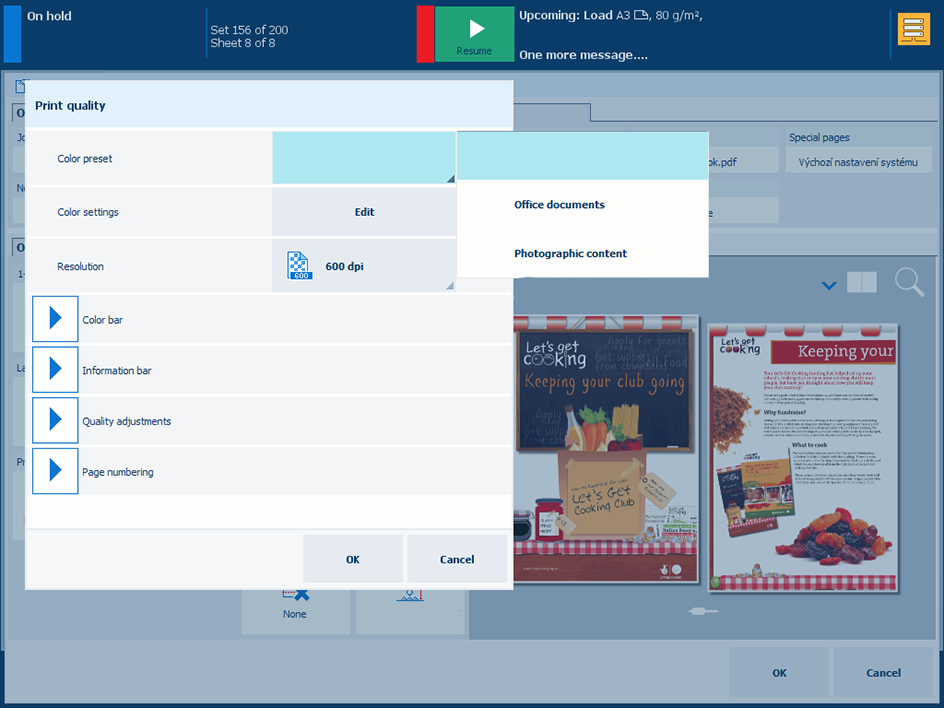
Use the [Color preset] to select one of the available color presets.
 Adjust color preset
Touch [Edit color settings] .
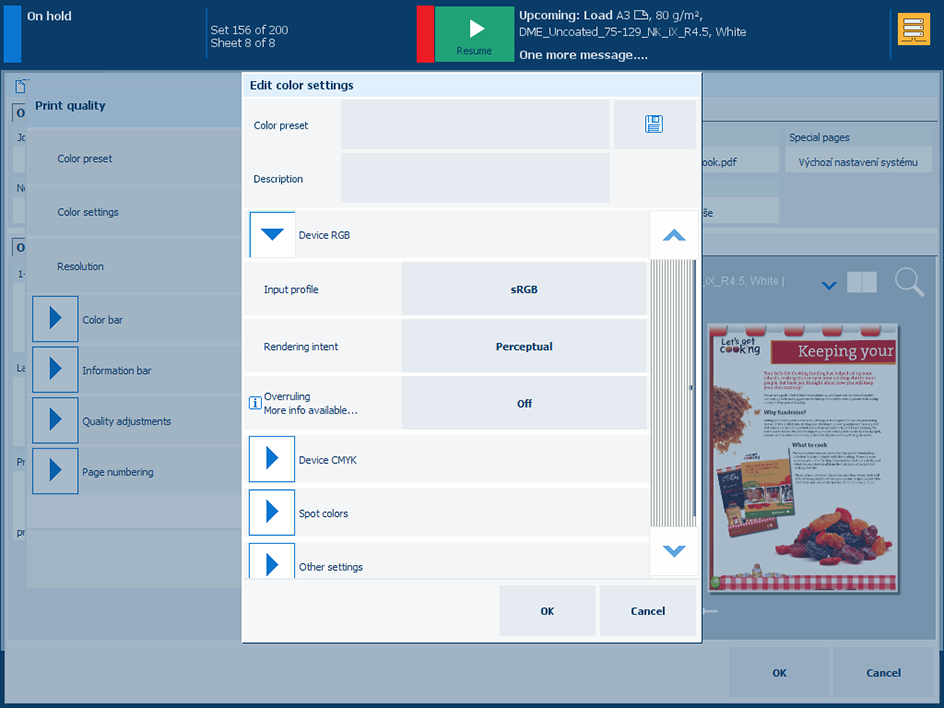 Adjust color settings
 Use the [Input profile] drop-down list to select one of the available DeviceCMYK or DeviceRGB input profiles.
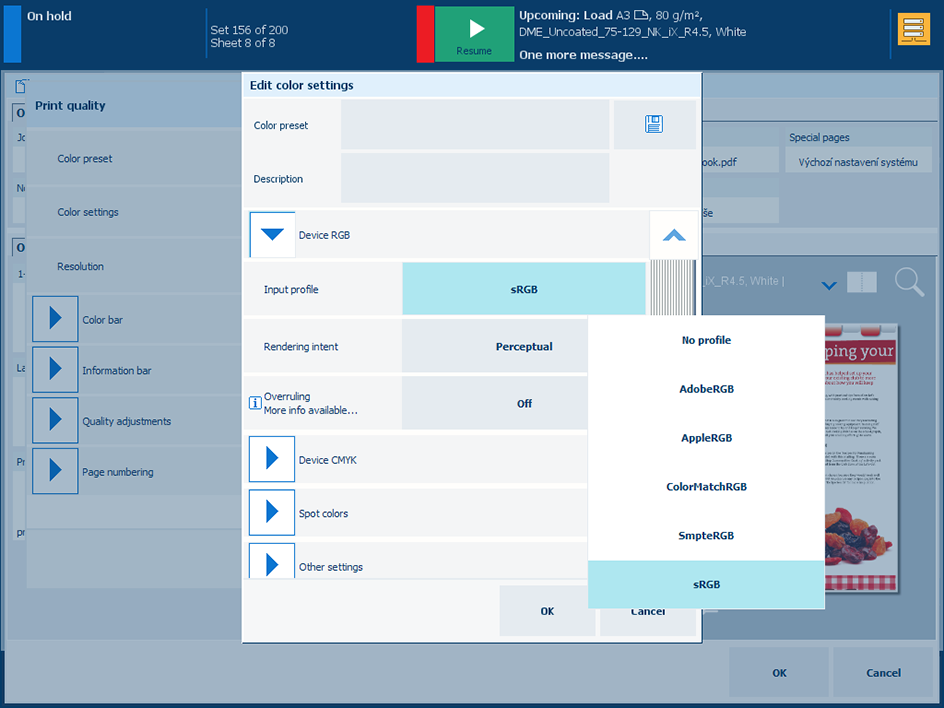 Adjust DeviceRGB input profile
 |
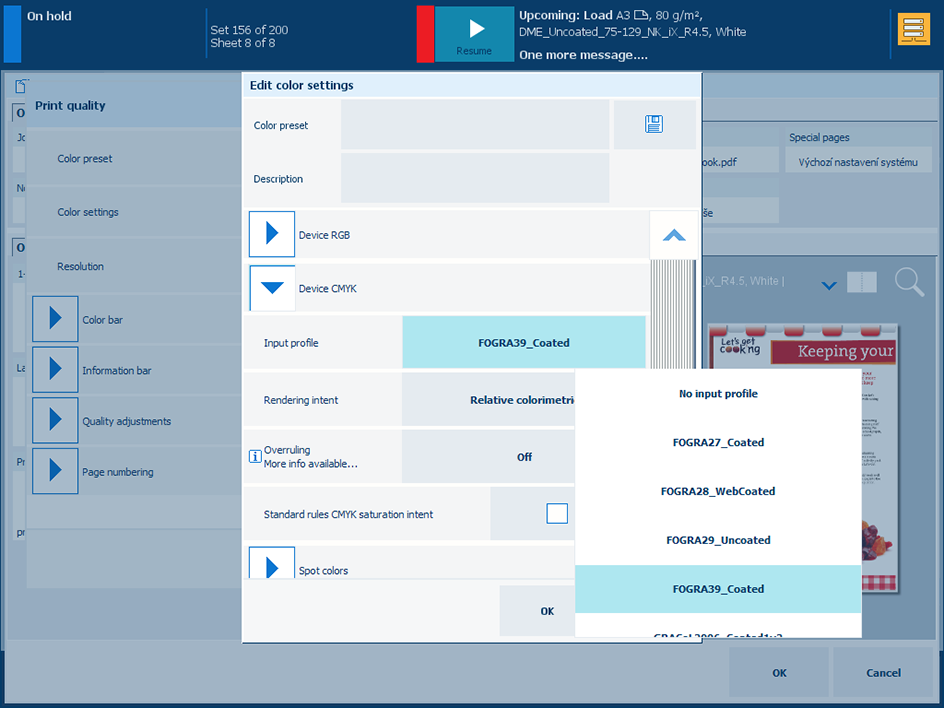 Adjust DeviceCMYK input profile
 |
Use the [Overruling] setting to indicate if the RGB or CMYK embedded input profile and rendering intent must be overruled or not.
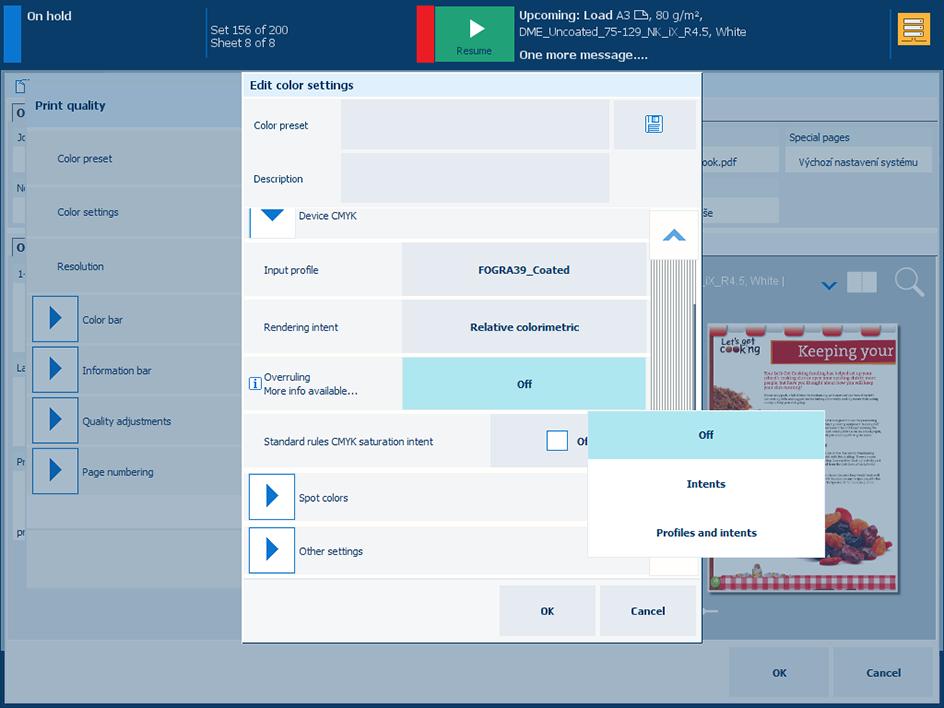 Overruling of embedded input profile or rendering intent
[Off]: no overruling of embedded input profile and rendering intent.
[Intents]: only overruling of embedded rendering intent.
[Profiles and intents]: overruling of embedded input profile and rendering intent.
Use the [Standard rules CMYK saturation intent] setting to indicate if the standard ICC color management rules of the CMYK saturation intent must be applied. For the CMYK saturation intent, the printer by default maps pure (100%) C, M, Y and K input colors into pure C, M, Y and K output colors. However, it can be required that the standard ICC color management rules must be used without an improvement of the color management of the printer.
Use the [Spot color matching] setting to enable or disable spot color matching. If a source file contains a spot color, the printer must know the spot color definition to exactly print the required color.
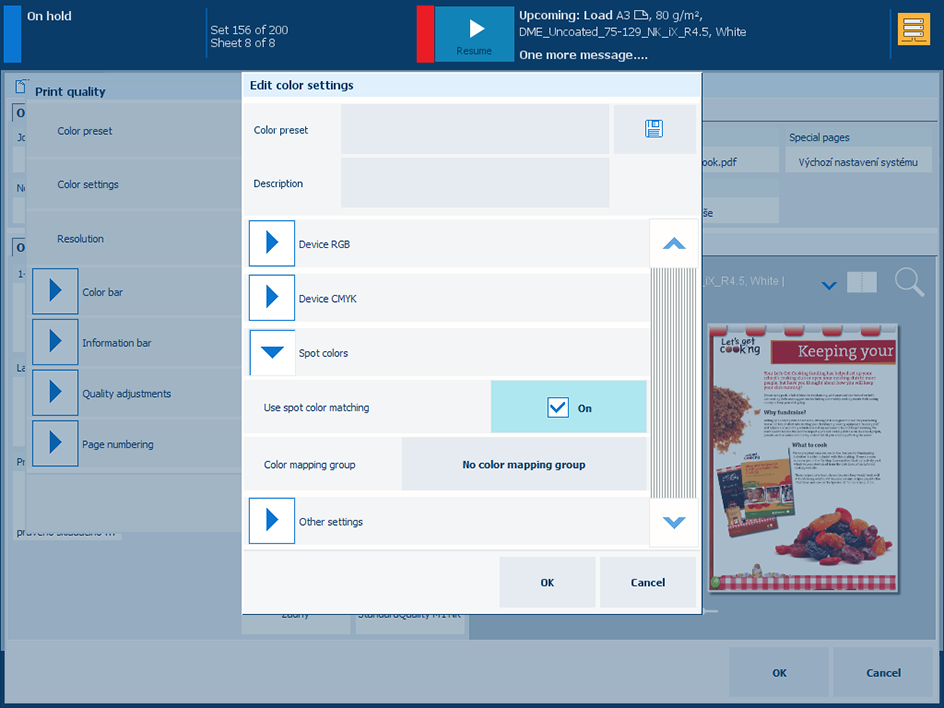 Adjust color mapping
If the [Spot color matching] setting is enabled, you can select a color mapping group. With color mapping you can re-define the color values of a source color (RGB, CMYK or spot color).
Use the [Print black & white] setting to define how jobs are printed: in black and white or in color.
 Adjust printing in black and white or in color
Use the [PDF overprint simulation] setting to make opaque objects look transparent. Underlying objects become visible. If this function is disabled, the colors on top will knock out all underlying colors.
Use the [Use PDF/X output intent] setting to indicate if PDF source files are printed according to their embedded output intent. PDF/X specifies the printing conditions for which a PDF/X file is created. These printing conditions are called output intents. The printer can handle PDF/X compliant PDF source files. Then, the output intent overrules the DeviceCMYK rendering intent and DeviceCMYK input profile.
Use the [Overprinting black] setting to force the printer to print pure black text and graphics over the background color. The [Overprinting black] prevents that white lines appear around black characters and graphics.
[As in document]: overprinting black is not applied.
[Enabled for text]: overprinting black is applied to texts.
[Enabled for text and graphics]: overprinting black is applied to texts and graphics.
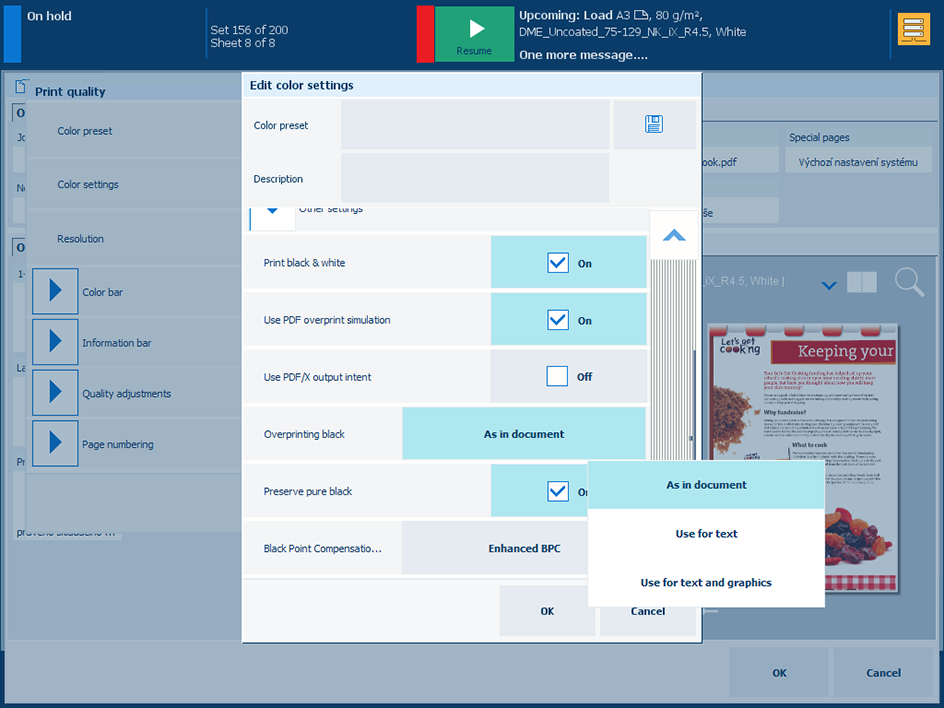 Adjust overprinting black
Use the [Preserve pure black] setting to apply pure black preservation when possible. Pure black preservation means that the color black is composed of 100% K ink. When pure black preservation is not possible or disabled, the color black is composed of a mixture of two or more C, M, Y, and K inks.
The [Black Point Compensation (BPC)] setting applies to the relative colorimetric rendering intent. Details in dark regions of the document can be lost with the standard color conversion. The Black Point Compensation aligns the darkest level of black achievable (black point) of the source to the darkest level of black achievable on the printer.
[Disabled]: Black Point Compensation is not applied.
[Adobe BPC]: the Adobe implementation of [Black Point Compensation (BPC)].
[Enhanced BPC]: when the black point in the document is rather light, select [Enhanced BPC].
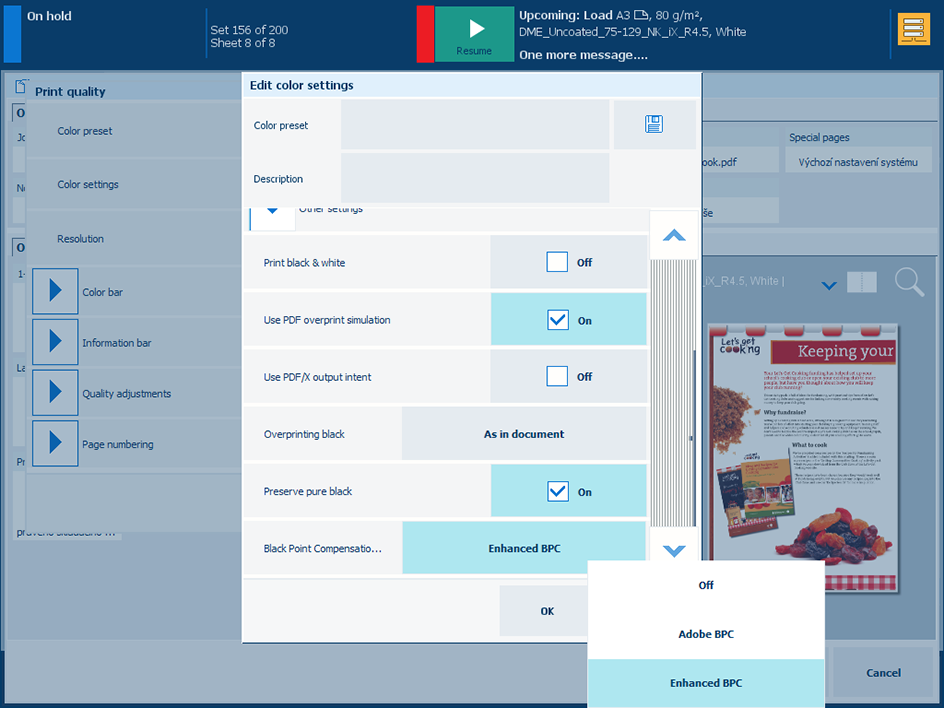 Adjust BPC
When you want to save the changes in a color preset, touch [Save color preset] and enter a name.
Touch [OK] to save the changes for the job.
When you want to print a color bar, select one of the available color bars.
Use the [Color bar] drop-down list to select the required color bar.
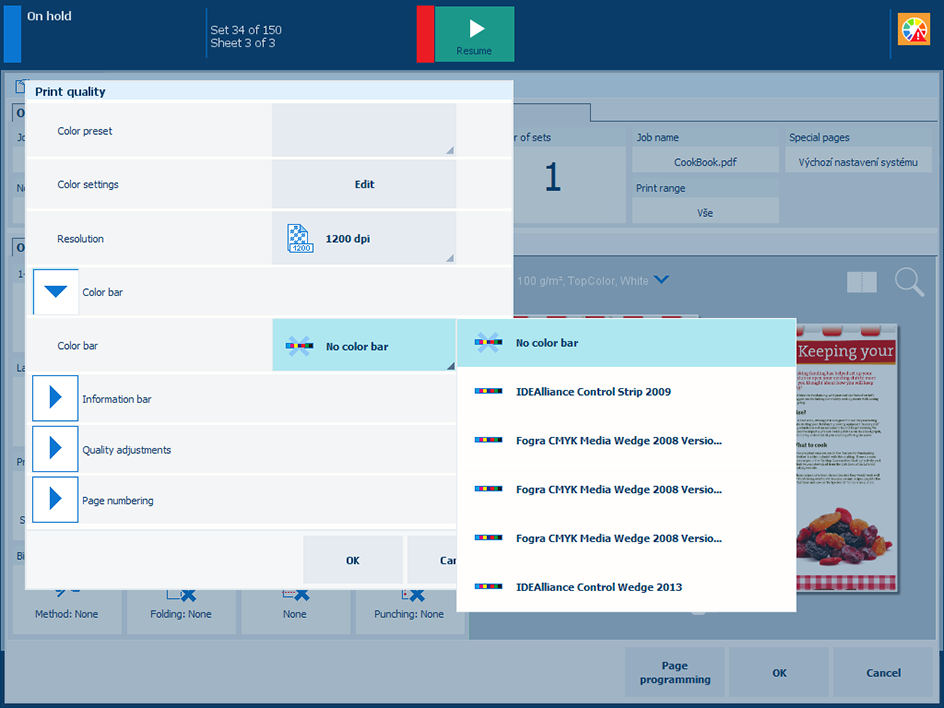 Adjust the color bar
Touch [OK] to save the changes.
When you want to print an information bar, select one of the available information bars.
Use the [Information bar] drop-down list to select the required information bar.
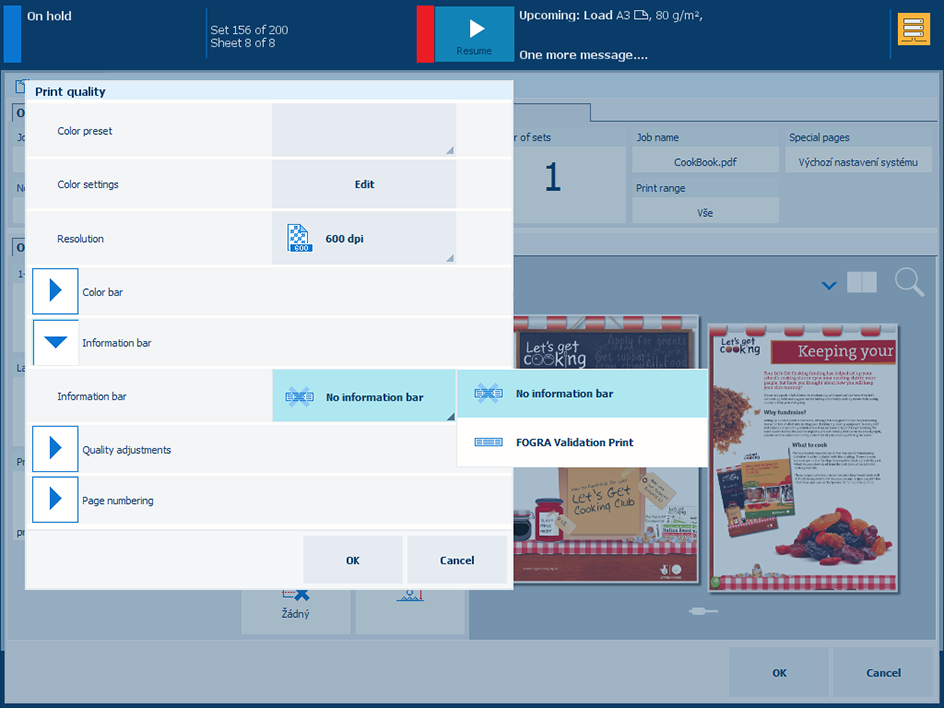 Adjust the information bar
Touch [OK] to save the changes.
The default font and the font size are pre-defined.
Use the [Page numbering] check box to indicate the use of page numbers.
Touch [OK] to save the changes.
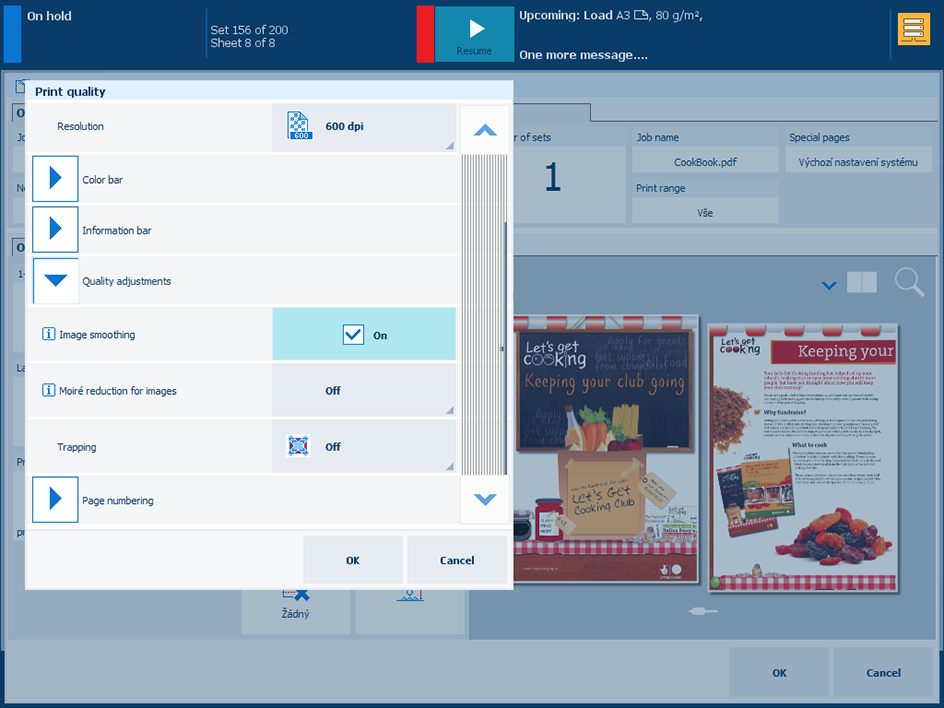 Use the quality adjustments settings
Open the [Quality adjustments] group.
Use the [Image smoothing] setting to prevent unsmooth lines and image blocks in the document. This occurs when source objects have a lower resolution than the printer. The [Image smoothing] interpolation method only affects images below 300 dpi.
Touch [OK] to save the changes.
Open the [Quality adjustments] group.
Use the [Moiré reduction for images] setting to apply a Moiré reduction algorithm to enhance photographic images. Please note that when images have a resolution below 300 dpi, the Moiré reduction only takes effect when the [Image smoothing] setting is enabled.
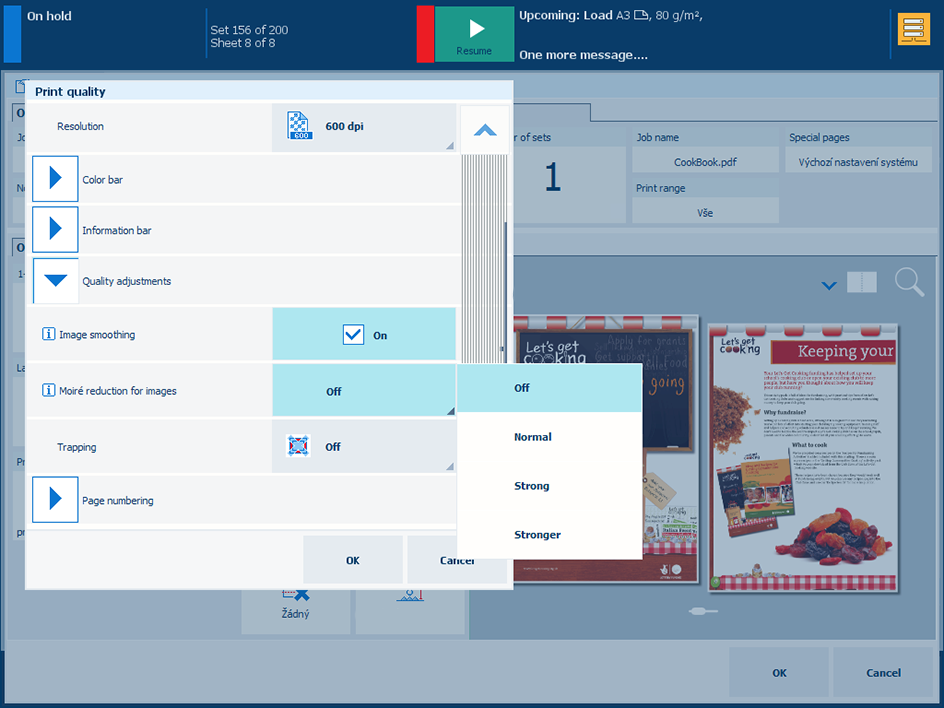 Use Moiré reduction for images
Touch [OK] to save the changes.
When you want to improve the object registration, you can select one of the available trapping presets or create a new trapping preset.
Open the [Quality adjustments] group.
Use the [Trapping] drop-down list to disable the trapping or to select one of the available trapping presets.
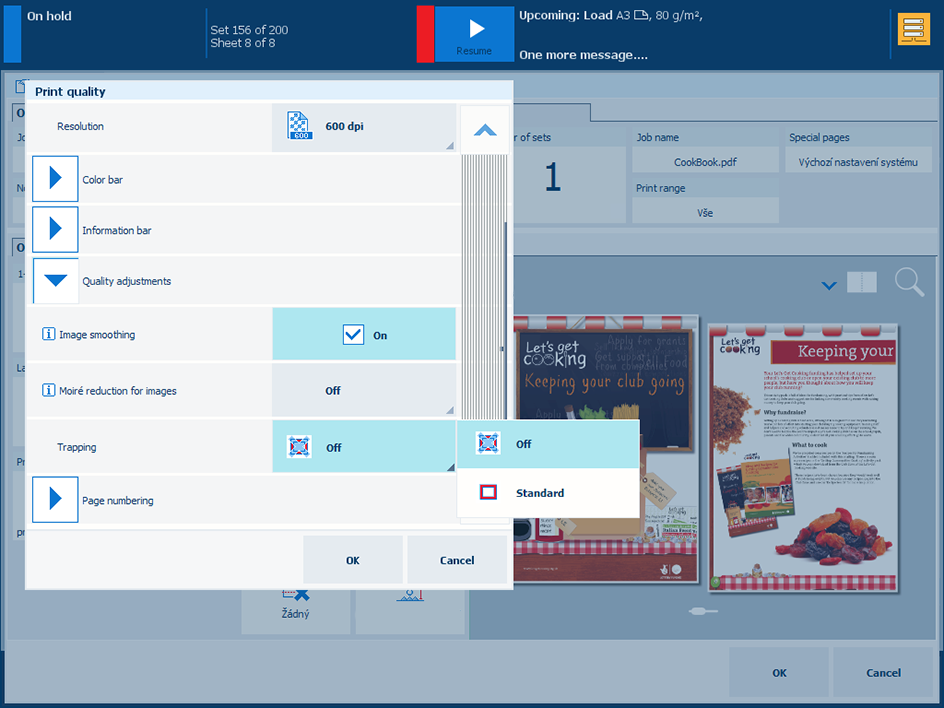 Use a trapping preset
Touch [OK] to save the changes.