
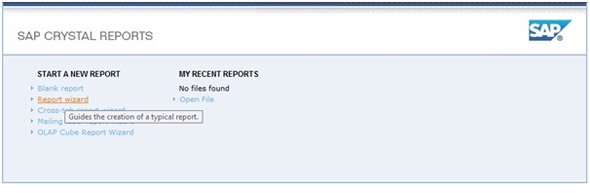
This topic describes how you can create reports using Crystal Reports which is a third party component. You have to upload the created reports in PRISMAdirect.
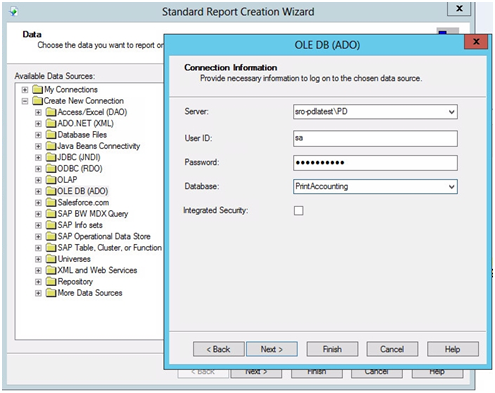
The PrintAccounting database is now available to Crystal Reports.
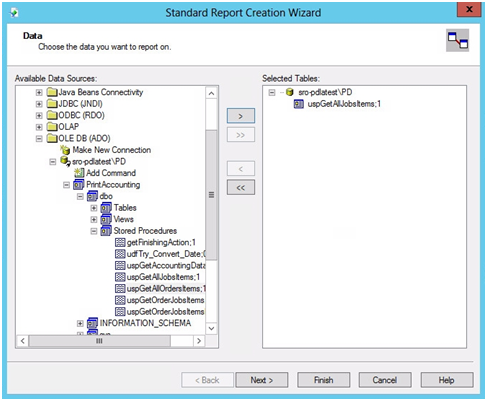
You can select tables or a stored procedure. A stored procedure is a group of SQL-statements compiled into a single execution plan. Each table contains a limited set of ticket items.
Use only one stored procedure per report. Do not select an additional table or stored procedure when you already use a stored procedure for a report. More than just one stored procedure in a report can lead to serious performance issues, especially for databases with many records.
When you create a report, you can select tables or one stored procedure. Each table contains a limited set of ticket items. A stored procedure is a group of SQL-statements compiled into a single execution plan. You can select one of the following stored procedures per report:
uspGetAllOrdersItems
Contains all order ticket items including the custom ticket items at order level.
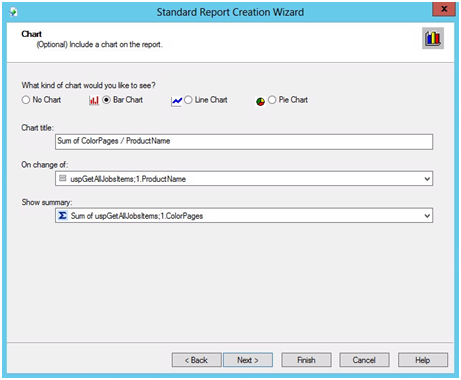
uspGetAllJobsItems
Contains all job ticket items including the custom ticket items at job level.
uspGetOrderJobsItems
Contains all order and job ticket items including the custom ticket items at order level and job level.
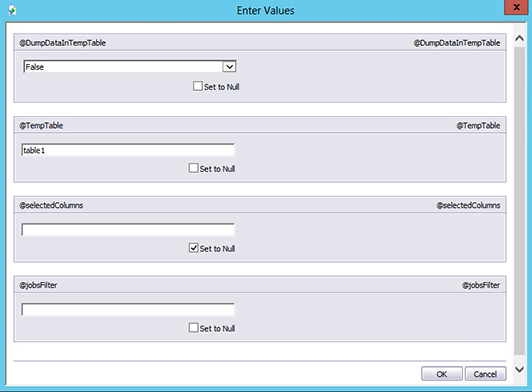
Select False for @DumpDataInTempTable.
Type a unique name for @TempTable, for example "table1".
@selectedColumns:
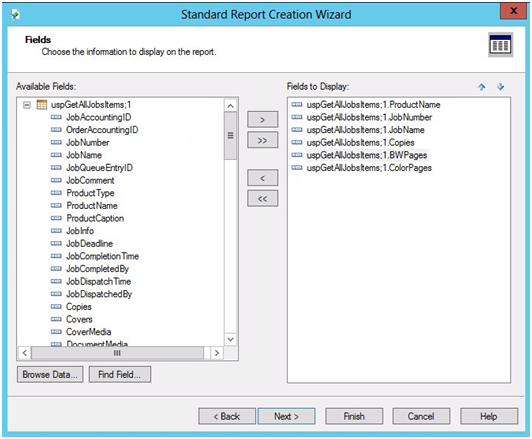
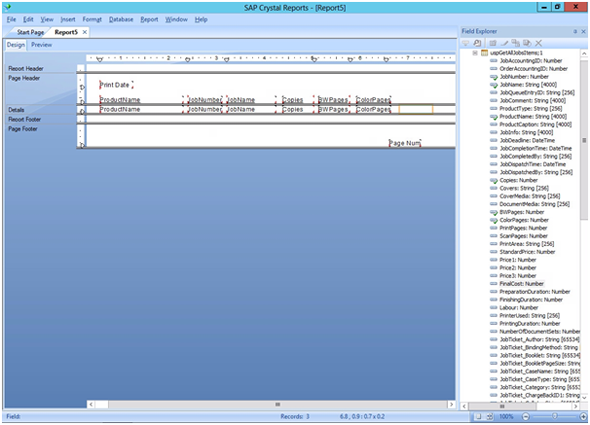
Later in this procedure, you can select which fields you want to display in the report. In that step, you can select from a set of available fields.
Enable option "Set to Null" if you want to display all available fields.
Fill this parameter with the desired fields names if you want to display only a subset of the available fields. Separate each field name with a comma.
You can filter the results of the stored procedure using a valid WHERE clause. The WHERE clause is the condition of a SQL query. The name of the parameter that can contain the WHERE clause depends on the selected stored procedure. In this example, procedure uspGetAllJobsItems is selected and therefore the parameter name is @jobsFilter:
Type a valid WHERE clause in this parameter to filter the results of the stored procedure.
For example, stored procedure uspGetAllJobsItems queries the tables JobItems and JobCustomItems. Table JobItems contains amongst others column JobNumber. So, you can filter the results by using JobNumber > 5 AND JobNumber < 20 in parameter @jobsFilter.
Leave this parameter empty if you do not want to filter the results of the stored procedure. Do not select "Set to Null".
Click OK.
The report is added to the [Configuration] workspace. Now, you can generate the concerning report in PRISMAdirect.