
此说明适用于 [来自域的用户名;EAP-TLS] 身份验证方法。此身份验证方法是指您在 PRISMAsync Print Server 上选择的方法。
以下说明适用于 Windows Server 2016。其他系统可能需要其他配置。有关完整说明,请参阅供应商文档。
以下配置已经完成。
 在身份验证服务器上配置 IEEE 802.1X(第 1 阶段)
在验证器上配置 IEEE 802.1X
在 PRISMAsync Print Server 上配置 IEEE 802.1X
请按所列顺序执行这些说明。
在 [Server Manager] 中单击 [Tools]。
 [Server Manager]选项
打开 [Active Directory Users and Computers] 控制台。
右键单击域名,再单击 [New]。然后单击[Group]。
输入组的名称。
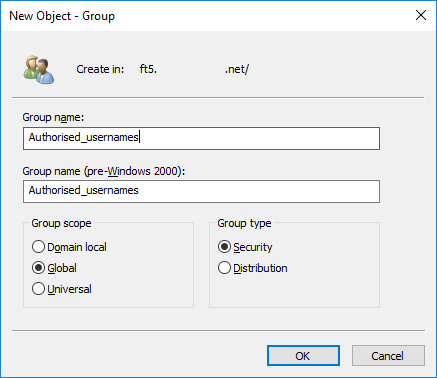 新组
新组在 [Group scope] 选项组中选择 [Global]。
在 [Group type] 选项组中选择 [Security]。
单击[OK]。
在 [Server Manager] 中单击 [Tools]。
[Server Manager]选项打开 [Active Directory Users and Computers] 控制台。
打开域条目。
右键单击[Users]。
单击[New]。然后单击[User]。
输入用户名字段。然后单击[Next]。
PRISMAsync Print Server identity 证书的 [使用者备用名称 1] 、[使用者备用名称 2] 或 [使用者备用名称 3] 字段所包含的用户名被写为 UPN 名称(Internet 样式名称,例如:username@example.com) 或Fully Qualified Domain Name (FQDN) 名称,例如:username.example.com.您将在此处输入 UPN 或 FQDN 的用户名部分。
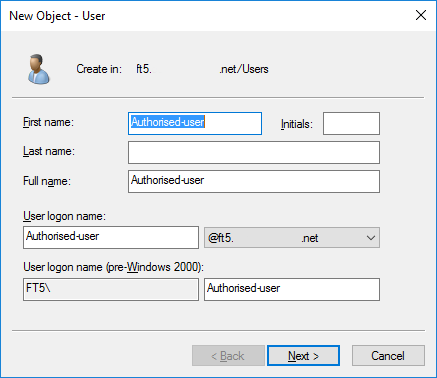 新用户
新用户单击[Finish]。
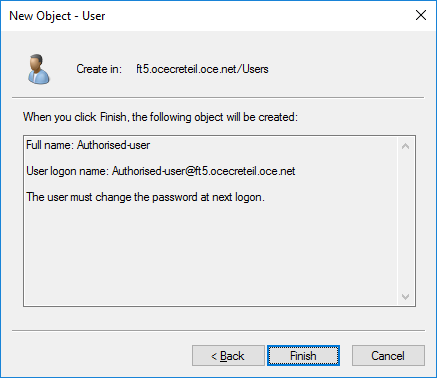 新用户
新用户添加用户后,右键单击该用户。然后单击[Properties]。
单击 [Member Of] 选项卡,然后单击 [Add...] 以添加您在说明 1 中创建的组。
 新用户
新用户单击[Dial-in]选项卡。
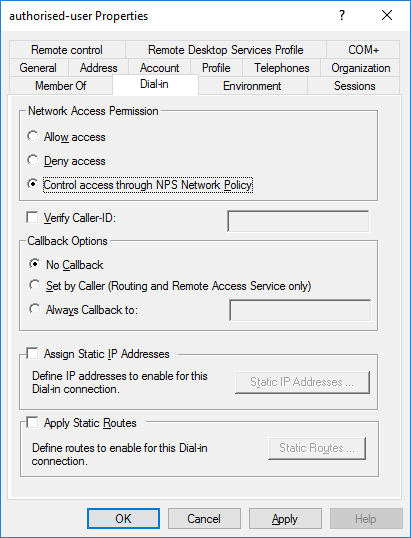 [Dial-in]标签
在 [Network Access Permission] 选项组中选择 [Control access through NPS Network Policy]。
单击 [OK]。
在 [Server Manager] 中单击 [Tools]。
[Server Manager]选项打开 [NPS] 控制台。
打开 [Policies] 目录。
右键单击[Network Policies]。然后单击 [New] 以打开 [New Network Policy] 向导。
输入策略名称。
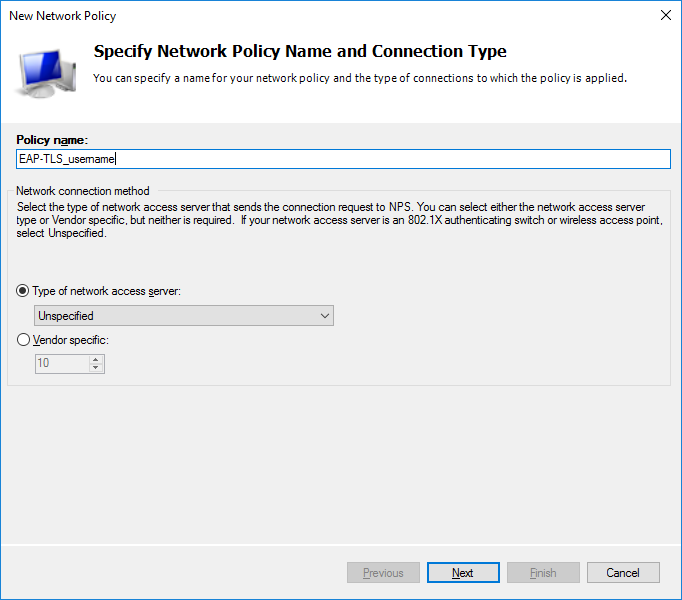 [Network Policies]选项
确保在 [Type of network access server] 选项中选择了 [Unspecified]。
单击[Next]。
在 [Specify Conditions] 页面上,单击 [Add...],然后选择 [Windows Groups]。
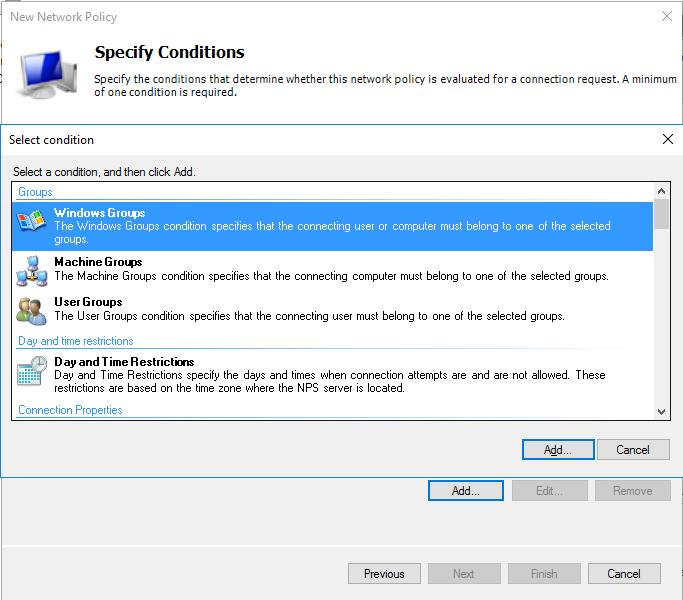 [Network Policies] 向导
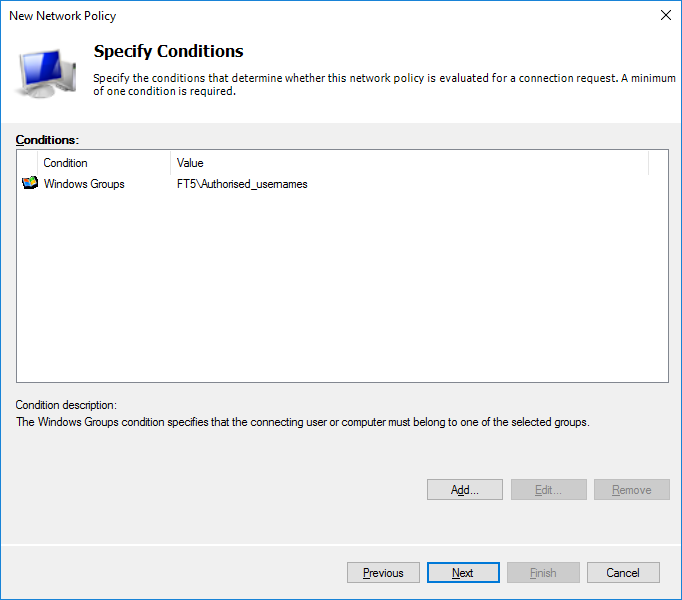
单击 [Add...] 以添加并选择在说明 1 中创建的组。
 [Network Policies] 向导
单击 [OK] 以关闭该 [Select Group] 对话框。
单击[Next]。
 [Network Policies] 向导
在 [Specify Access Permission] 页面上,选择 [Access granted]。
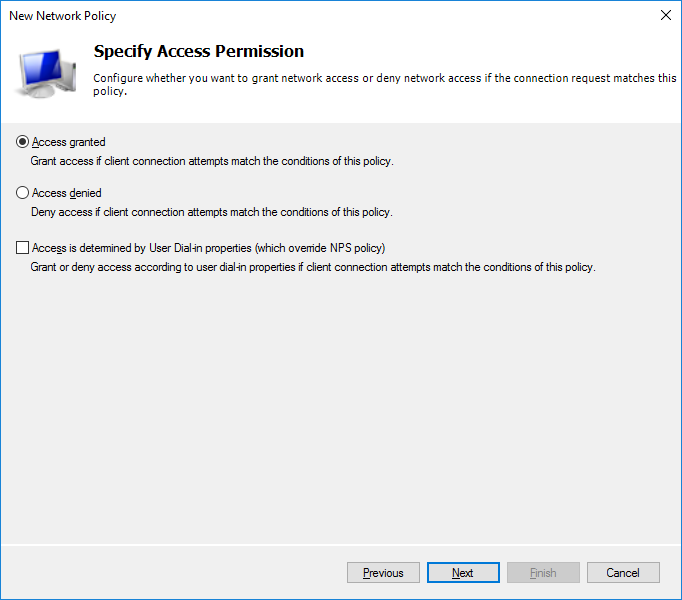 [Network Policies] 向导
单击[Next]。
在 [Configure Authentication Methods] 页面上,单击 [Add...]。
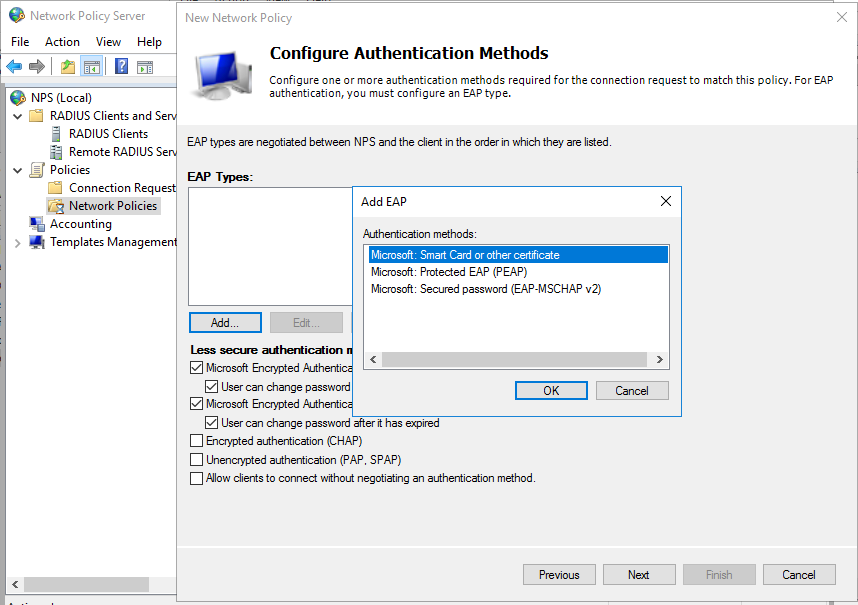
在 [Add EAP] 对话框中,选择 [Microsoft: Smart Card or other certificate]。
单击[OK]。
从 [EAP Types] 列表中,选择 [Microsoft: Smart Card or other certificate]。然后单击[Edit]。

在 [Smart Card or other Certificate Properties] 对话框中,选择 RADIUS 服务器的身份证书。此证书是指 PRISMAsync Print Server 上可用的受信任的证书。
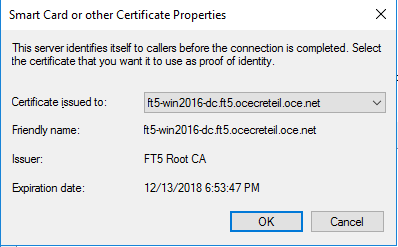
单击[OK]。
清除 [Less secure authentication methods] 复选框,这些复选框适用于您不想使用的身份验证方法。
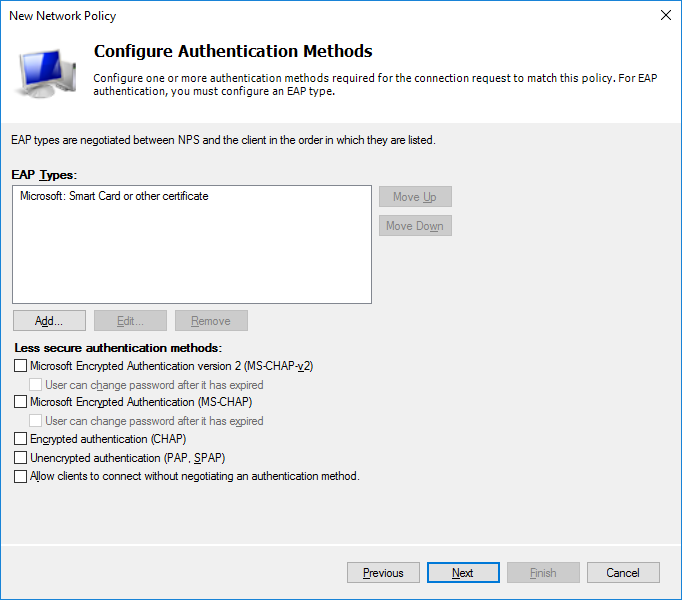
单击[Next]。
在 [Configure Constraints] 页面上,单击 [Next]。
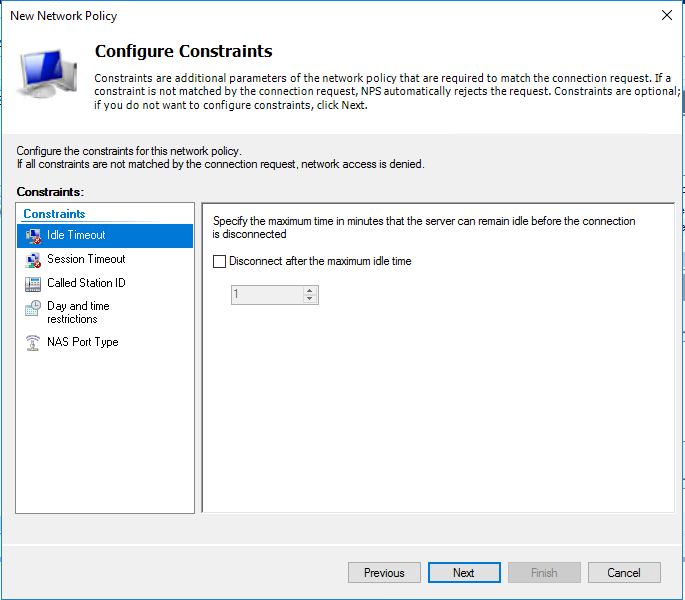
单击[Next]。
在 [Completing New Network Policy ] 页面上,单击 [Finish]。
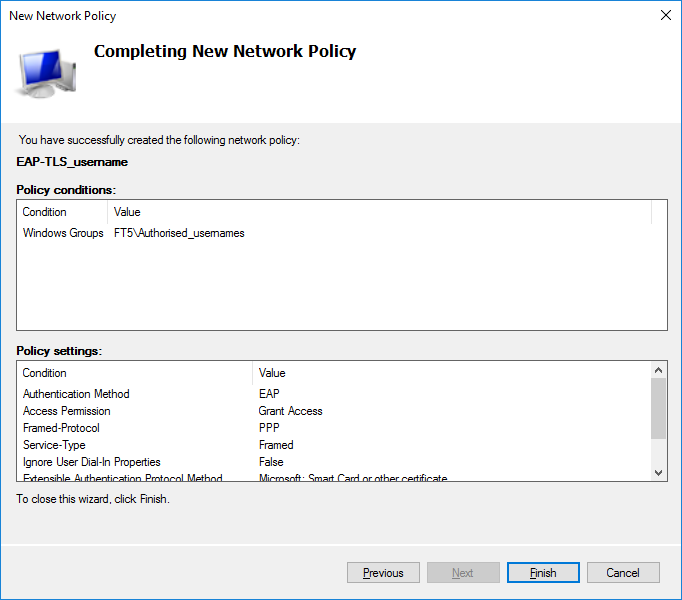 [Network Policies] 向导