
This instruction applies to the [Username from domain; EAP-TLS] authentication method. The authentication method refers to the method you selected on PRISMAsync Print Server.
The instructions below refer to Windows Server 2016. Other systems may need other configuration. See the vendor documentation for complete instructions.
These configurations have been done.
 Configure IEEE 802.1X on the authentication server (phase 1)
Configure IEEE 802.1X on the authenticator
Configure IEEE 802.1X on PRISMAsync Print Server
Perform the instructions in the order they are listed.
In [Server Manager] click [Tools].
 [Server Manager] options
Open the [Active Directory Users and Computers] console.
Right-click the domain name, click [New]. Then click [Group].
Enter a name for the group.
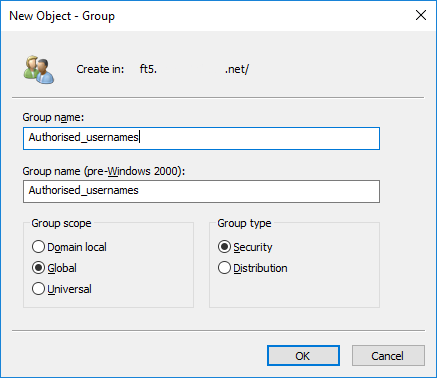 New group
Select [Global] in the [Group scope] option group.
Select [Security] in the [Group type] option group.
Click [OK].
In [Server Manager], click [Tools].
[Server Manager] optionsOpen the [Active Directory Users and Computers] console.
Open the domain entries.
Right-click [Users].
Click [New]. Then click [User].
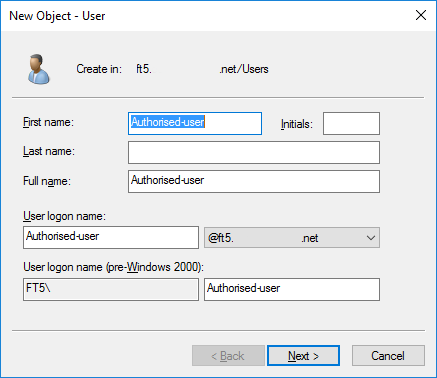
Enter the username field. Then click [Next].
The [Subject alternative name 1], [Subject alternative name 2] or [Subject alternative name 3] field of the PRISMAsync Print Server identity certificate contains the username written as UPN name (Internet-style name, such as: username@example.com) or as Fully Qualified Domain Name (FQDN) name, such as: username.example.com. Here you enter the username part of the UPN or FQDN.
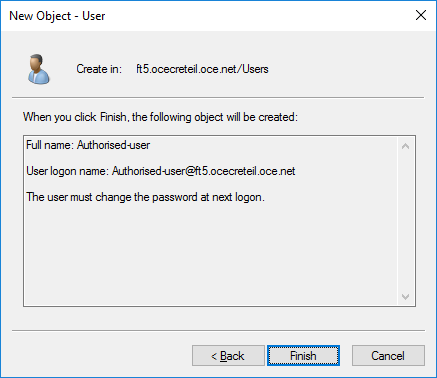
 New user
Click [Finish].
 New user
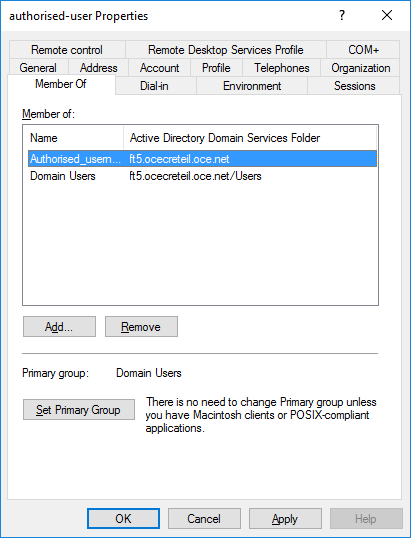
When the user is added, right-click the user. Then click [Properties].
Click the [Member Of] tab and click [Add...] to add the group you created in instruction 1.
 New user
Click the [Dial-in] tab.
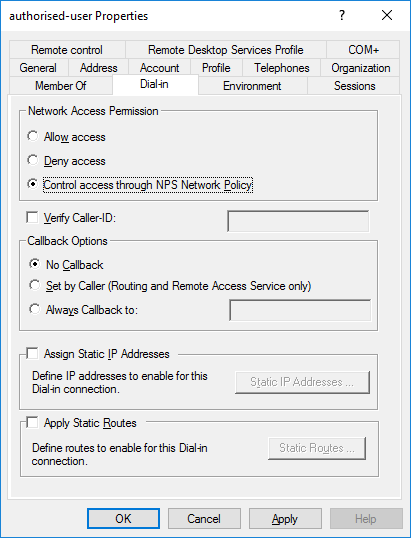 [Dial-in] tab
Select [Control access through NPS Network Policy] in the [Network Access Permission] option group.
Click [OK].
In [Server Manager] click [Tools].
[Server Manager] optionsOpen the [NPS] console.
Open the [Policies] directory.
Right-click [Network Policies]. Then click [New] to open the [New Network Policy] wizard.
Enter a policy name.
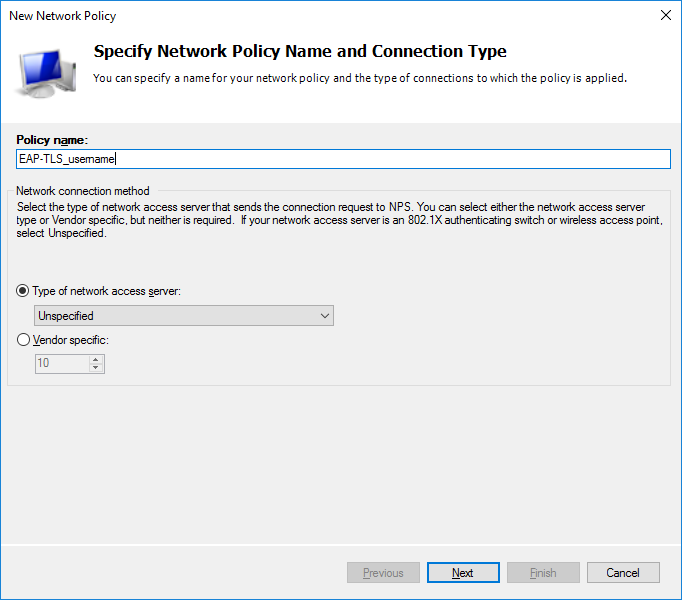 [Network Policies] options
Ensure [Unspecified] is selected in the [Type of network access server] option.
Click [Next].
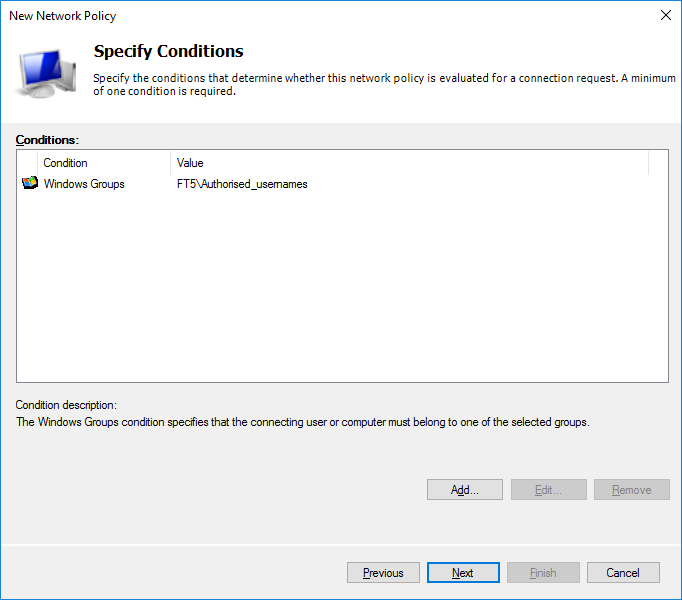
On the [Specify Conditions] page, click [Add...] and select [Windows Groups].
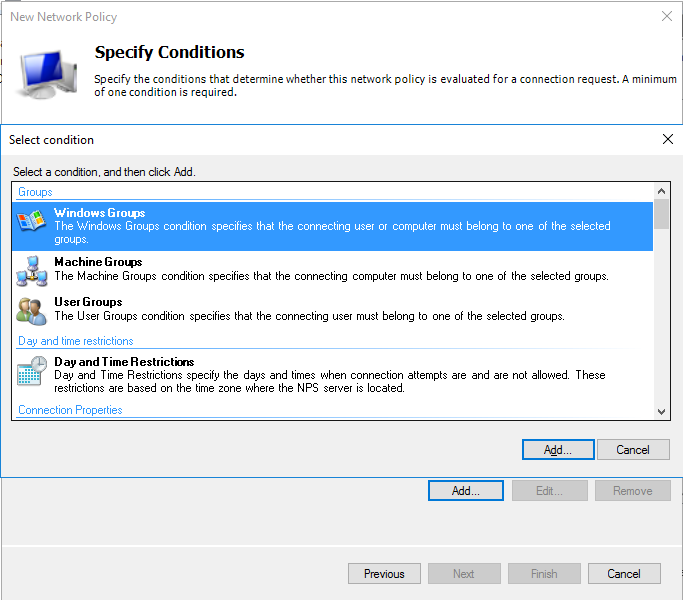 [Network Policies] wizard
Click [Add...] to add and select the group you created in instruction 1.
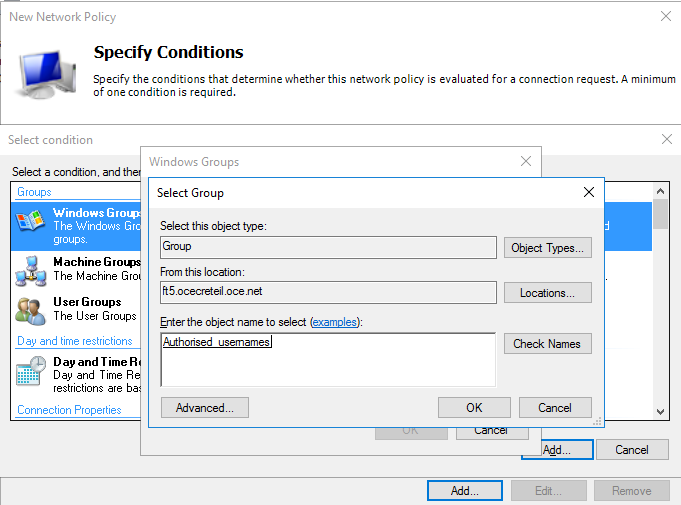 [Network Policies] wizard
Click [OK] to close the [Select Group] dialog box.
Click [Next].
 [Network Policies] wizard
On the [Specify Access Permission] page, select [Access granted].
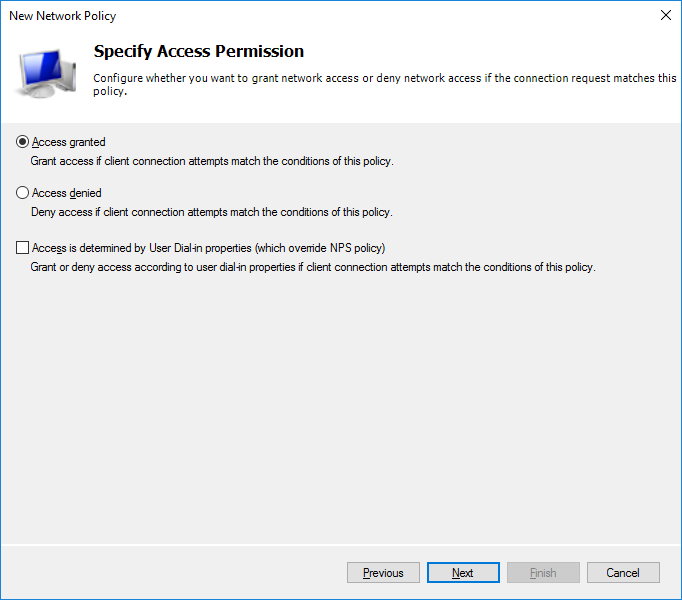 [Network Policies] wizard
Click [Next].
On the [Configure Authentication Methods] page, click [Add...]].
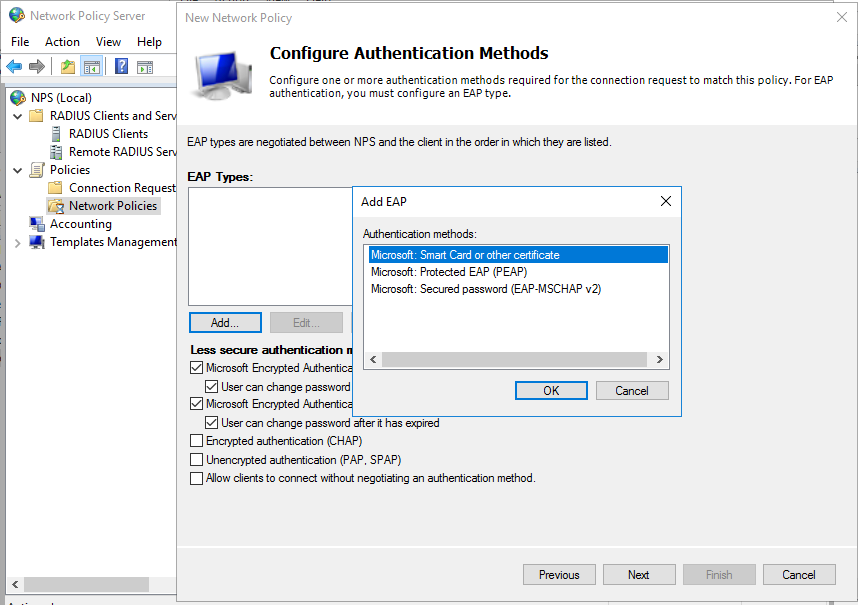
In the [Add EAP] dialog box, select [Microsoft: Smart Card or other certificate].
Click [OK].
From the [EAP Types] list, select [Microsoft: Smart Card or other certificate]. Then click [Edit].
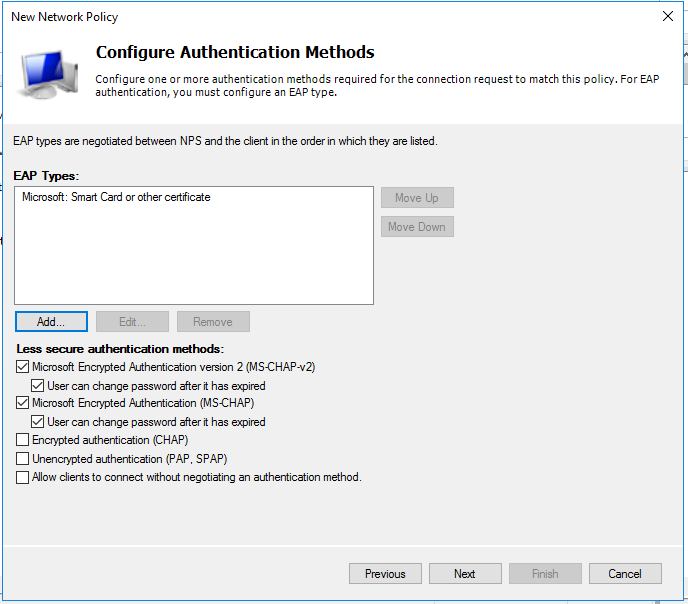
In the [Smart Card or other Certificate Properties] dialog box, select the Identity certificate of the RADIUS server. This certificate refers to the trusted certificate available on PRISMAsync Print Server.
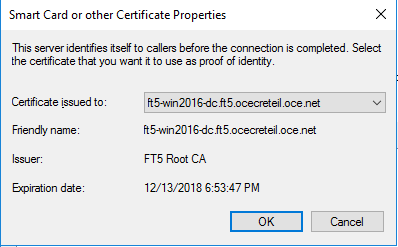
Click [OK].
Clear the [Less secure authentication methods] check boxes that refer to authentication methods you do not want to use.
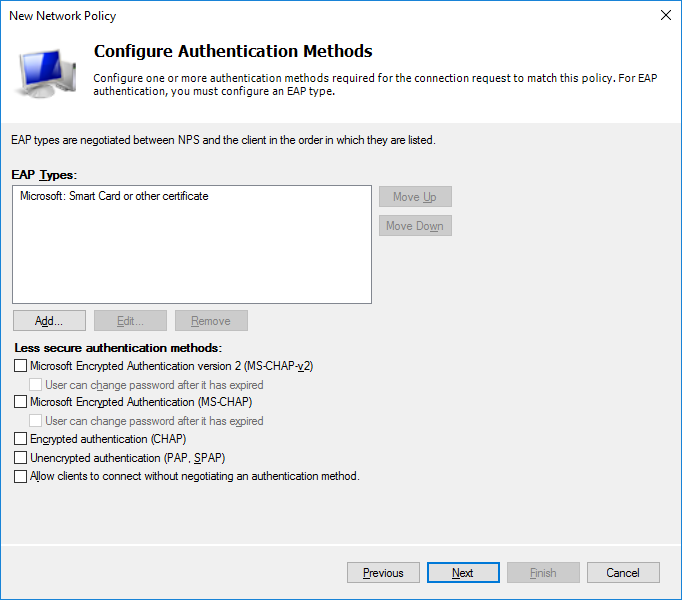
Click [Next].
On the [Configure Constraints] page, click [Next].
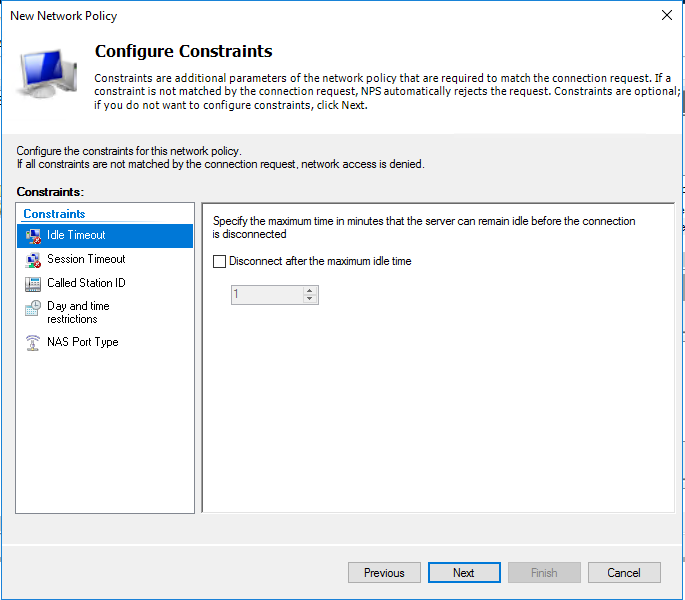
Click [Next].
On the [Completing New Network Policy ] page, click [Finish].
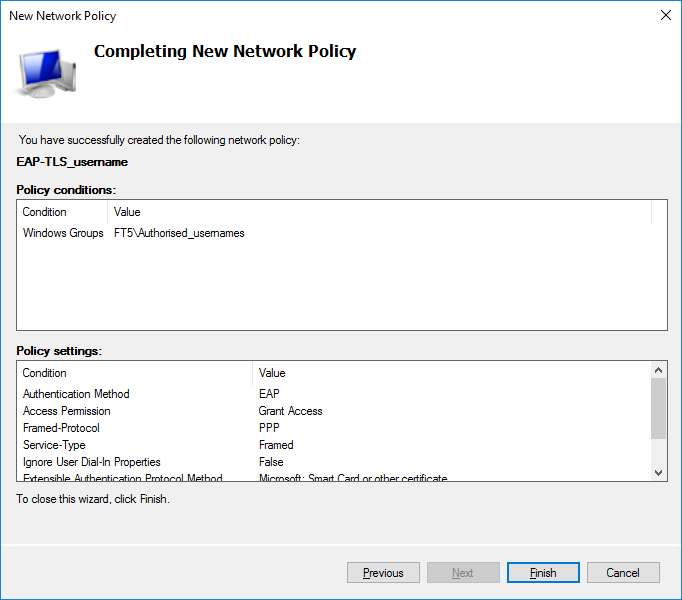 [Network Policies] wizard