Loading

Microtexture prints with FLXture

Introduction

If the machine is configured to print with white ink, you can use FLXture to create microtexture prints. You need to create a recipe in PRISMAguide XL. Find PRISMAguide XL documentation on graphiPLAZA and on the downloads website https://downloads.cpp.canon under the product name.

Procedure

  1. Create a two-layered file in any image editing software.

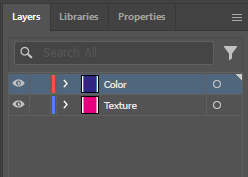
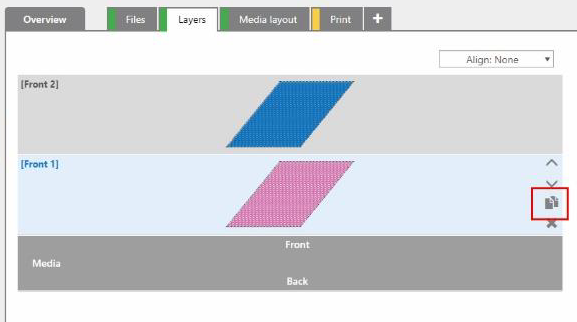
    Layer 1 is the color layer. This layer is applied all elements that print on your top layer in color. Layer 2 is the texture layer.

  2. From the texture layer, color the texture elements as Spot1. This layer uses the white ink channel.
    NOTE

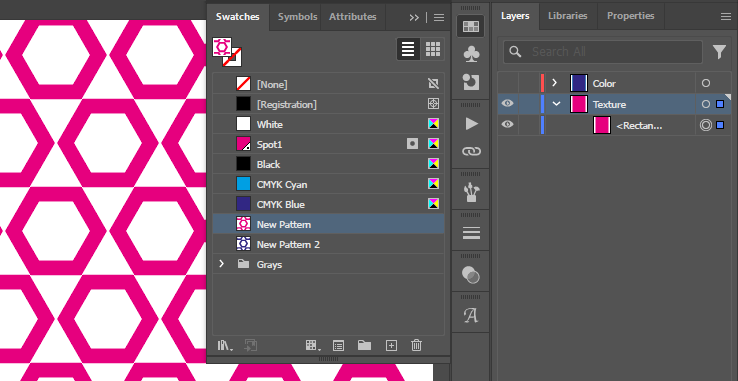
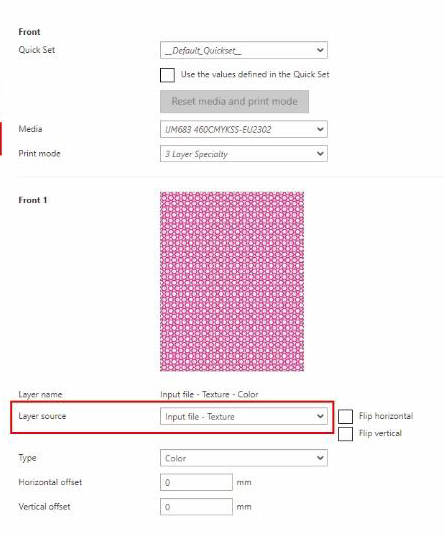
    To replicate textures such as leather, you can use grayscale images of the material that you want to replicate. For a smoother result, apply a blur filter to the texture layer.

  3. Select all texture elements and apply overprint fill or overprint stroke.
  4. Save the file as PDF with the setting "Create Acrobat Layers from Top-level Layers".
  5. Open PRISMAguide XL.
  6. Click on [New roll application].
  7. On the [Overview] tab, click [Select file] and select the PDF that you created in the previous steps.
  8. Select the media and print mode.

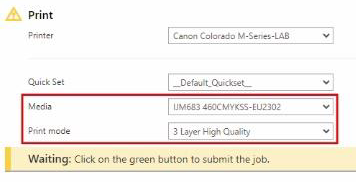
    The print mode should be 3 Layers High Quality or 3 Layers Specialty.

  9. On the Layers tab, click on the page icon to duplicate the layer named Front 1.
  10. Click on the layer named Front 1 and from the [Layer source] drop-down menu, select Input File - Texture.
  11. Click on the page icon three times to create three more duplicated layers.

    You should now have five layers.

  12. On the [Print] tab, click the printer icon to submit the file to the RIP.
    NOTE

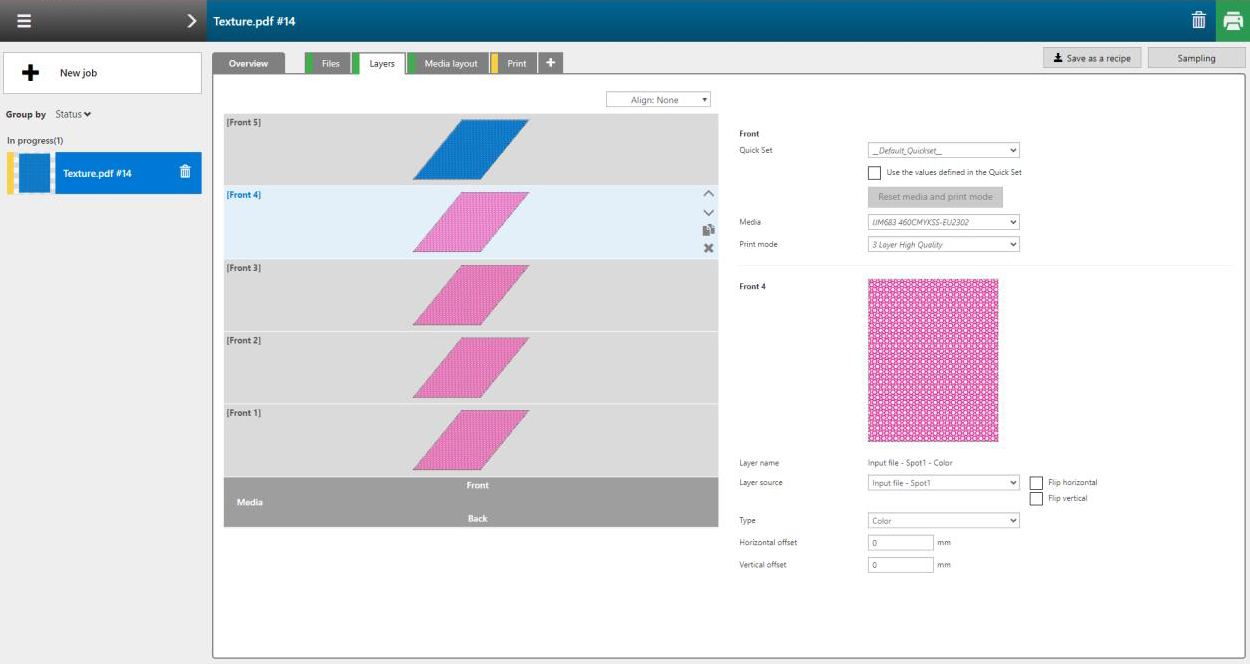
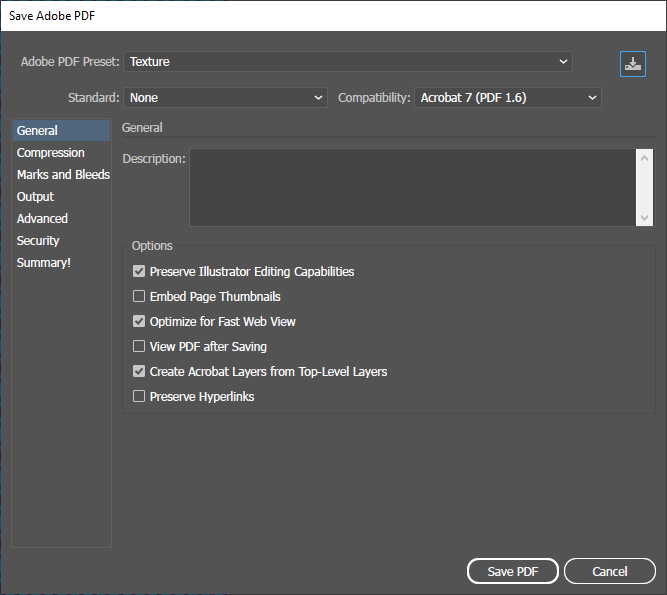
    Click on [Save as a recipe] to save this recipe for future use.