Log in to your computer as an administrator.
Make sure the correct installation program for the PRISMAelevate XL ALPS Engine is available on your computer (e.g. "PRISMAelevateXLALPSEngine.exe").
Insert the PRISMAelevate XL ALPS Engine hardware key in a USB slot of your computer.
Close all your applications, because your computer might restart during the installation.
This instruction applies when you use Windows 10 (64 bits only).
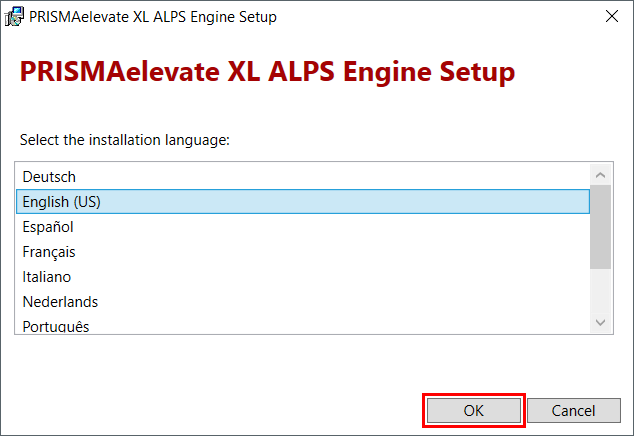
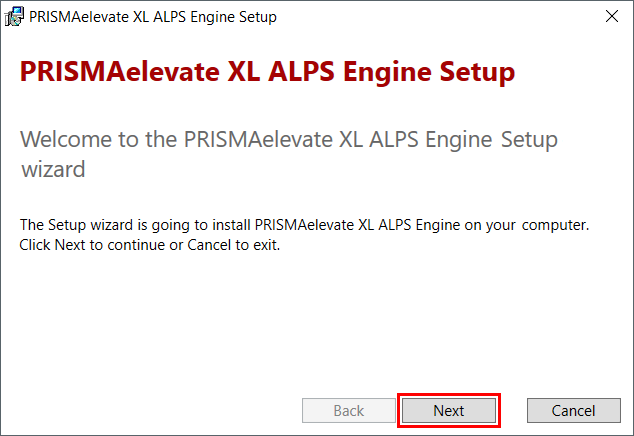
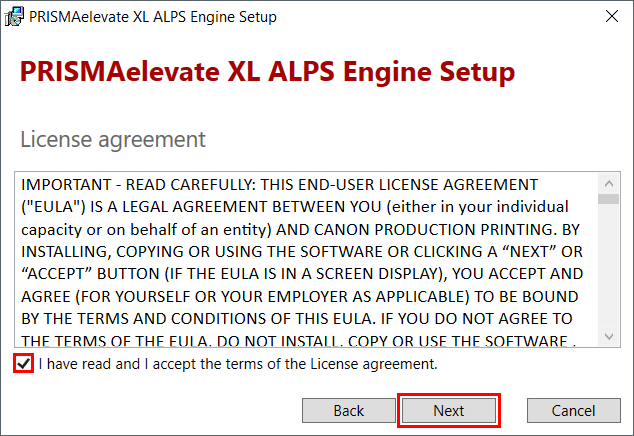
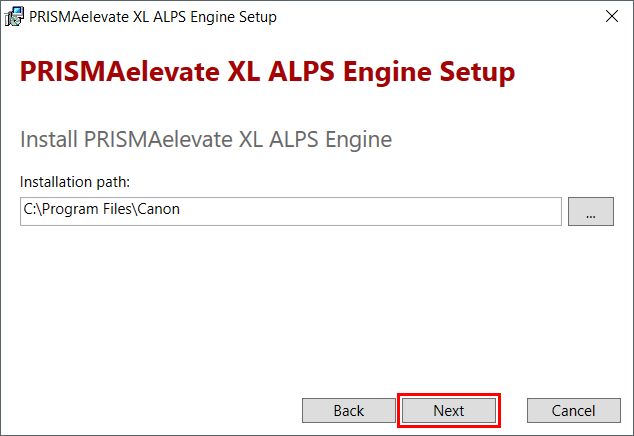
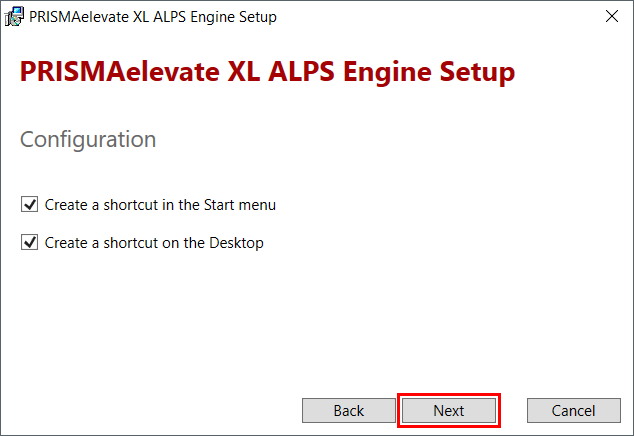
Click on [Next].
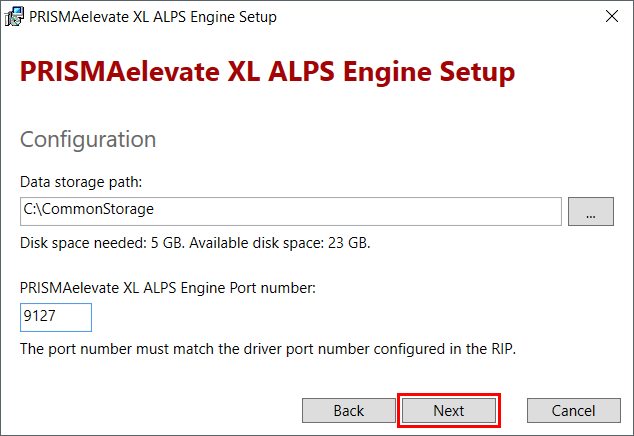
The port number must be between 9100 and 9200, and should not be used by another application.
Remember the port number, because you need this number when you install the PRISMAelevate XL Driver for Onyx Thrive.
After completing the installation process, you have the option to change the port number. See PRISMAelevate XL ALPS Engine user interface for more information.
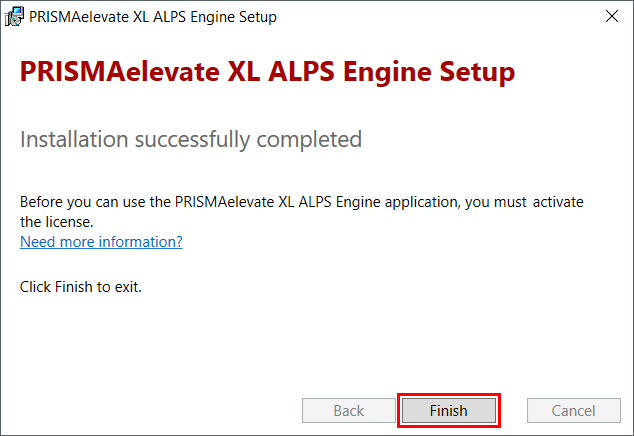
Click on [Finish].
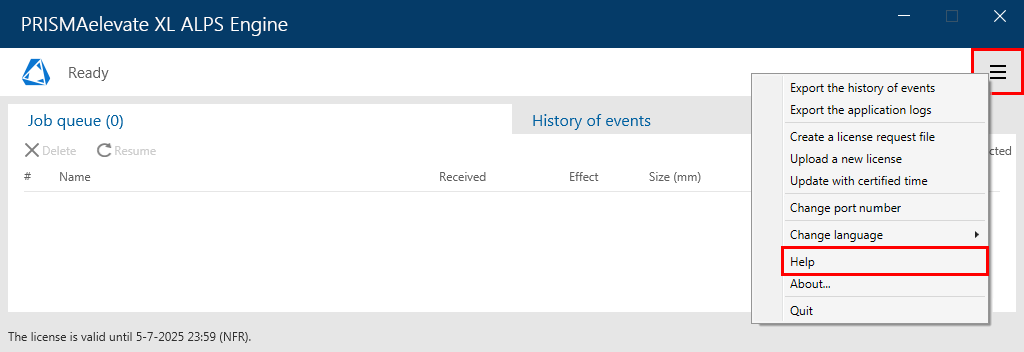
To learn about the functionalities of the PRISMAelevate XL user interface open the online help via the menu button.