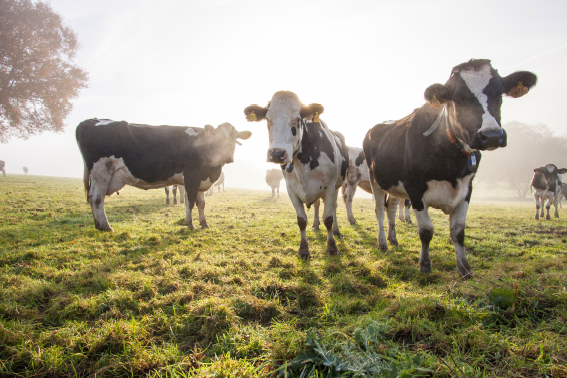
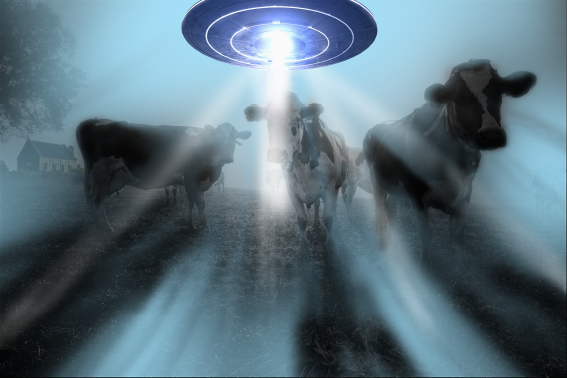
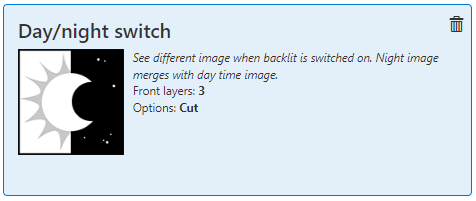
With the [Day/night switch] recipe you can create an application that displays different images during day and when the back light is switched on.
During the day, the white layer masks the image on the back layer. During the night, when the light is switched on, the white areas in the image on the back layer, allow more light to go through the ink layers, and thus the image is visible on the front now.
PDF must contain 2 layers named:
'Day' for the day image
'Night' for the night mask
The [Overview] tab opens.
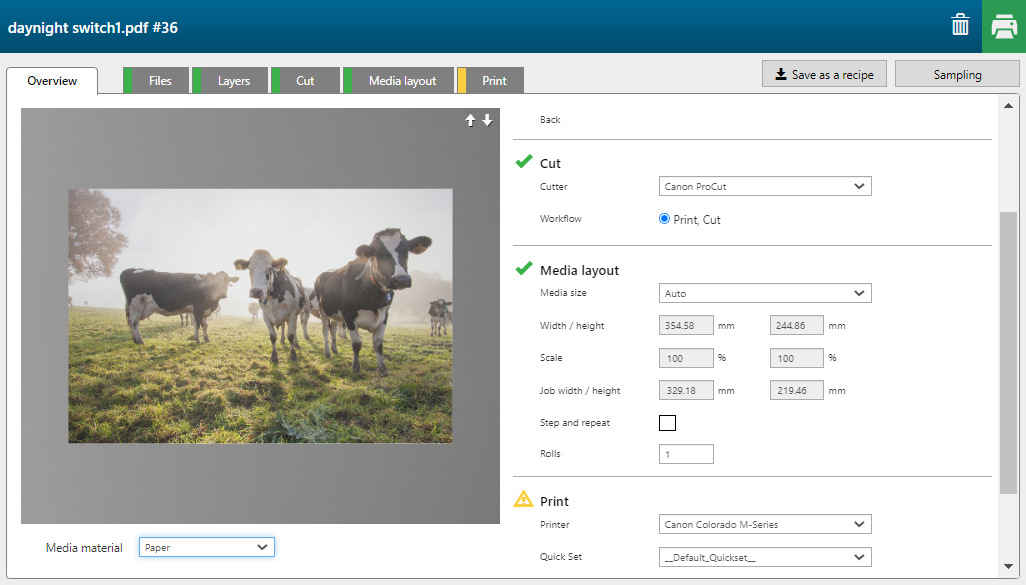
The recipe automatically assigns the correct settings per layer.
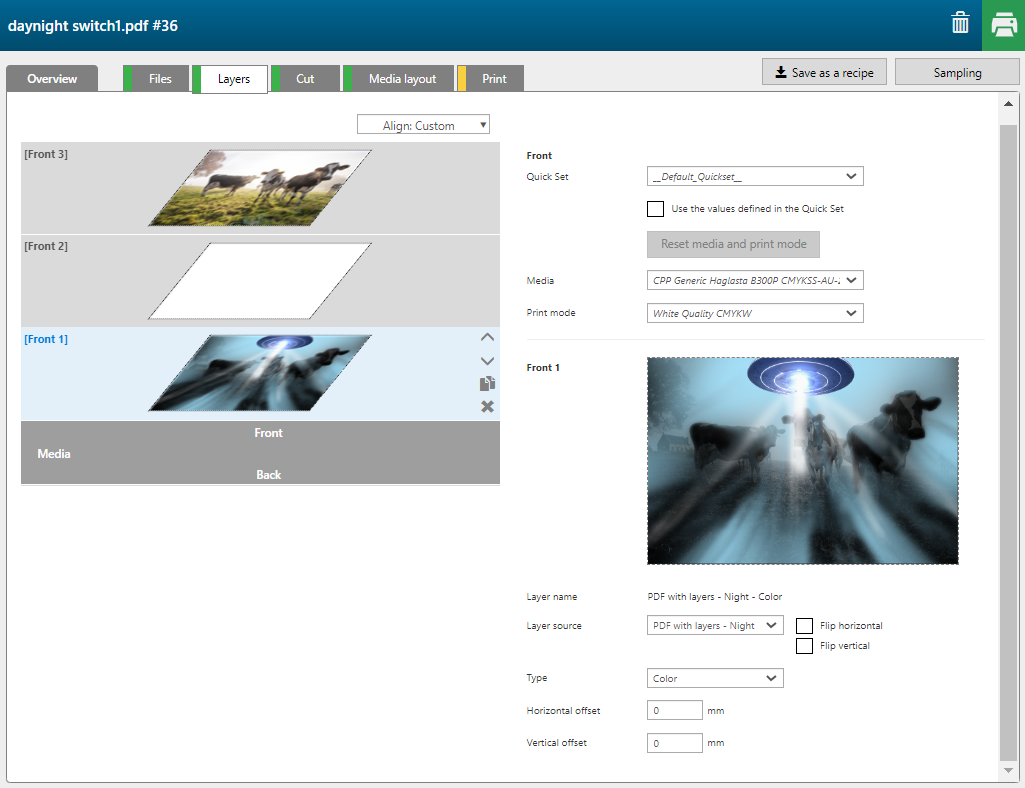
|
Layer |
[Layer source] |
[Type] |
Remark |
|---|---|---|---|
|
[Front] 3 |
PDF with layers - Day |
[Color] |
The Day image is printed in CMYK. |
|
[Front] 2 |
PDF with layers - Day |
[Bounding box mask] [Color]: [White] |
The complete image (rectangle) is printed in white. |
|
[Front] 1 |
PDF with layers - Night |
[Color] |
The Night image is printed in CMYK. |
The [CropBox] is defined as [throughcut] path.