
PRISMAsync Print Server offers a CMYK editor with a pixel-precise preview to adjust the color density for a specific media print mode. You can emphasize colors or other elements for images in a job that use the media print mode. The new CMYK curves are added to the media family calibration values.
There are two modes to edit the CMYK values of a media print mode:
[Basic mode] : simple CMYK editing with sliders for quick and easy adjustments.
[Advanced mode] : CMYK editing for precise and reproducible adjustments.
Be aware that the CMYK adjustments affect all jobs that use the media print mode.
You need to have sufficient access rights to change the CMYK curves of a media print mode.
Touch .
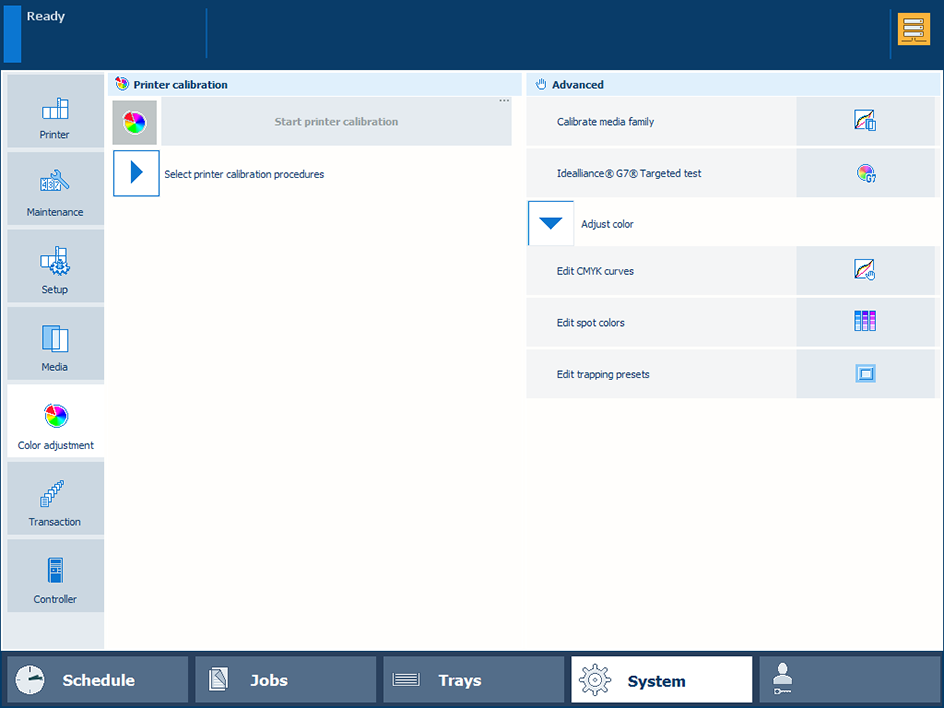 Color adjustments
Touch [Edit CMYK curves].
Select the media family and the media print mode.
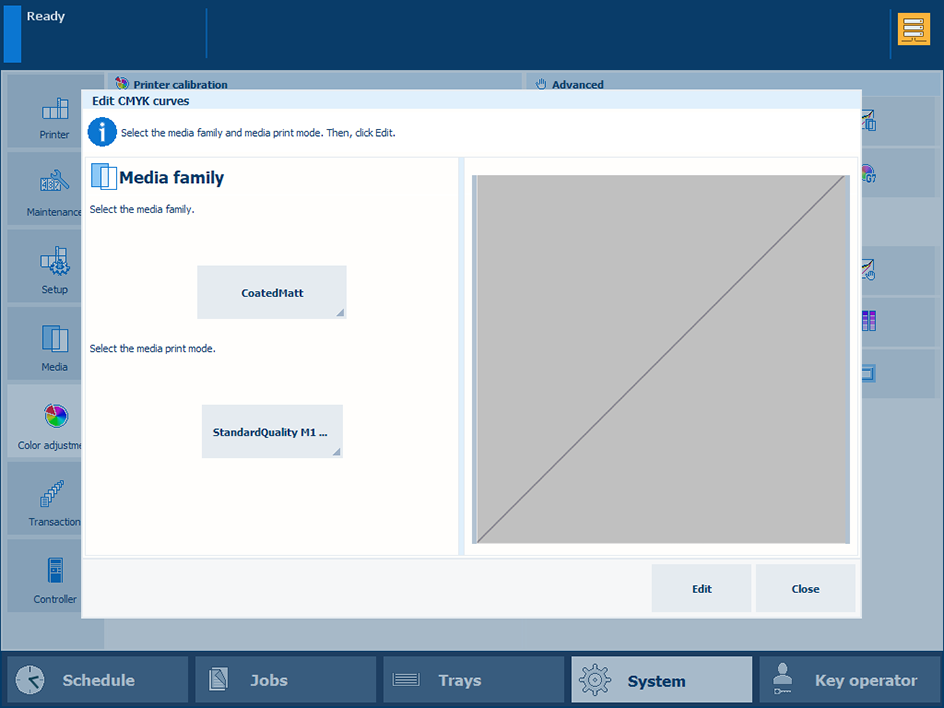
Touch [Edit].
The [Basic mode] window opens.
Select the page you want to edit. When you select multiple pages, the last page of the selection is shown.
You cannot edit the CMYK curves when the selected pages have different CMYK curves.
To undo the selection, touch and hold a single page.
Apply a correction with a preset.
Press [Load].
The list of presets contains standard and custom presets. You can also use a standard preset as a starting point to create new presets.
Select one of the standard presets.
Press [Done].
Select [Advanced mode] and examine the changed CMYK curves.
Touch [OK] to apply the adjustment or touch [Reset] to restore the original CMYK curves.
Apply a correction with one of the CMYK sliders.
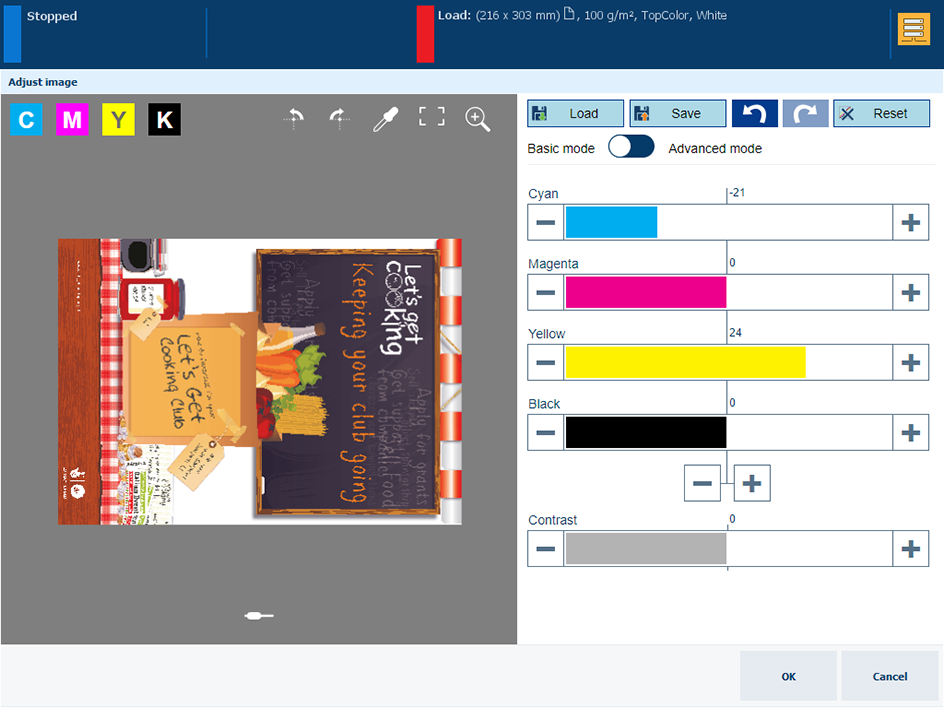 Correction with the CMYK sliders
Touch and move the [Yellow] slider. You can also use the + and - buttons.
The combined control, below the [Black] slider, changes all sliders at the same time. Touch the + and - buttons to adjust the combined control.
Touch [OK] to apply the adjustment or touch [Reset] to restore the original CMYK curves.
Apply a correction with the contrast slider.
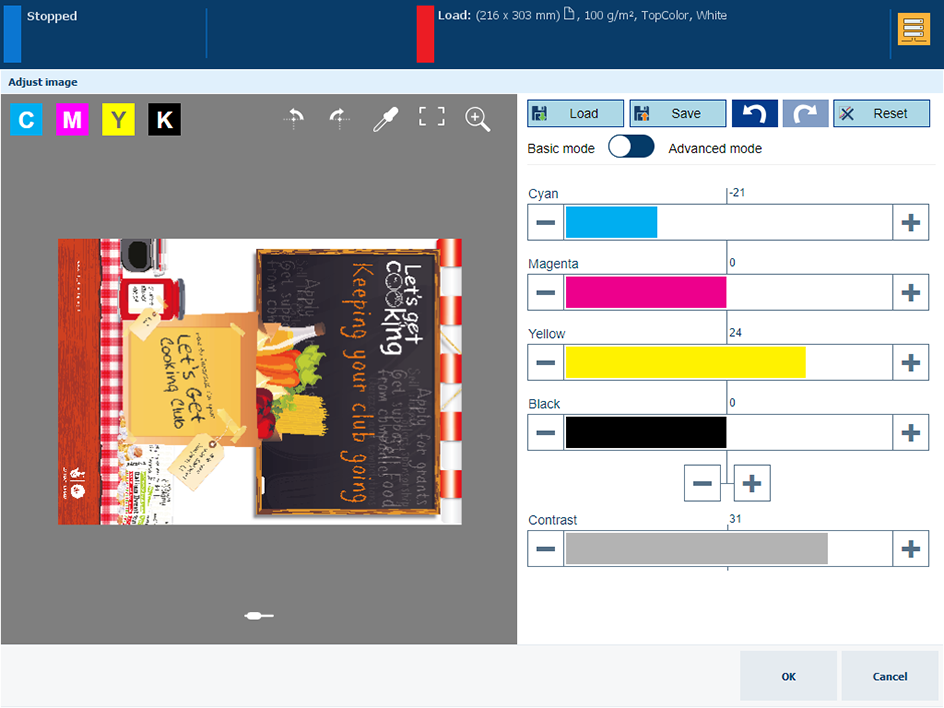 Correction with the contrast slider
Touch and move the [Contrast] slider.
Touch [OK] to apply the adjustment or touch [Reset] to restore the original CMYK curves.
Select [Advanced mode].
Plot anchor points.
Select one of the CMYK curves. In this example, [Y] is selected.
Touch a location on the curve.
When you touch an anchor point it shows:
 .
.
Touch the trash
 icon to remove an anchor point.
Touch the color picker tool
 .
.
Touch [Add points] to plot another anchor point.
Move the anchor points.
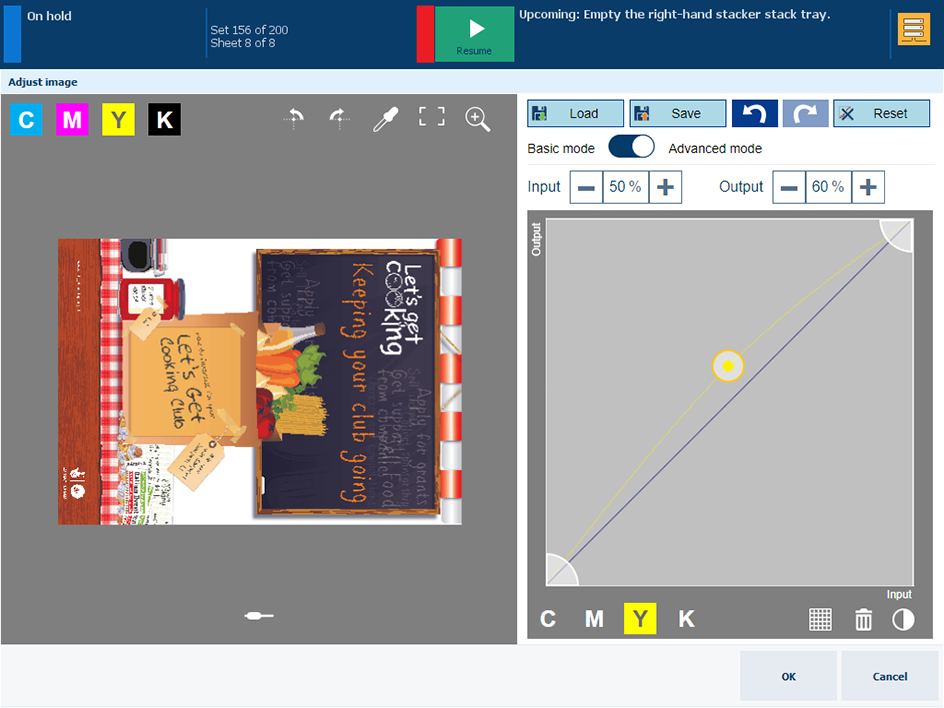 CMYK editor in advanced mode
The [Input] field represents the input density (%) of the selected
anchor point on the curve. The [Output] field represents the output density (%) of the selected
anchor point on the curve.
Use the + and - buttons of the [Input] and [Output] fields to change the position of an
anchor point .
Drag an
anchor point to another position. A raster
 can help to locate the anchor point.
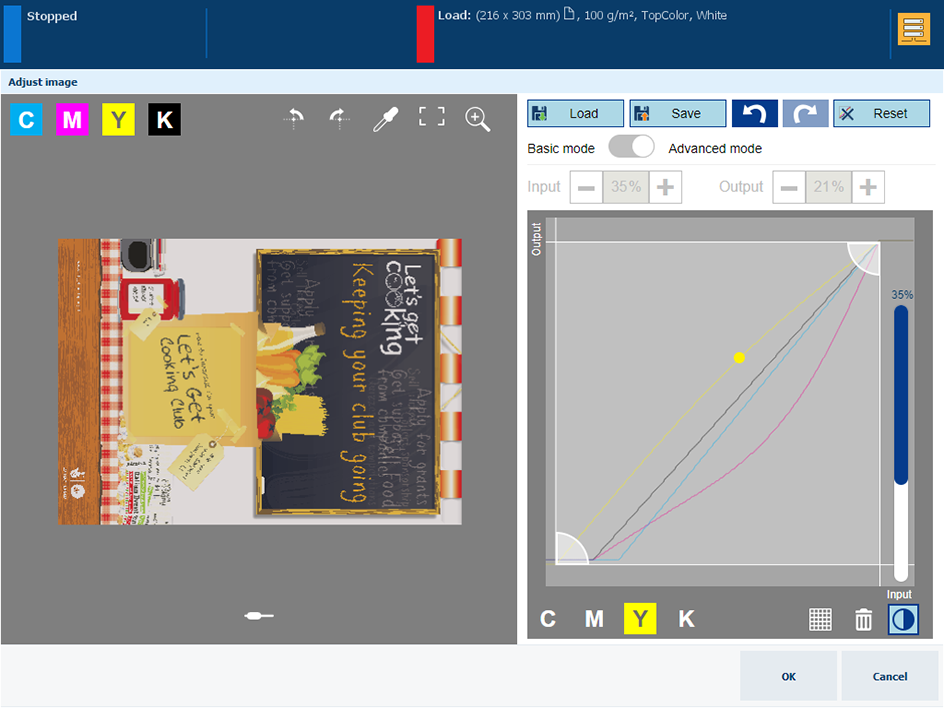
Contrast
Plot also anchor points on the [C] and [M] curves.
Press
 .
.
Touch the contrast slider to adjust the contrast.
Touch [OK] to apply the adjustment or touch [Reset] to restore the original CMYK curves.
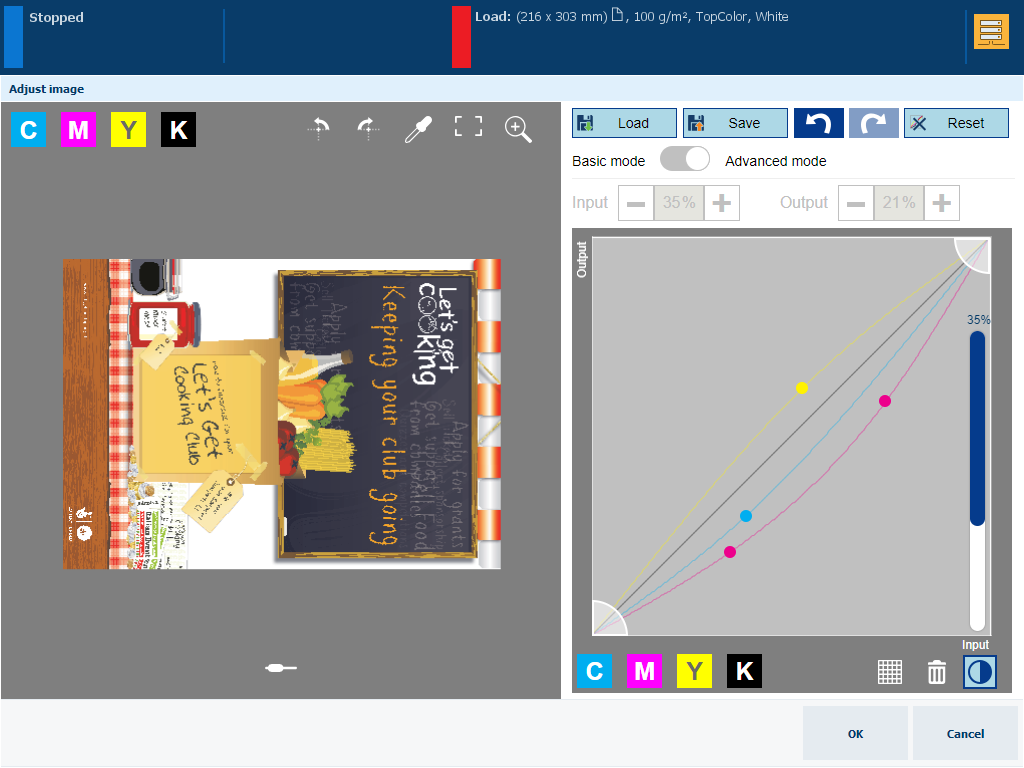
Clip the highlight and shadow tones.
Select [Y].
Touch a clipping control and drag it to a new position.
Touch the other clipping control and drag it to a new position.
Select [C] and move the clipping controls.
Touch
 to undo or redo one adjustment step.
Save the adjustments for later reuse.
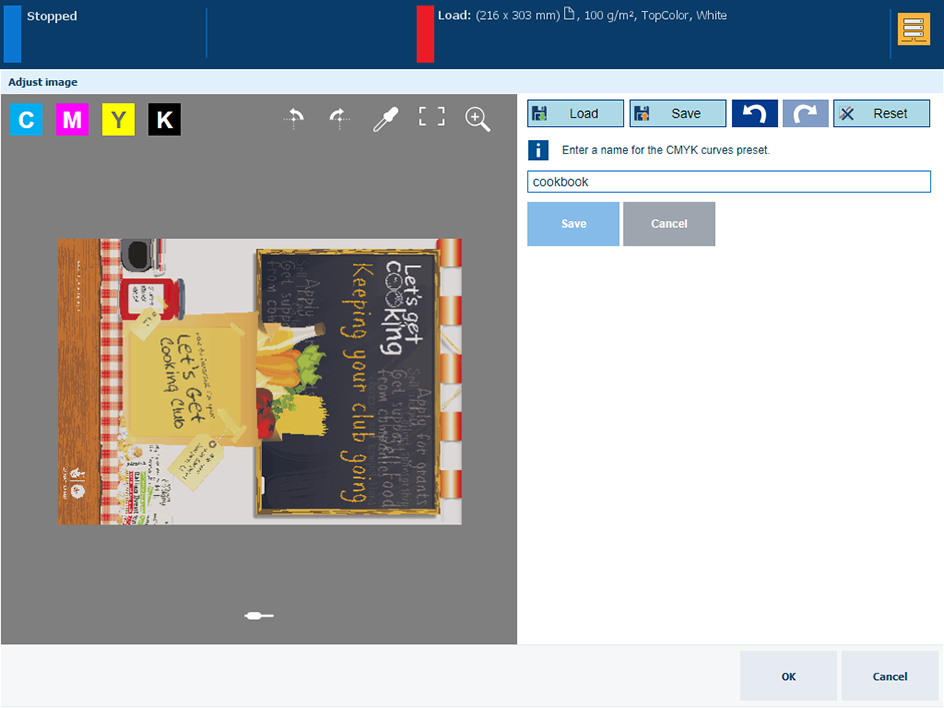
Press [Save].
Enter a name for the preset.
Press [Save].