
In most cases, an automatic gradation adjustment is sufficient to deliver the required colour quality. However, in the following situations it is necessary to perform also the shading correction:
After the installation of the print system.
When the printed output shows uneven colour densities in the colour panes.
When your Service organisation replaces system parts.
When different supported calibration media are loaded and assigned, the correction procedure will select the media with the largest size. Both coated and uncoated media are suitable for this procedure.
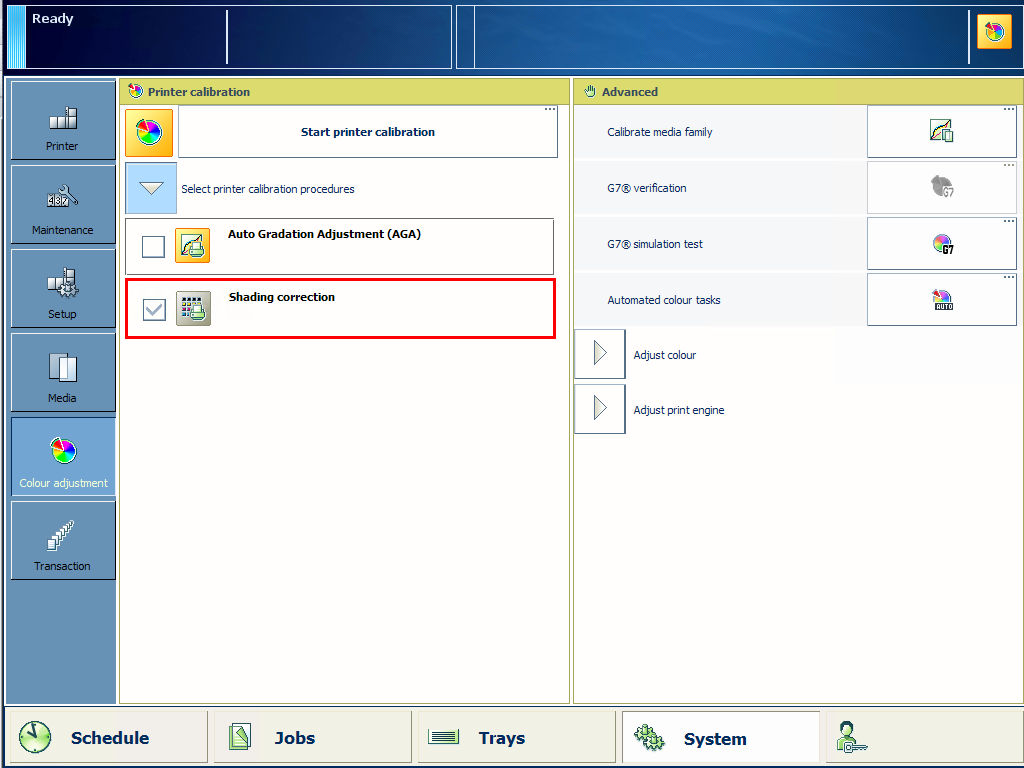 Shading correction
i1Pro3 spectrophotometer (i1Pro2 also supported).
Sensing unit (optional)
Calibrate the printer.
You must always perform a printer calibration before you continue with this procedure.
Connect the i1Pro3 spectrophotometer to the USB port of the control panel.
Touch .
Select [Shading correction].
Touch [Start printer calibration].
Select the measurement device (only if the sensing unit is installed).
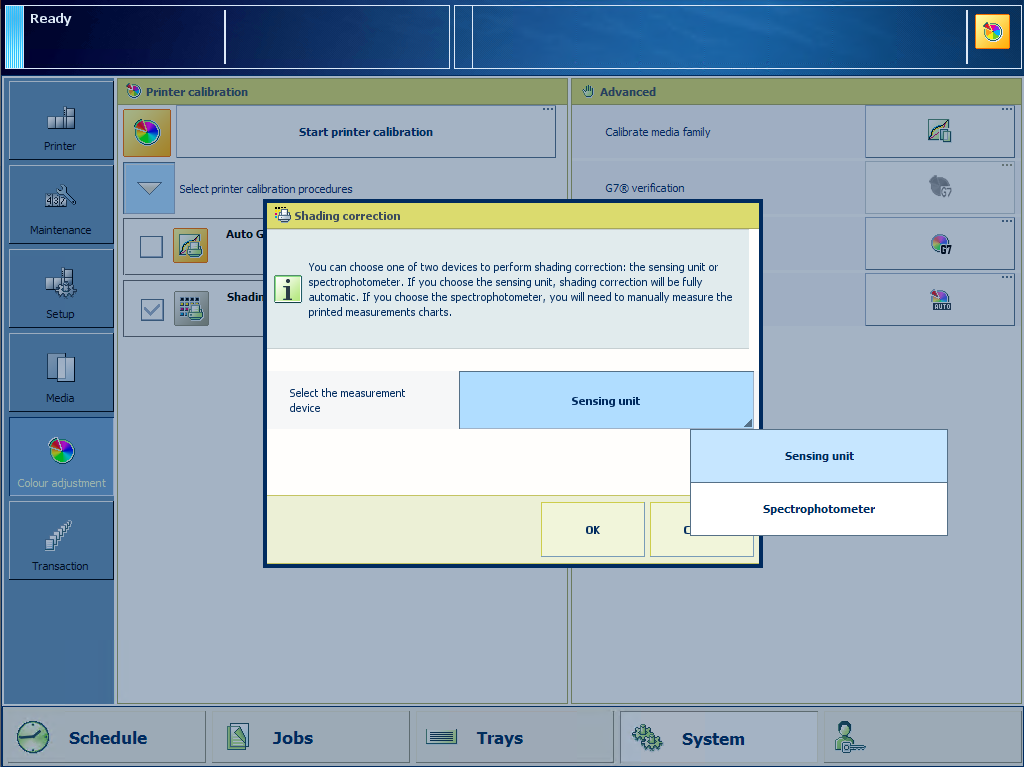 Shading correction measurement device
Touch [OK]
Follow the instructions on the control panel.
When the shading correction fails with a "density not within required range" error, perform a correction procedure for this error.