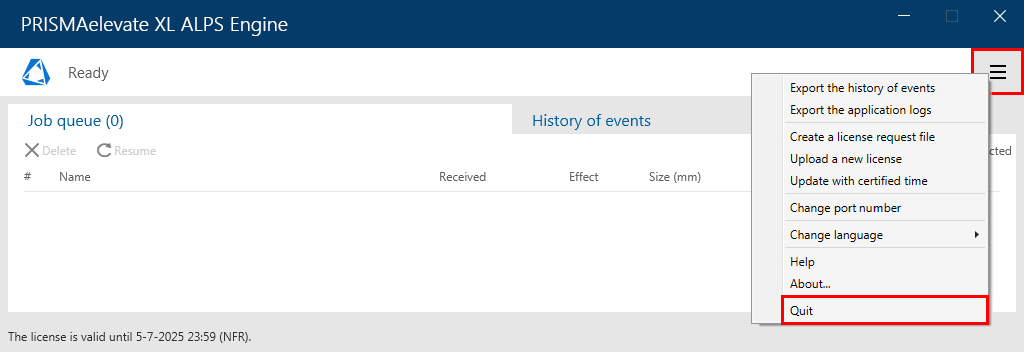
To close the software, click on [Quit] in the menu.
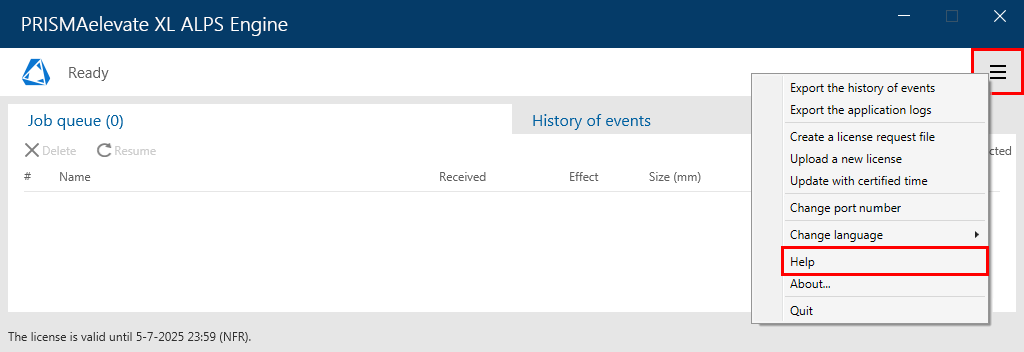
To learn about the functionalities of the PRISMAelevate XL user interface open the online help via the menu button.
Click on the menu button, and select [Change language].
Select the language of your choice.
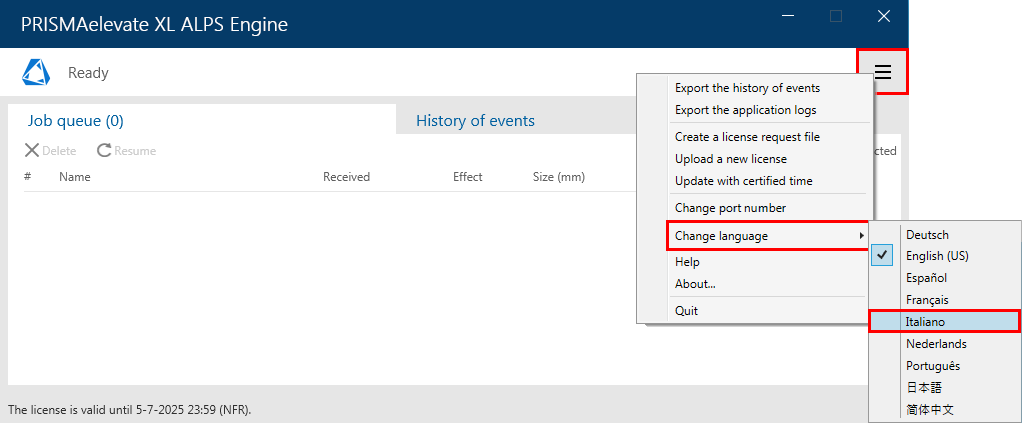
Restart the PRISMAelevate XL ALPS Engine user interface to apply the language change.
Click on the menu button, and select [Change port number].
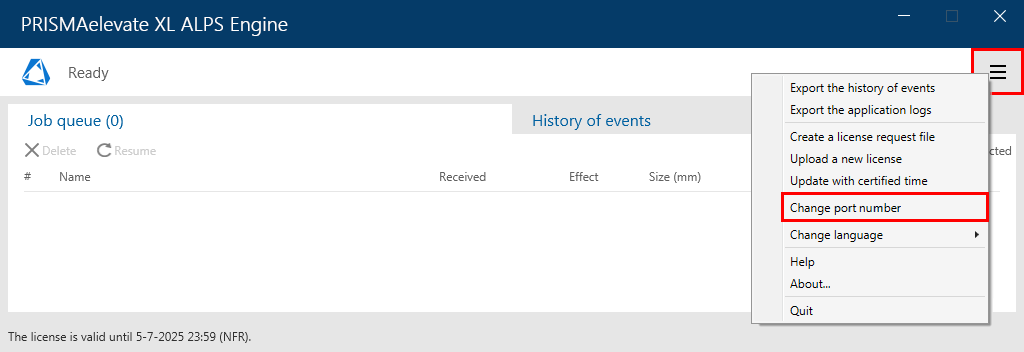
The port number must match the one configured in ONYX Thrive. See Configure the PRISMAelevate XL ALPS Engine printer for more information.
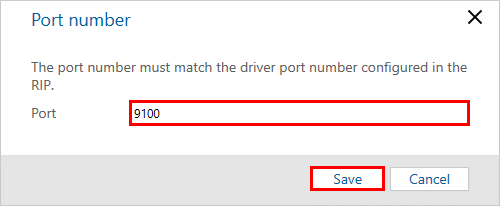
Click on [Save].
|
Information |
Example statuses or messages |
|---|---|
|
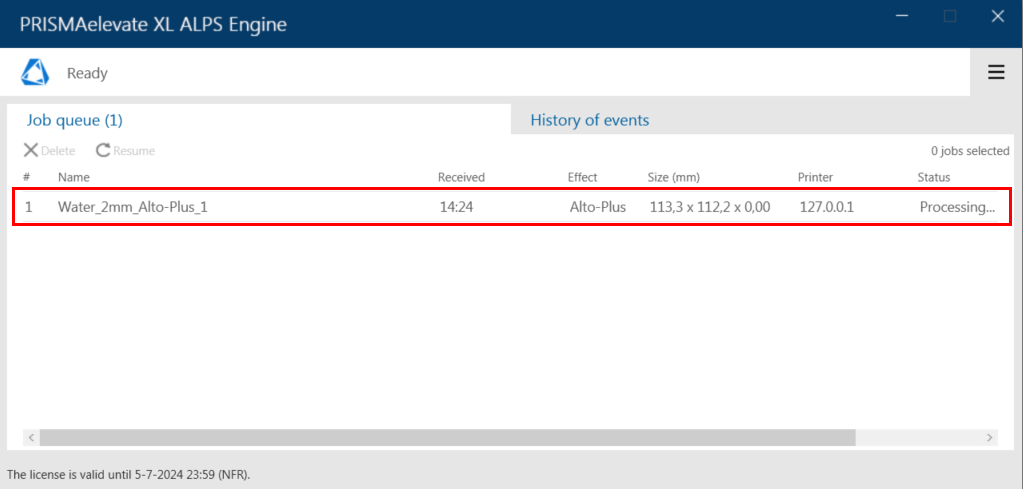
Status of all the jobs currently handled by the PRISMAelevate XL ALPS Engine |
When you select a job and click on the [Delete] button in the upper left corner, the status changes to:
|
|
Information |
Example statuses or messages |
|---|---|
|
Information messages (in black) |
|
|
Error messages (in red) |
|
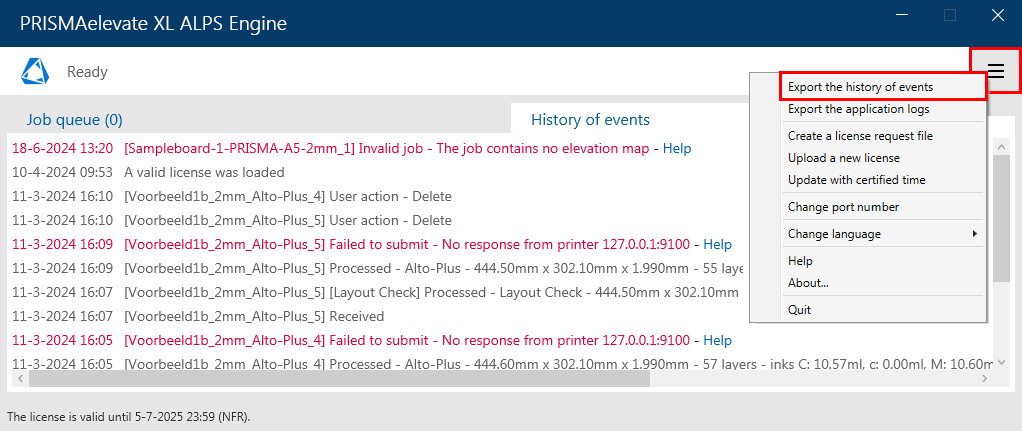
To retrieve ink consumption information for accounting or statistical purposes you can export the history of events. The complete event list, so not only the events displayed in the UI, is saved in a .csv format.
Click on the menu button.
Click on [Export the history of events].
Save the .csv file on your computer.
When the hardware key has been used on a computer with a wrong time reference, e.g. when the time setting was changed to the far future and then back to the current date, it can appear as if the license has expired. To update the time setting of the hardware key with the time setting of a certified time server on the web follow the procedure below.
Click on the menu button
Click on [Update with certified time].
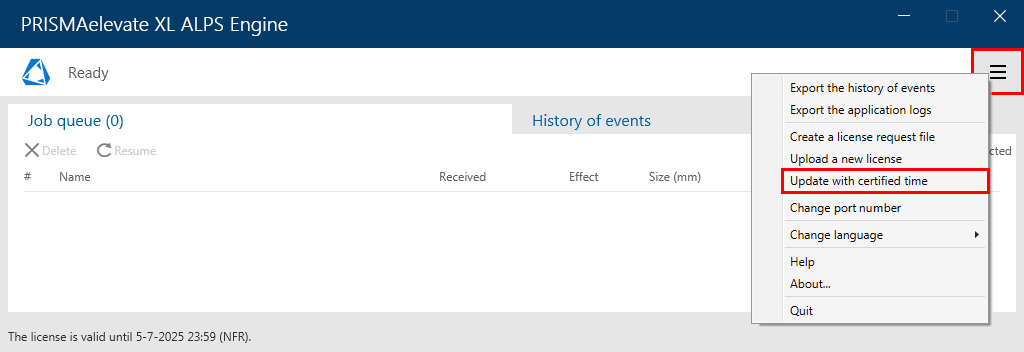
You will receive a message when the update with certified time was successful. Click on [OK]