
When the inner side of the print belt is dirty, a message on the dashboard and the orange maintenance key symbol appear. Clean the inner side of the print belt within 12 hours after the control panel showed the message.

|
The printer notices that maintenance is needed. |
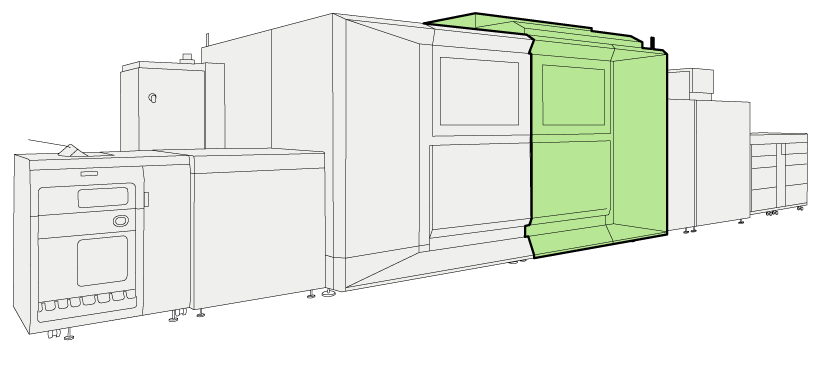 Location of the print module
You need the following attributes:
You need to have the rights to access the maintenance tasks and the configuration settings.
You need the print belt cleaning tool and print belt cleaning cloths.
You need a bottle with cleaning liquid SU70.
The instruction video for this maintenance action is available, see Clean the inner side of the print belt.
In order to keep your hands clean, it is advised to use nitrile gloves when you work with ink, ColorGrip, SU70 or PML. For details see the related material safety data sheets (https://sus.cpp.canon/8MNMLB3F).
Inks, ColorGrip, PML and/or SU70 contain 1,2-Benzisothiazol-3(2H)-one. From the point of view of occupational health and safety it is not recommended that people who are sensitive to chemicals (e.g. people with asthma) work with ink or chemicals.
When you spill any liquid, wipe up the drops with disposable towels and transfer the used towels to a sealable container appropriate for disposal.
It is important that you perform the procedure in the exact order as listed below.
|
Action |
||
|---|---|---|
|
1 |
|

|
|
2 |
Touch [Start] and enter your credentials. |
|
|
3 |
Touch [Unlock] to unlock the door of the print module. |
|
|
4 |
Open the left and right upper and lower doors of the print module. |
|
|
5 |
Take the print belt cleaning tool and hold the tool with the foam strips faced up. Slide a cleaning cloth over the cleaning plate, make sure the flap of the cleaning cloth is on the left-hand side. |

|
|
6 |
Use cleaning liquid SU70 to moisten the cleaning cloth on the first three foam strips starting from the right-hand side. |

|
|
7 |
Insert the print belt cleaning tool underneath the print belt.
|


|
|
8 |
Turn the two bolts clockwise to firmly lock the cleaning plate. |

|
|
9 |
Close the upper and lower doors of the print module. The print belt starts to run for approximately 3 minutes. |
|
|
10 |
When the control panel indicates that the print belt has stopped, open the left upper and lower door of the print module. |
|
|
11 |
Turn the two bolts in counter-clockwise direction to unlock the cleaning plate. |
|
|
12 |
Remove the cleaning plate. |
|
|
13 |
Check the pollution on the used cloth to determine if a new cleaning cycle is required. |
|
|
New cleaning cycle is not required. |

|
|
|
New cleaning cycle is required. |

|
|
|
14 |
|
|
|
15 |
Close the upper and lower doors of the print module. |
|
|
16 |
Touch [Confirm] on the control panel. |
|
Dispose the used cleaning cloths.