
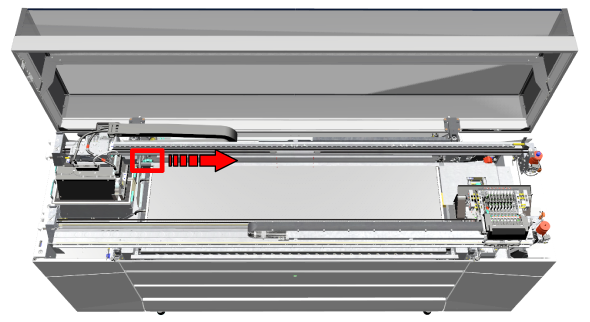
Replace the knife when the knife does not cut your media correctly anymore.
Video:
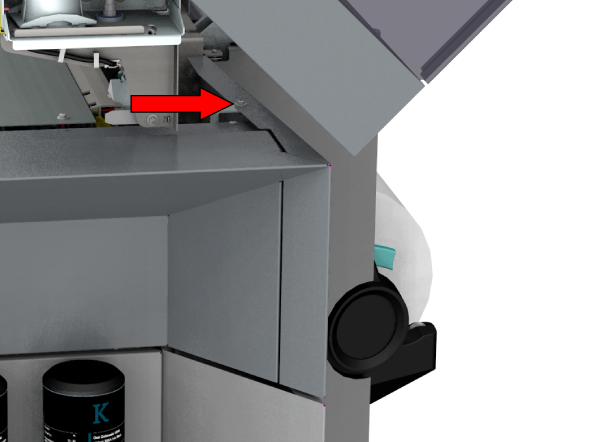
 Replace the knife
Use Colorado M-series prescribed:
Microflex gloves for handling ink
Screwdriver (Torx-25) for the cover
Screwdriver (Torx-6) for the knife
Knife
For information on the prescribed maintenance materials, see List of Colorado M-series maintenance materials.
Wear gloves when contact with ink or maintenance materials is possible. Gloves should always overlap sleeves. Wear safety glasses with side shields when handling ink or maintenance materials. Follow the ink related Safety Data Sheets (SDS) guidelines carefully in order to ensure maximum safety.
Mind your head.
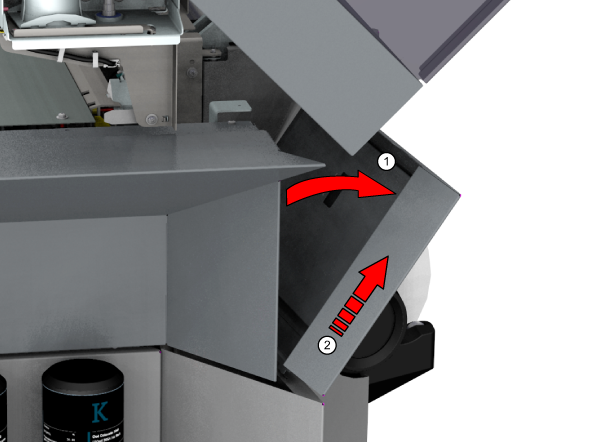
Hold a piece of paper under the knife to collect any falling screws. This way you make sure you do not lose any of the screws inside the machine.
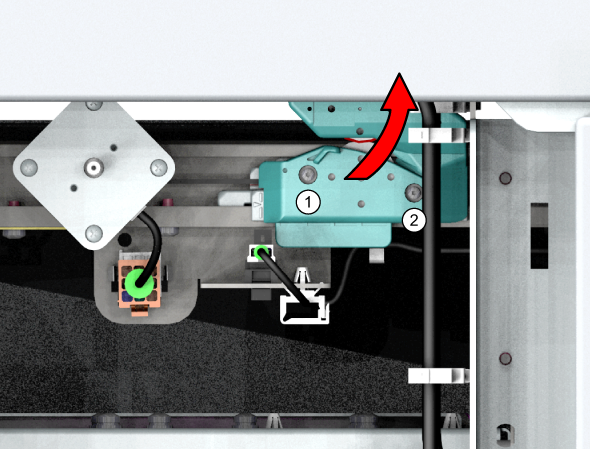
Make sure you position the knife in such a way it does not hit the sensor.
