
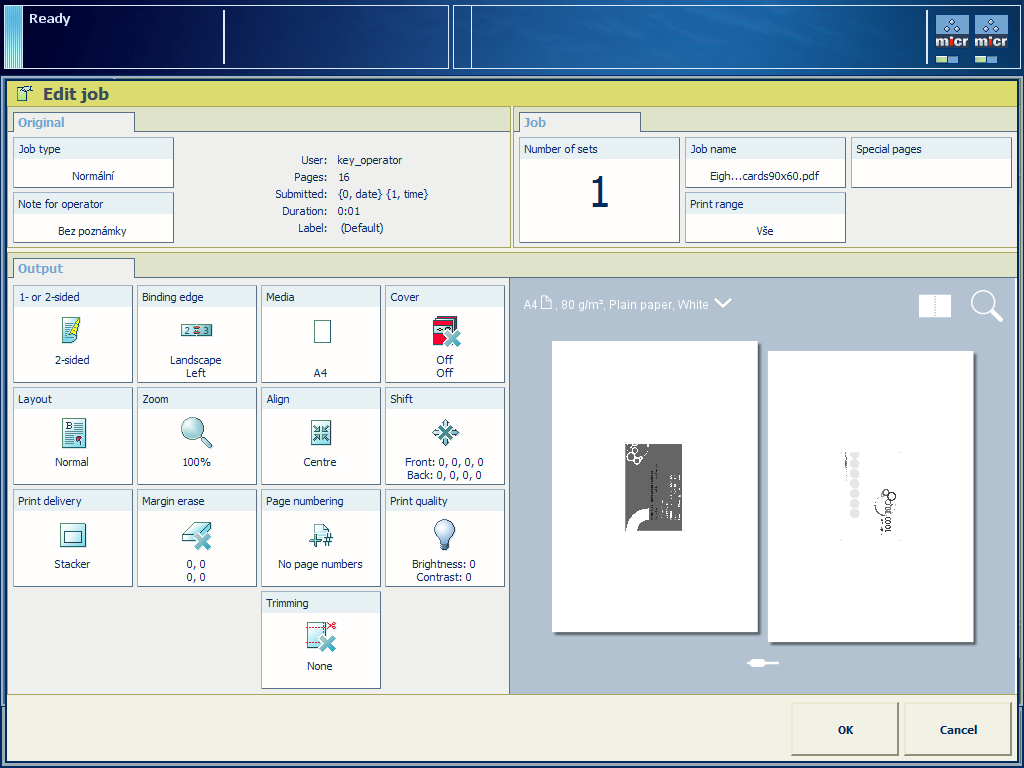
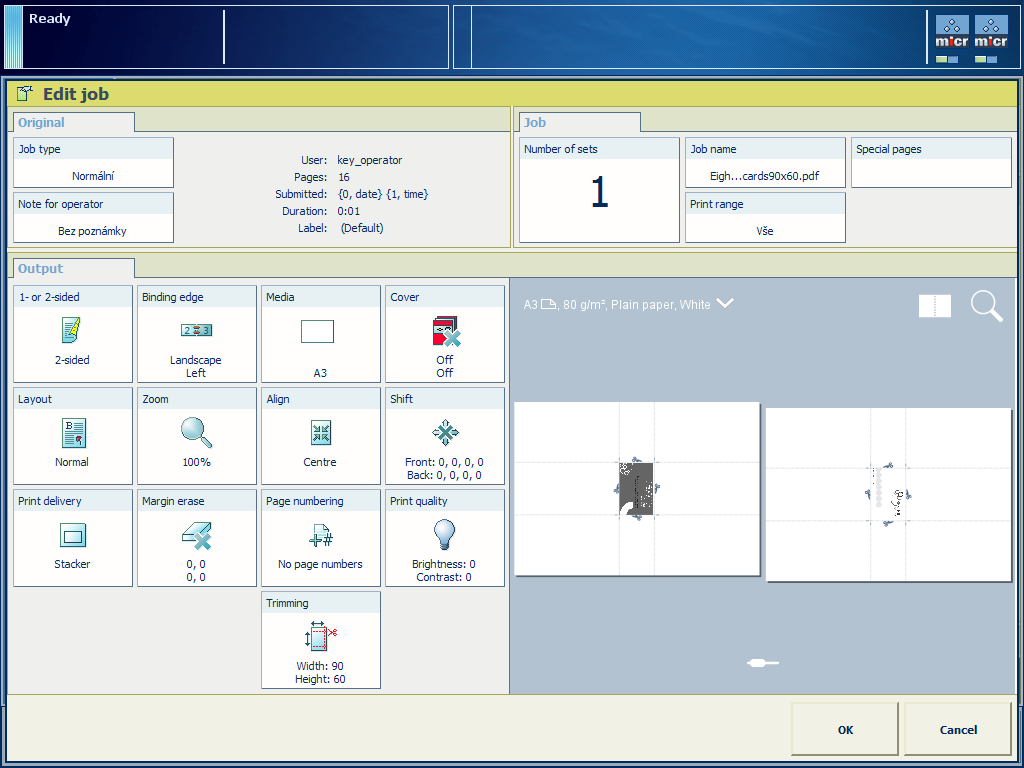
The advanced layout and finishing settings can be useful for creating various product types, for instance, business cards. The procedure below demonstrates how the advanced settings can make the imposition easily customizable.
This procedure shows an example of imposition of business cards. Business cards are printed on a double-sided sheet. After trimming, different stacks are created. In the end, each stack contains the same number of the business cards.
Touch .
Go to the location of the job.
Select the job you want to edit.
Touch [Edit] or double-tap the job to open the [Edit] window.
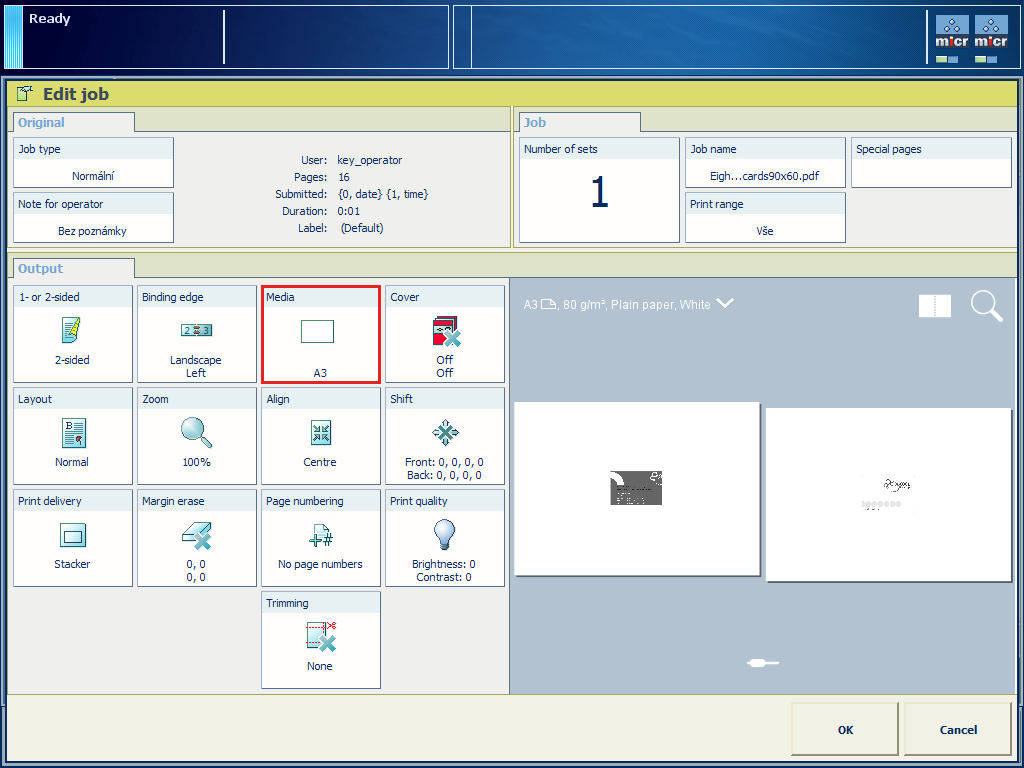
Press [Media].
Select a media of size A3.
Press [OK].
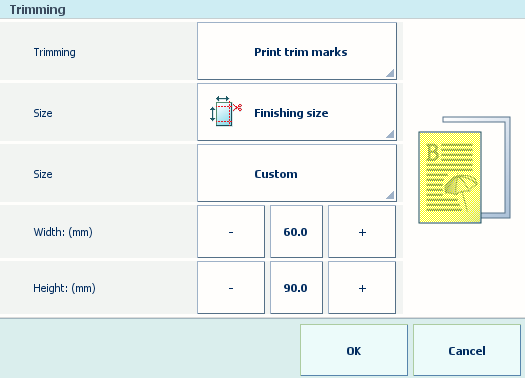
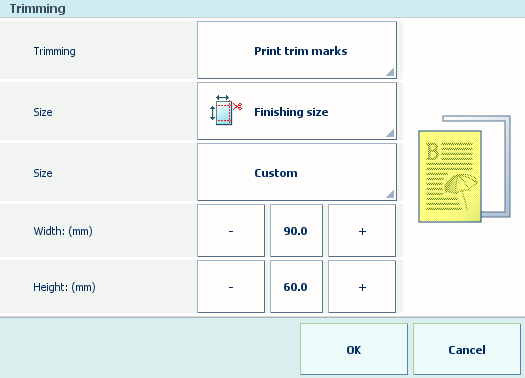
Define the required size of your business card with the help of trimming settings. Do the following:
Touch .
Touch to define the sheet size after trimming. The drop-down list contains predefined sheet sizes, e.g. A4.
You can also select [Custom] to define the size yourself. You can enter the custom measurements in [Width: ({0})] and [Height: ({0})].
Width is parallel to the short edge of the sheet. Height is parallel to the long edge of the sheet. If you swap the measurements for [Width: ({0})] and [Height: ({0})], the orientation of your business card on the printed sheet will change.
Press [OK].
|
Settings |
Realistic preview |
|---|---|
|
|
|
|
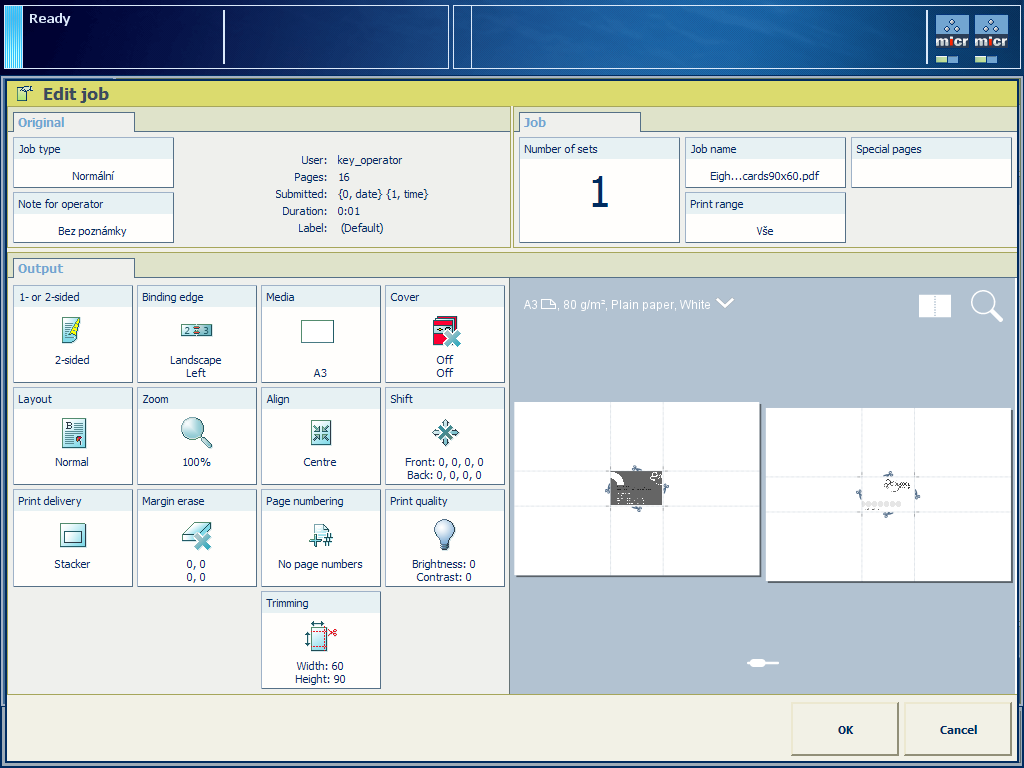
You are required to define the trimming settings to be able to customize the end size of your product. If you do not select [Print trim marks], you will not be able to define the needed imposition.
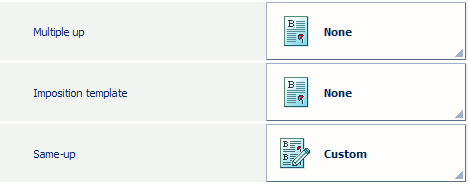
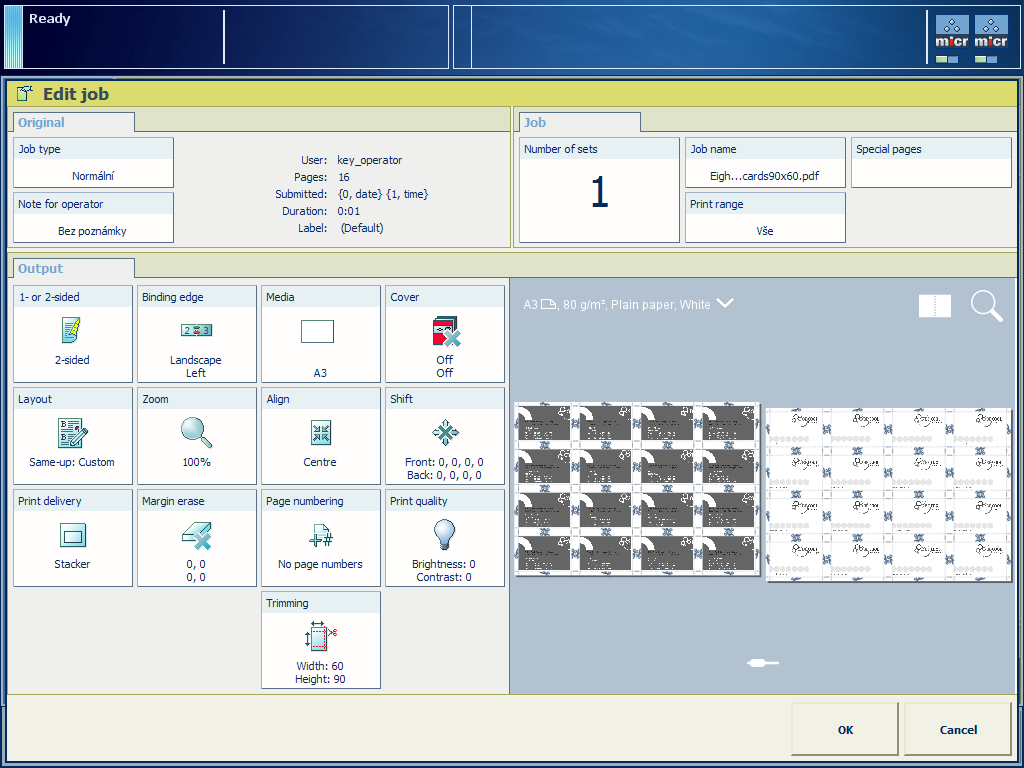
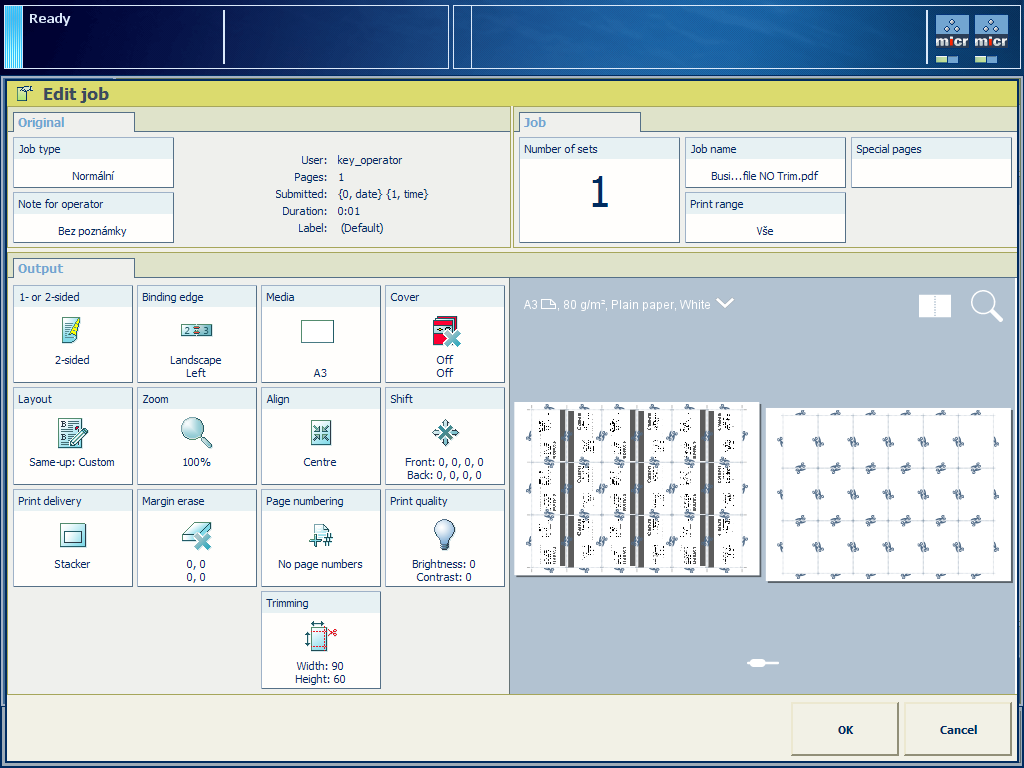
Define the layout settings as follows:
Touch .
Select [Custom] .
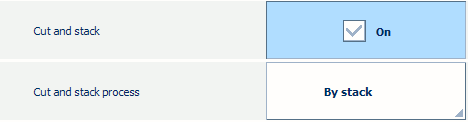
Enable [Cut and stack].
Touch [Cut and stack process] and select [By stack].
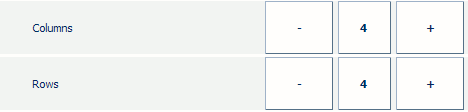
Change the number of rows and columns in order to have the maximum repetition of pages per one sheet.
Regardless of feed direction, rows are parallel to the short edge of the sheet and columns are parallel to the long edge of the sheet.
|
Settings |
Realistic preview |
|---|---|
|
|
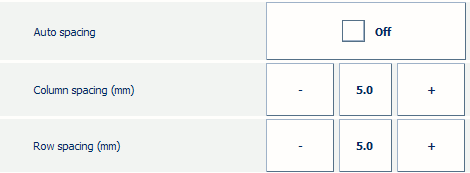
If you do not want PRISMAsync to automatically calculate column and row spacing, disable [Auto-spacing]. Define[Column spacing (mm)] and [Row spacing (mm)] manually, for example, 5 mm.
If you do not want PRISMAsync to automatically define the orientation of your business card,[Auto-spacing] also needs to be disabled.
|
Settings |
Realistic preview |
|---|---|
|
|
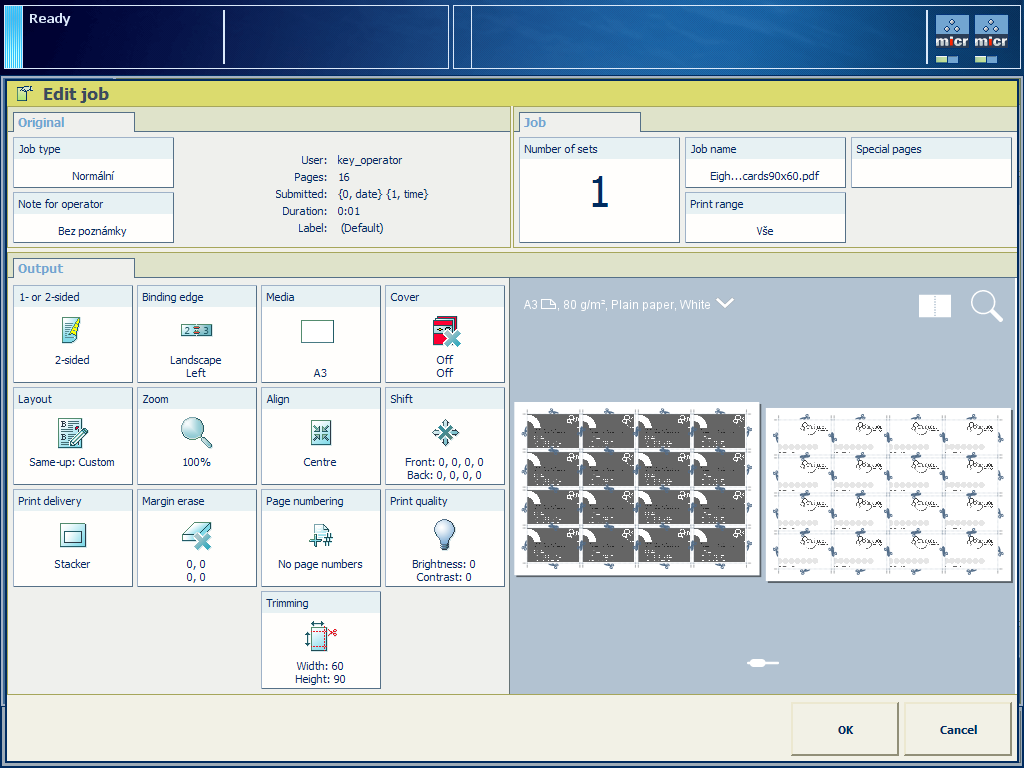
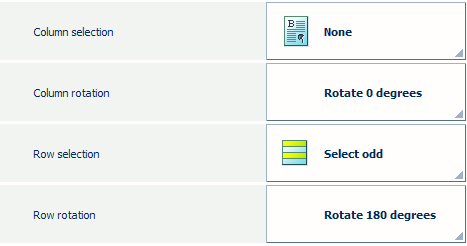
It is also possible to select, flip and rotate rows and/or columns. For instance, these layout settings can be useful when one side of your business cards has the same pattern. Placing the sides with the same pattern next to one another makes trimming less prone to imprecision.
|
Settings |
Realistic preview |
|---|---|
|
|
Press [OK].
The business cards are ready to be printed. Press [OK].
