
Winding media with a locked tension bar is only used for stiff media, in order to prevent media transportation issues.
The use of the tension bar is set in the media type configuration in the RIP software. For winding with a locked tension bar, you must select [locked tension bar] under [Winding tension] . For more information, see Change the media settings.
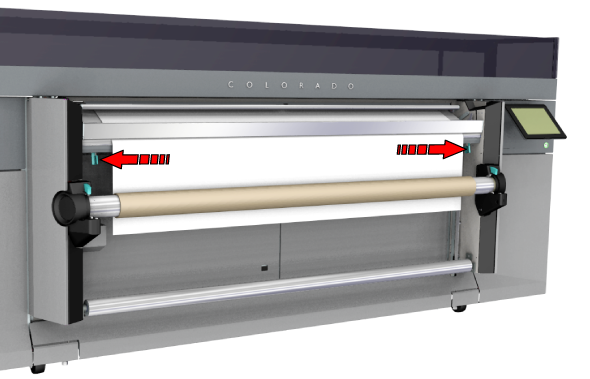
Make sure you have placed a take-up roll core on the roll winder. For more information, see Load a take-up roll core onto the roll winder.
Make sure you have tape ready.
The printer is ready to print.
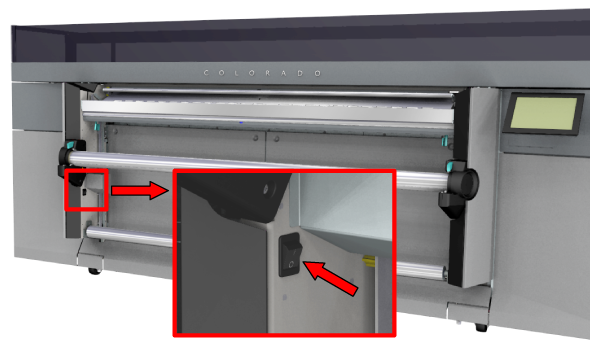
Use the emergency stop button, to stop the winder immediately. Do not forget to switch it on again.
Make sure you set the output configuration in time, as you cannot change the configuration once the media has passed the clamp.

The printer spools the media until it reaches the tape position. The clamp closes and the operator panel gives a message indicating you can tape the media.

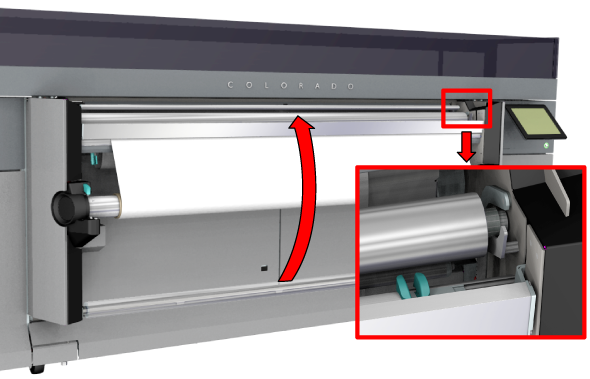
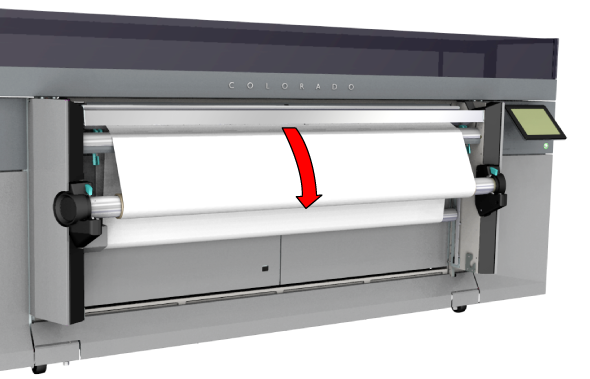
The printer starts printing while winding the job. Make sure the tension bar falls into the locked position.
When you want to stop winding you have to cut the media. For more information, see Cut the media, Cut the media (manual).