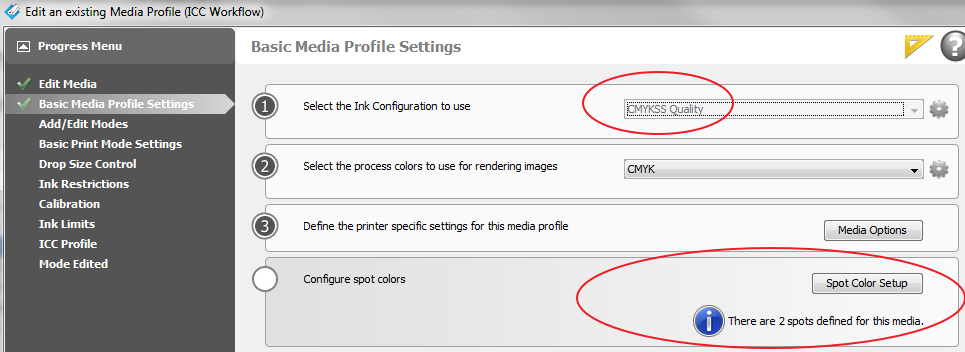

This section shows you how to a set up a print job with a varnish. You can print a simple job (Flood Coat Fill) without data preparation, or more complex jobs using Spot data that must be present in the print job. See Varnish Workflow Overview for more information.
Printing varnish requires an ONYX media profile (media model) that was made with a CMYKSS ink configuration with spot colors defined. All print modes are supported except the High Definition print mode.

To print varnish on top of a HD print mode image, use a composite job batch and print the first job in HD print mode, and the second job using a different print mode to print only the varnish data.
Optional - not required if the method for printing varnish was correctly specified in the ONYX media profile or quickset.
Procedure
If the desired option for printing varnish has not been predefined in the ONYX media profile or Quickset select “Hold for Operator” prior to submitting the job to be printed, so the job will not automatically be sent to the printer.

Open an image of your choice using an ONYX media profile that supports spot data (CMYKSS ink configuration with spot colors)
Right click the job in the ONYX Rip-Queue, edit Print Settings and the following Jobs Settings dialog will appear:

Verify or select how varnish is to be printed.
None – No varnish will be printed
Spot 1 Data – High Gloss will be printed where Spot1 data is present. Choose Spot1 data when you have Spot1 data defined in your print job (defined with the Spot Layer Tool see:Create Spot Data with the Spot Layer Tool or by additional processing via Adobe Photoshop (See Create Spot Data in Photoshop) or Adobe Illustrator (See Create Spot Data in Adobe Illustrator).
Spot 2 Data – High Gloss will be printed where Spot2 data is present. Choose Spot2 data when you have Spot2 data defined in your print job.
Flood Coat - A white layer of the size of the whole image (bounding box) will be printed.
Send the job to the printer and print it.